 |
Beautiful Day
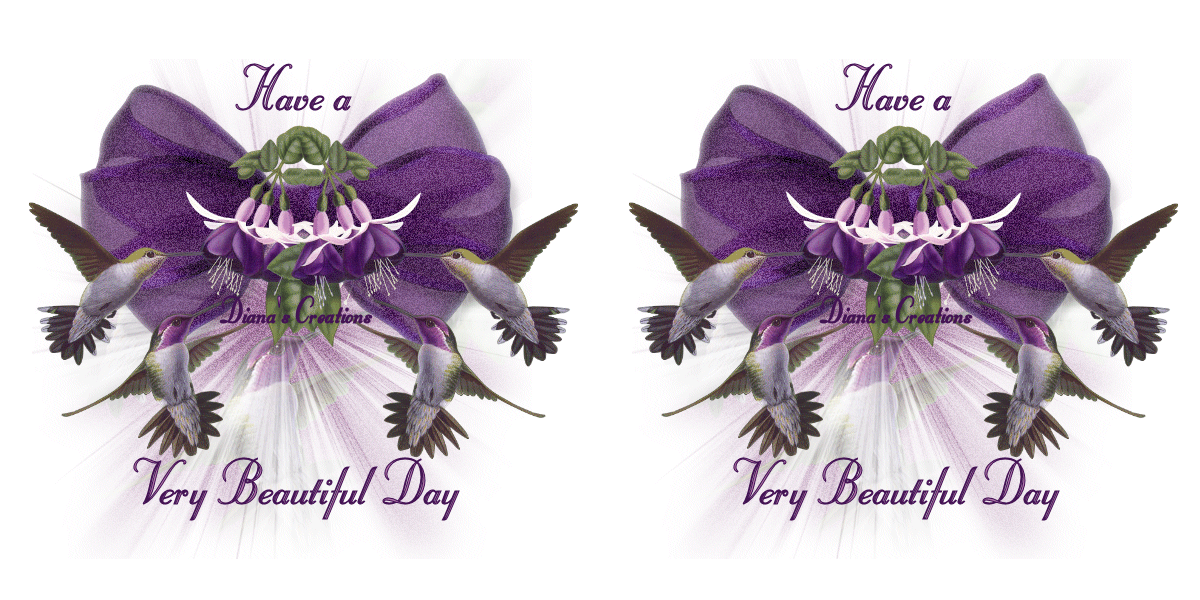
-Ready to Start- To complete this tutorial you will need the following filter: DSB Flux Bright Noise. You can download filter HERE All material used in my tutorial was supplied to me through various group shares. Open new Image / Canvas 600 x 600. Flood fill using the following color: #b379ac Open mask image from supplies. Copy / paste as new layer onto the image. Change the masks layer Blend Mode to Screen. Open purple bow and humming birds from supplies. Copy / paste the bow as new layer onto the image. Place the bow as you see it placed in my image. Copy / paste the humming birds onto the image and place this first one under the mask. To send it to the back just go to Layers / Organize/ Down. Now go back to the original humming bird image. Resize the humming birds to 350 x 349 pixels. Copy / paste as new layer onto the image. Place the humming birds to the middle left side. See my image for reference. Now to layers menu and duplicate the birds one time. Go to Image / Mirror so that the second set of birds face the opposite direction. Pull the two sets of birds a bit more to the center. See my image for reference. Add your name and any other text you wish to the image. Note: I used font type Stuyvesent BT Size 48. Now once you have added your text, Click on the bottom purple layer so that it becomes the active layer. Go to Effects / Filters / DSB Noise and apply using the following settings: Intensity: 32 Direction: Darker Now activate the bow layer and apply bright noise filter using the same settings as before. You can now merge all layers. Open Animation Shop. Copy the image by going to Edit / Copy and paste into AS as new animation. Go back to PSP and undo the changes just until noise effect disappears on both purple layer and bow. Apply noise filter to both once again, just that this time click twice on the Darker button. Merge all layers and paste into Animation Shop After Current Frame. You are now finished. You can preview and save image as gif.
|
|
Any resemblance to any other tutorial is coincidental Property of Diana's Creations |