 |
Marquee
Open new image 600 x 600. Flood fill with white. Open beautiful fairy tube included in the supplies. Resize the fairy to 400 x 414 pixels and copy/paste as new layer onto new image. Move her a bit to the top of the image. See my image for reference. Open both square images also included in the supplies. Copy/paste as new layer the white with pink border square onto the image. Place it to the bottom and in front of the fairy just as seen in my image. You can now go to Layers Menu and merge all layers. We will now apply the animation.
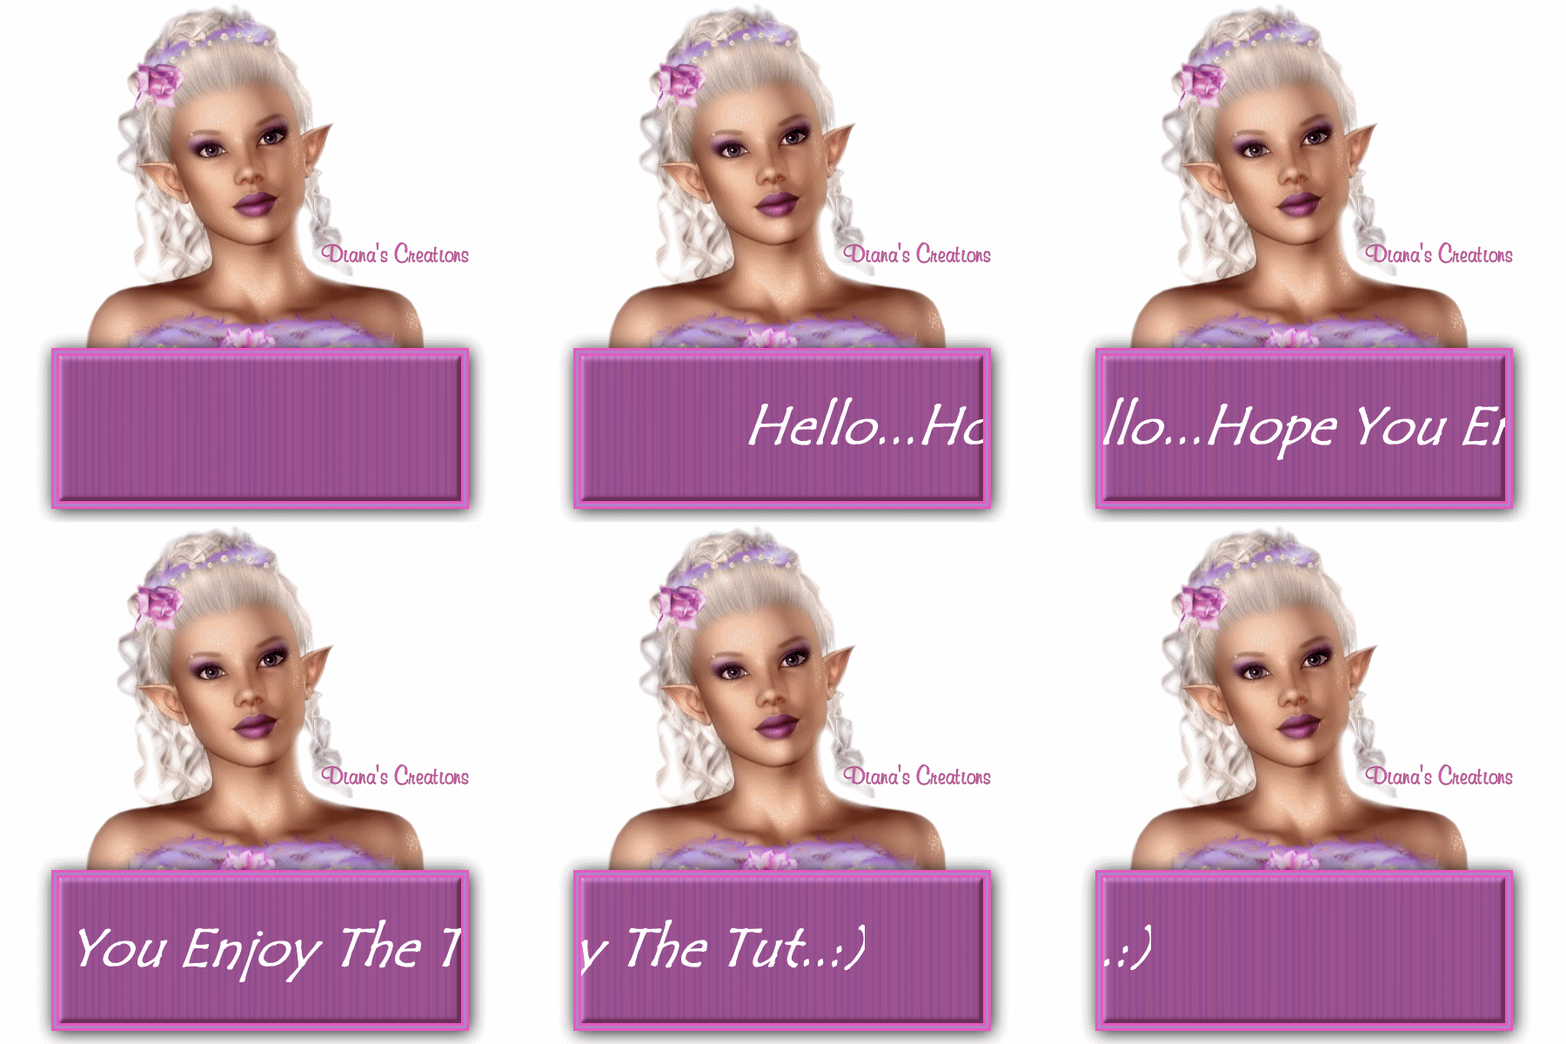
Open Animation Shop. Copy the fairy image you just created by going to Edit/Copy and paste into animation shop as new animation. Copy the remanding square image (the purple one) and paste into AS as new animation also. Now, with your square image being the active image, go to Effects Menu and choose Insert Text Effect. Once the Insert Text Effect dialog box pops up, choose Marquee from the drop down menu you will find at the bottom right. Now, check the box where it says Animation Frame located on the top left. And check the box that says Custom Color located to the top right. Make sure the custom color is set to white or actually any color you would like your text to be. Now in the box where it says Define Text, write out the text of your choice. You can customize the font size by clicking where it says font. I had my font size set to 48. Click OK. Now place the slider of the square image all the way to the left until you see frame 1. Go to Edit Menu and Select All. Go to Animation Menu and choose Frame Properties. Put 30 into the the box and click OK. Now click on your fairy image so that it becomes the active image. Duplicate the image 25 times so that you have a total of 26 frames. Once duplicated, place the slider all the way to the left just as you did with the square image until you see frame one. Go to Edit Menu and choose Select All. Now back to your square image using the mouse button, click on the square in frame one. Holding down the mouse button, drag the square onto frame 1 of fairy image and place it into the middle of the white square. Once in place, let go of the mouse button. Your image is now ready. You can now view your animation and save as gif..:)
|
|
Any resemblance to any other tutorial is coincidental Property of Dianas Creations |