Moonlight
No filters will be used in this tutorial. I have included the animated text in the supplies.
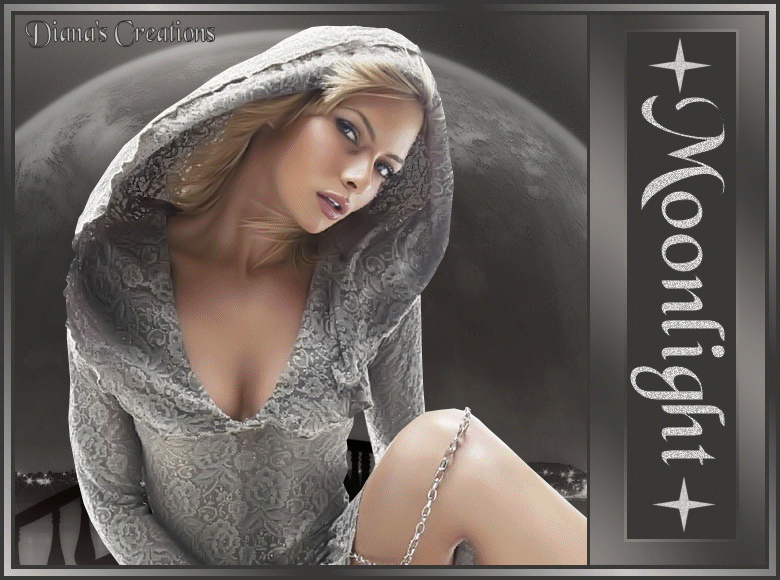
Beautiful woman image was tubed by Anna.br. Beautiful Moon image tubed by Guismo.
Let's begin....:)
Open new Image / Canvas 750 x 550.
Make a gradient by setting the foreground color to #393836 and background color to #97928f
Set the gradient style to Linear. Angle to 50 and repeats to 3.
Flood fill the new image with this gradient.
Go to Adjust Menu / Blur / Gaussian Blur and apply using the following setting:
- Radio 22
Click OK.
Open the square border image I included in the supplies.
Copy / paste as new layer onto the image.
Place it to the right side as seen in my image.
Open Moon image from supplies.
Copy / paste as new layer onto the image.
Place the Moon image below the side border.
Open woman image from supplies.
Copy / paste as new layer onto the image and place her a bit to the left and also below the side border.
Remember to send any layer to the back, just go to Layers Menu and choose Send Back or Down until you see it where you want it.
Select the Moon image layer and slide it a bit to the left until the silhouette is not showing and is behind the woman image.
Place your name on the image.
Merge all layers.
Go to Image / Add Borders and add border 4 pixels wide using the following color: #393836
Add border 7 pixels wide using color white.
Using the Magic Wand, select the border and flood fill with the gradient color we used earlier.
Selections / Select None.
Add border 4 pixels wide using color: #393836
Open Animation Shop.
Copy the image by going to Edit / Copy and paste into AS as New Animation.
Now once in AS, duplicate the image 1 time so that you have a total of 2 frames.
Place the slider all the way to the left until you see frame 1.
Go to Edit Menu and choose Select All.
Now open animated text I included in the supplies.
Go to Edit Menu and choose Select All.
Using the mouse, click on the text in frame 1 and drag it onto frame 1 of the image. Make sure you have it in place before letting go.
Make sure you place it into the middle of the side bar just as you see it placed in mine.
Now open Star animation from supplies.
Go to Edit / Select All.
Drag the star onto the image just as you did with the text and place it to the top of the bar. See my image for reference.
Undo the changes to the Star image so that it will appear once again and drag it a second time onto the image placing it to the bottom part of the side bar.
Your image is now finished.
You can preview and save as gif.
Back
This tutorial was written by Diana's Creations on January 21, 2010
Any resemblance to any other tutorial is coincidental
Property of Diana's Creations
|