 |
Over the Rainbow
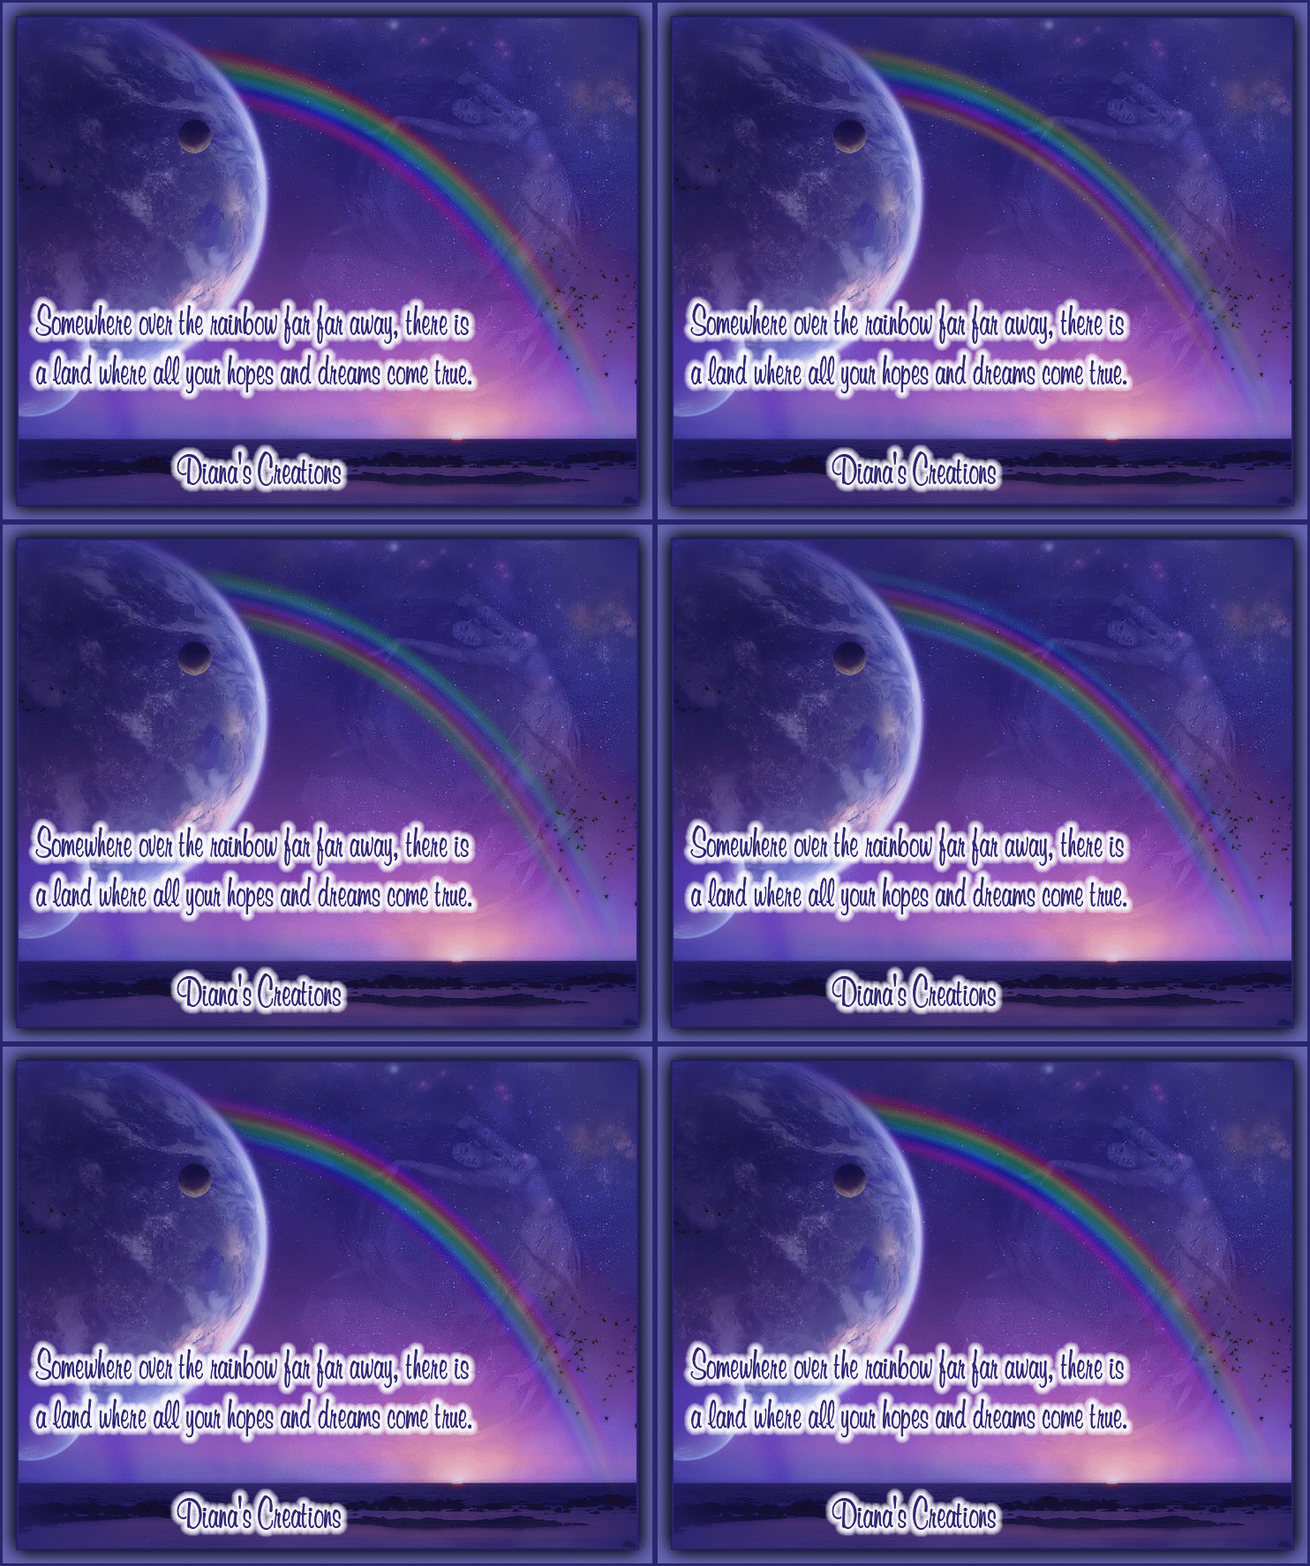
Copy and paste as new layer the scenery background onto the purple/blue background. Now open the fantasy woman and copy paste as new layer onto the image. Place her to top right just as seen in my image. Using a soft eraser or just any eraser tool with the opacity set to 20, erase the leaves that are located at the bottom of the fantasy woman. Now set the fantasy woman layers opacity to 18 %. Open the rainbow also included in the supplies. Copy/ Paste it as new layer onto the image and place it exactly as you see it in my image.. Do not close the rainbow image we will use it once again. Now open the text I included in the supplies and copy paste it as new layer onto the image. Place it to the bottom left as seen in my image. Add your name and merge all layers. Note: make sure that your name nor the text is covering the rainbow. Next go to Image add borders and add a 3 pixel wide border using the following color: #282471 Now add another border but this time 15 pixels wide using the following color: #6060a8 Using the magic wand, click on the border you just created. Once selected, go to Selections Menu and choose Invert. Go to Effects / 3D Effects / Drop Shadow and apply shadow using the following settings: Vertical 2 Horizontal 2 Opacity 90 Blur 30 Click OK. Once again apply another drop shadow just that this time using these settings: Vertical -2 Horizontal -2 Rest of the settings same as above. We will now animate the rainbow. Open Animation Shop Copy the image by going to Edit/Copy and paste it as new animation in AS. Next, Copy/ Paste as new animation the Rainbow image you should still have open also. Now in Animation Shop, click on the rainbow image so that it is the active image. Go to Effects Menu and choose Insert Image Effect. In the Insert dialog box, choose Rotate Colors from the drop down menu you will find on the lower right. Make sure you have Animation Frame checked and the settings as you see below: Effect Length 4.2 seconds Frames Per Second 6fps. Click OK. Now, make sure you have the slider on the rainbow all the way to the left until you see frame 1. Go to Edit/Select All. Now click on your image (not the rainbow) and duplicate the image 24 times so that you will have a total of 25 frames. Once you have it duplicated, drag the slider all the way to the left just as you did with the rainbow until you see frame 1 and go to Edit/Select All. Now back to the rainbow image, using the mouse button, click on the rainbow in frame 1 and holding down the mouse button drag it onto the image and place it on top of the other rainbow. Once you have it in place, let go of the mouse button. You can now view your animation and save as gif...:) ******** |
|
Any resemblance to any other tutorial is coincidental Property of Diana's Creations |