 |
When I Think of You
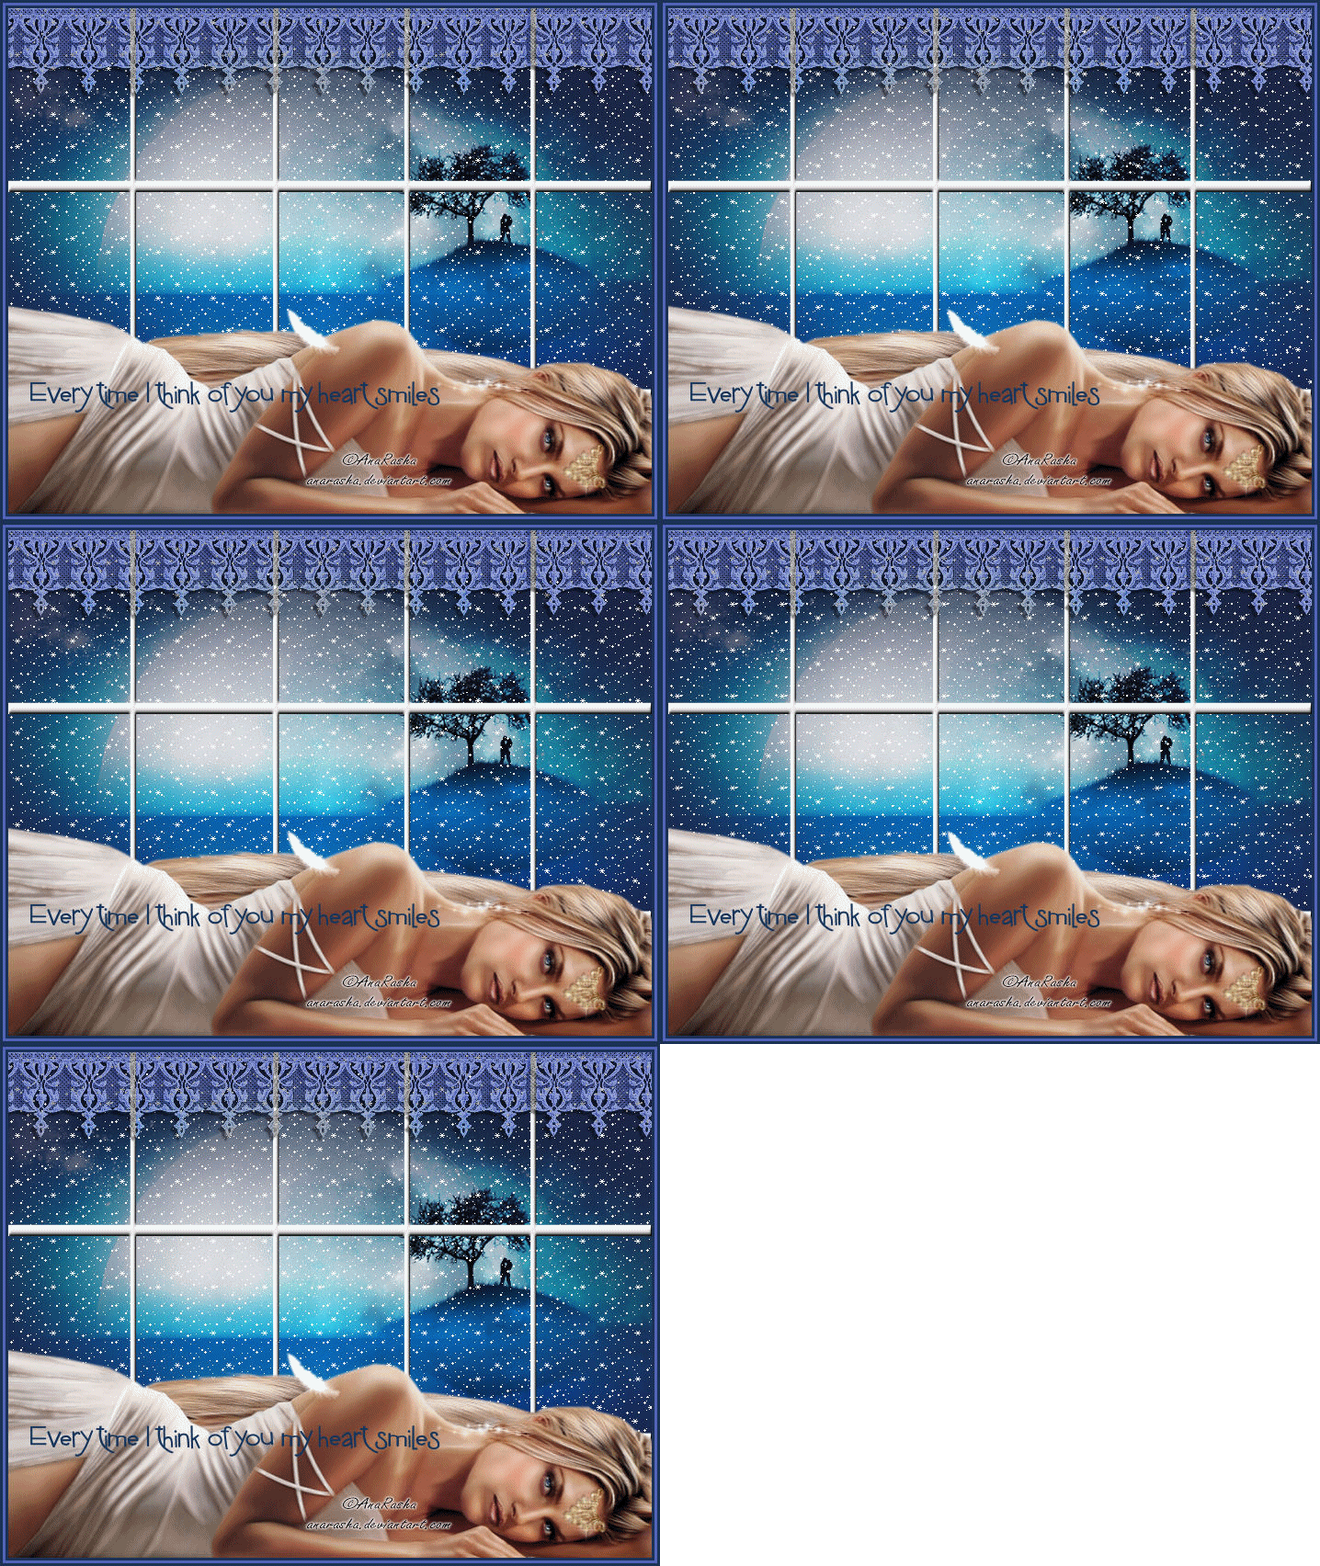
Beautiful scenery image used in my tut was tubed by Guismo. You can find more of his wonderful tubes here: Open new image 700 x 550 and flood fill using the following color: #1c2445 Open beautiful scenery image from supplies and copy paste it as new layer onto the new flood filled image. Place the scenery image a bit to the center. Open Window frame and beautiful lady image from supplies. Copy and paste window frame onto the image. Rotate lady 90 degrees to the right using the rotate tool located on top tool bar. Resize lady tube to 750 x 294 pixels. Copy and paste it as new layer onto the image and place her to the bottom as seen in my image. Open blue lace and text from supplies. Copy and paste as new layer the blue lace and place it to the top of the image. Change the lace layer blend mode to Luminance. Now copy and paste as new 'Selection' the text onto the image and place it to the bottom. Since you pasted it as a new selection, you should see it selected once you let go. Using the paint brush tool, paint over the word art using the following color: #17365c Place your name and artist copyright on the tag. Now open Snow 1 from supplies. Copy paste as new layer onto the image. Go to Layers Menu and choose Send Back until the snow is just behind the window frame. Now go to Layers Menu and merge all layers. Next go to Image/Add Border and add 3 borders each 3 pixels wide using the following colors: 1: #17365c 2. #5165b8 3. #17365c Save Image as Snow 1. Note: There is another way of doing the snow. That is by closing off layers and pasting into animation shop one by one. But I always do my tuts thinking in beginners. And I know that it can be quite confusing when told to close of layer # 1 and paste # 2 and so on. So if you are not a beginner you can go ahead and do it that way if not just continue...:) Now once you have saved snow 1. Undo the changes using the undo arrow located on top tool bar just until the snow disappears. Now open Snow 2 and paste as new layer onto the image. Send to back just as you did the first one until it is behind the window frame. Merge all layers and add 3 borders just as you did with the first and save as Snow2. Note: be sure you use the same 3 colors for the borders. Do the same with the remaining snow images. You should have a total of 5 saved images when you finish. Save the next one as Snow 3 and so on. Once you have all images done and saved, open Animation Shop. Go to File Menu and choose Animation Wizard. Click on next until you are to the part that says Add Images. Browse to where you saved all 5 snow images and open them from 1 to 5. Before you click 'Next' make sure they are in order 1 to 5. Click OK. You can now view and save your animation as gif...:)
|
|
Any resemblance to any other tutorial is coincidental Property of Diana's Creations |