 |
Summer Fun
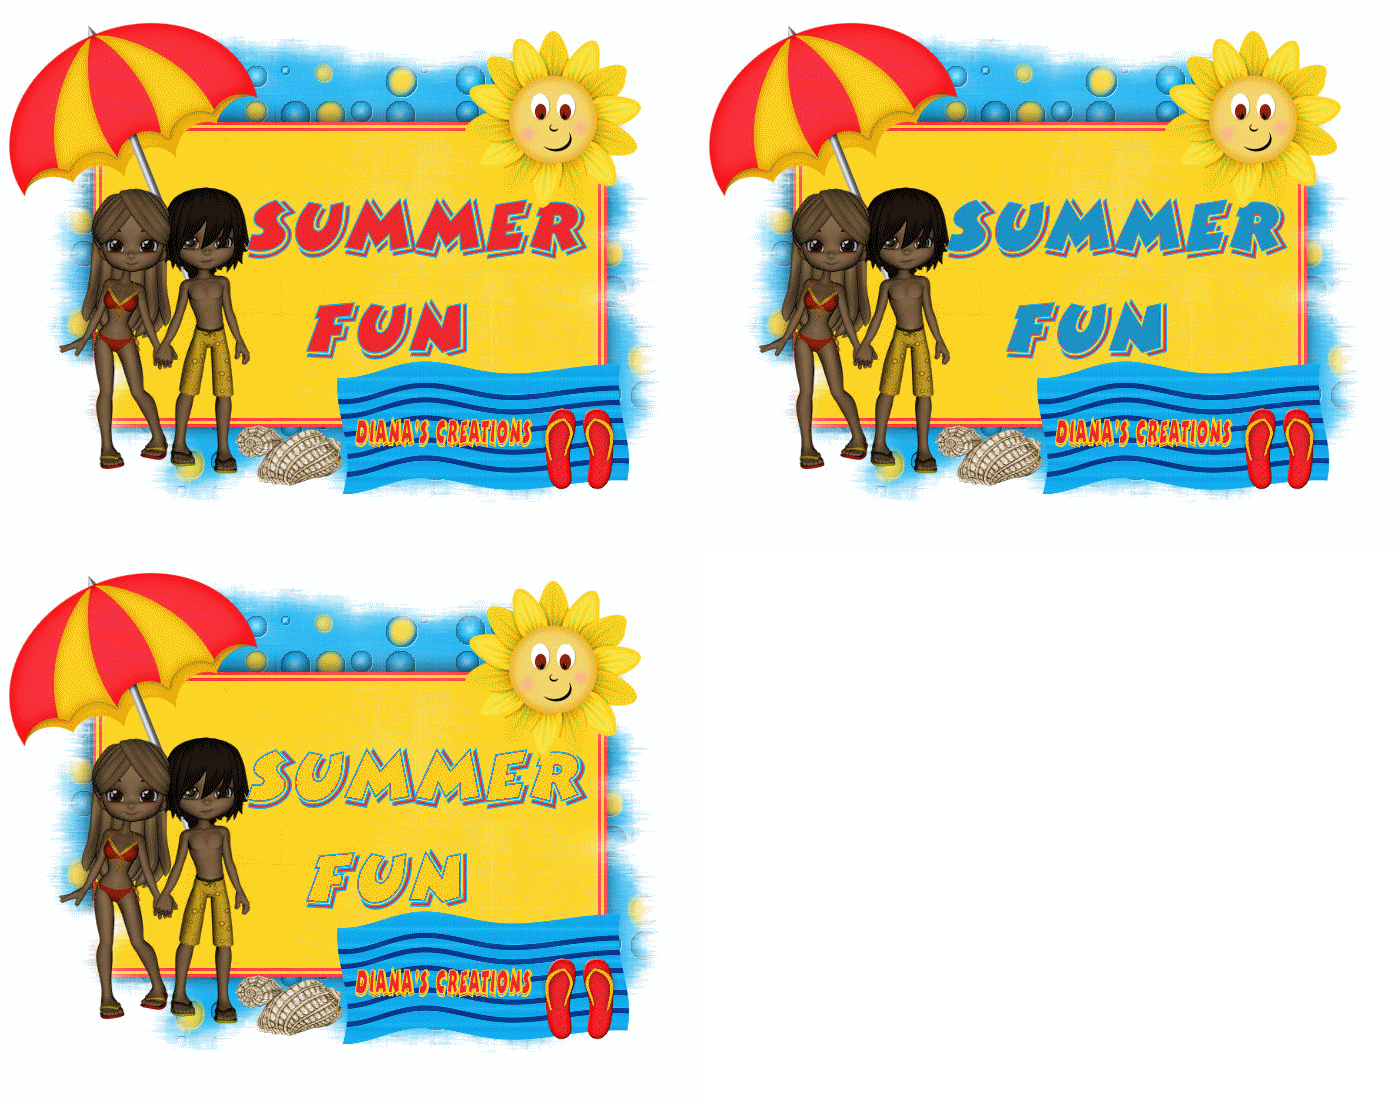
You can pick up a free scrap kit to use here Open background and square image I included in the supplies. Copy/Paste the yellow square image as new layer onto the background. Go to Effects/3D Effects/ Drop Shadow and add a drop shadow to the square image using the following settings: Vertical 2 Horizontal 2 Opacity 90 Blur 30 Now go to the folder where you saved the the Hot Summer scrapkit and open the sun and umbrella. Resize the Sun to 200 x 196 pixels and copy paste it as new layer onto the image. Place the Sun to the upper right corner of the square just as seen in my image. Resize the umbrella to 300 x 378 pixels and copy paste it as new layer onto the image. Place the umbrella to the left side of the image. Click on the deform tool and using the handle that you will see in the middle, slightly slant the unbrella a bit to the left and place it as seen in my image. Now open the cute little boy and girl included in the kit. Resize to 200 x 319 pixels and copy paste them as new layer onto the image. Place the couple to the left just as seen in my image. Now open the blue towl, the shells and the slippers from the kit. Resize the towl to 300 x 164 and copy paste it as new layer onto the image. Place the towl to the lower right. Resize the sea shells to 100 x 66 and copy paste as new layer onto the image. Place the shells as seen in my image. Resize the slippers to 150 x 150. Copy paste as new layer onto the image and place them on top of the towl as seen in my image. Now using a font of your choice (I used font type Micky Shadow) and with the foreground color set to #0da8ea and backround color set to #ef282e write out the text Summer Fun and place it in the square. Once you have it placed, go to Layers Menu and merge all layers. Save this one as Summer Fun 1. Now undo the changes, just click once on the undo arrow so that the layers will not be merged. Once unmerged, go to Selections Menu and choose Select All. Then again to Selections Menu and choose Float. You should now see only the text selected. Using the flood fill tool flood fill the text using the following color: #1b91c4 Once filled, go to Selections Menu and choose Select None. Merge all layers and save as Summer Fun 2. Now once again undo the changes just until you see the text selected again. This time flood fill the text using the following color: #ffce0a Go to Selections Menu and choose Select None and then to Layers Menu and choose Merge All. Save as Summer Fun 3. We will now animate the tag. Open animation shop. Go to File Menu and choose Animation Wizard. When the Animation Wizard dialog box appears click next using all the default settings until you get to the part where it says Add Images. Browse to the folder where you saved your 3 Summer Fun images and open them from 1 to 3. Before you click Next make sure the images are numbered from 1 to 3. Sometimes AS will put the last image to the top. If this happens to you just use the Move Up or Move Down Button to move any image you may need to move. Now click Next and you are finished. You can now view and save your animation as gif. Remember that the image is quite large so if you want to resize it do it before you save. Just go to Animation Menu and choose Resize. Enter the desired size in pixels and click OK.
******** |
|
Any resemblance to any other tutorial is coincidental Property of Dianas Creations |