How To!MAKE BLINKIES
How to Make Blinkies This is a fun one..have you ever seen those little blinkies on the web? Ever wondered how to do them?
This one is using selections from your Alpha Channel, but I think with my screenshots, you will be able to do it in no time and learn something new!
I have included the bear and the font I used in my Happy Birthday Blinkie - Get it here
Be creative with this one..after you do the first one, you will have it mastered in no time. Suz is a great tutorial writer and has good instructions..She has included several blinkies for you to us.
Ready?
I used the blinkierectangle 3 from the bonus. Click on my Blinkie to take you to tutorial page
After you open the blinkie provided and duplicated - You flood fill with your color.
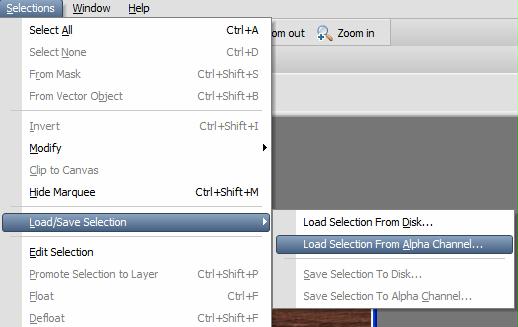
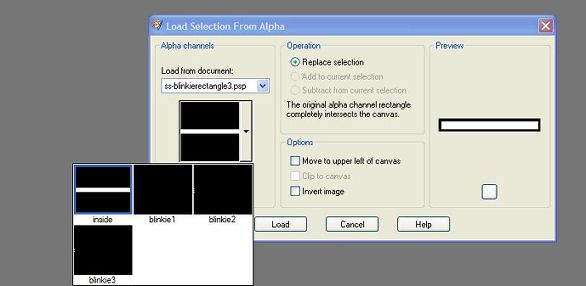
Now Load the inside selection from the alpha Channel? Did that lose you.
Go to Selections - Load Selection from Alpha Channel
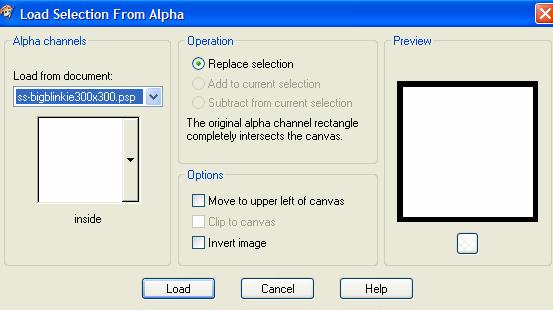
See it is there..Make sure the Inside is showing..Now load
I did add the cutout effect as Suz indicated.
After you have it the way you want and have saved as Blinkie 1, Blinkie 2 and Blinkie 3.
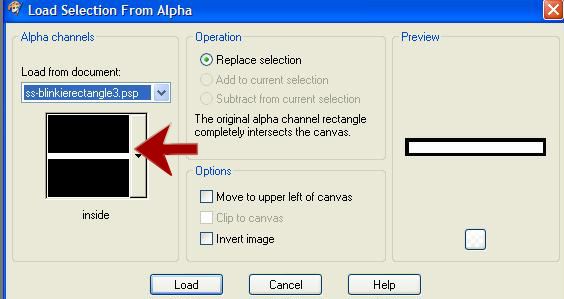
When you load the selections this time - see my screenshot
Click on the the arrow
Now you will see your blinkie 1, blinkie 2 and blinkie 3..As you work as each layer, pick the correct one!
|