How To!CREATE A WELCOME PLAQUE
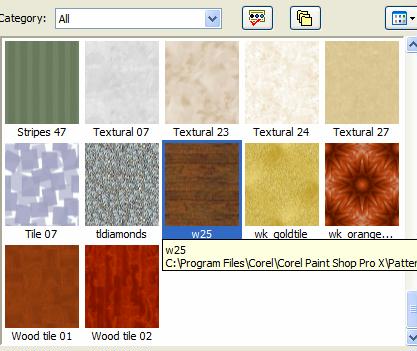
March 8 This uses Selections, Curved Text, Cut Out. You can also save this as a Tube and use again and again. This is a great tutorial written by a very good friend of Cathies and mine. I have several screenshots and it might help you before questions arise. 1 - Load the Pattern and the Selections in the proper folders in your PSP files. Jan as provided the wood pattern. Here is a screenshot on selecting -
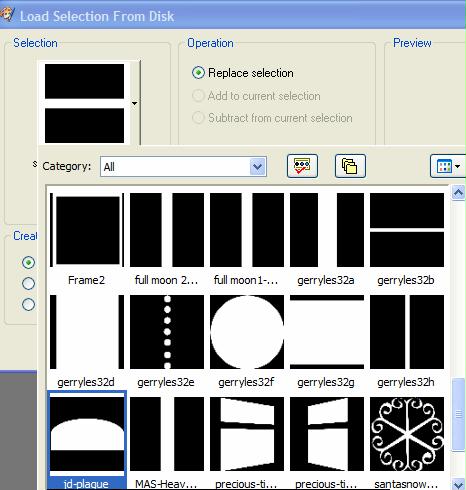
2 - You will find the selection
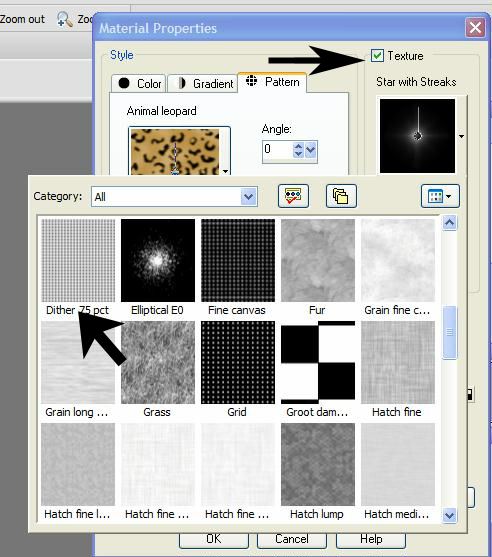
3 - The Dither will be in the texture file.
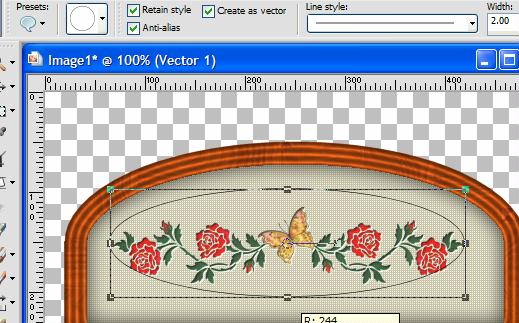
4 - On the Bezier Curve, I just find this to confusing when you can do it a better and quicker way - Go to your presets and pick Eclipse
Make sure you are creating as a vector You DO NOT have to add a new layer as long as your text is on Vector Click on the top of the eclipse
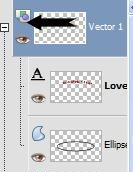
I used the David Sans font at 22 (Provided in my supplies) After you have your text placed as you like - Click on the + sign on Vector and open -
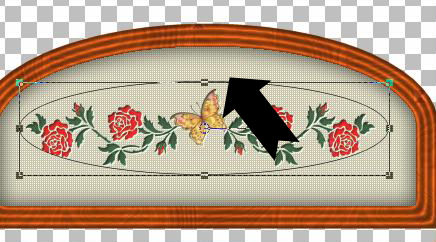
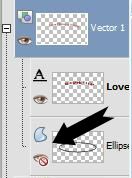
Click on the eye to get rid of the eclipse - Now if your text is right where you want it -
Promote this layer to Raster..Now you have your text..You can do the cut out and drop shadow 5 - When I first started out in PSP, Exporting and saving as picture tubes were really popular.
|