|
How To Create A Siggy Tag
This will show you how
to use animated alphas to create your own signature tag.
To get the alpha I used, download here
Ok – here goes.
1. Open up Animation Shop
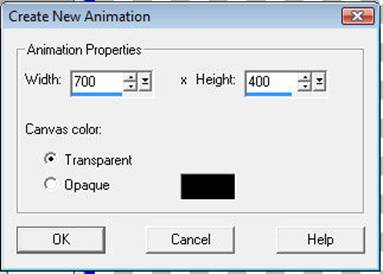
2. Click on File/New with the following settings:
Click ok.
Note: The above settings are
just a random choice. The size of your
new animation should be large enough to hold your signature. Remember you can always resize your alpha
letters too!
3. Open up whatever alpha you are using, and drag
- one by one – the letters you are going to use into animation shop.
So if you want your text to read Alpha
- you would drag the A, L, P and H into animation shop.
4.
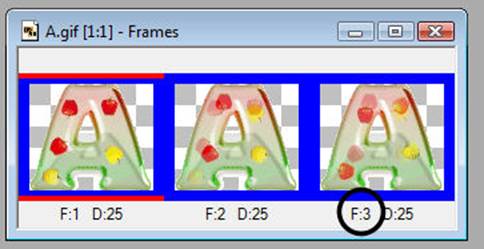
Each of your alphas should have “x” amount of
frames (that depends on the alpha). This
alpha has three (3) frames:
5. In
animation shop, duplicate your new blank (Edit/Duplicate selected) the same #
of times as your alpha frames.
The alpha
used here has three (3) frames, so I will duplicate my new transparent blank three
(3) times (See below):
6. Activate
your blank. Edit/select all.
7. Activate your first alpha
letter. Edit/Select all.
8. In the very FIRST frame of your alpha, hold
down your mouse and drag it onto the first frame of your blank.
You do
this by holding down your mouse and the shift key and then QUICKLY switching from your shift key to your control
key.
Do the exact same thing (Steps 6 thru 8) for all the remaining
letters. This is what I have so far:
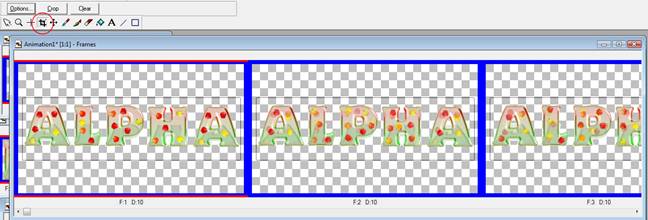
9. Once you have all your alphas in place, grab
your crop tool and crop as close to your alpha as possible.
Before cropping:
After cropping:
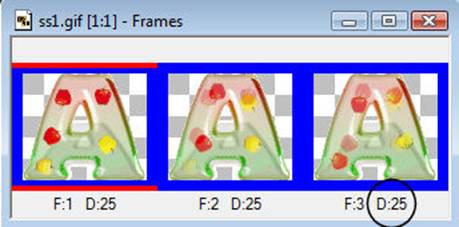
10. Set
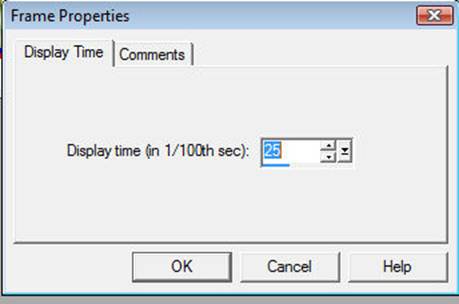
your animation speed to the speed of the alpha you chose. This alpha has a frame speed of 25.
11. Activate your alpha tag.
12, Edit/Select All
13. Animation/Frame Properties with the
following settings:
View/Animation – and watch your siggy go!
You now know how to create your very own siggy using animated
alphas. Have fun!
Note: There are ALL types of alphas out there, so depending on your alpha, this tutorial may not be compatible.
Home
|

