IncrediMail Letter Creator
Creating With A Plain Background
IncrediMail Letter Creator
Creating With A Plain Background
~~~~~~~~~~~~~~~~
Tutorials Index
This tutorial was written by
Cathie for PSP Times Three.
Note: You must have IncrediMail in order to use the letters created with the Letter Creator. You can
get IM free HERE
Preparations:
1. Use this image - pointing finger - to mark your place. Just drag it along as you read each line.

2. Go to the bottom of your Windows desktop. Look at your taskbar which is located to the right of your Start button. It lists all the windows folders and programs you have open. Look for an empty spot. Right Click and hold mouse down on that blank space.
3. A menu pops up. Select "Tile Windows Vertically". You should now have the tutorial and your own PSP open side by side. This will aid you in following the tutorial.
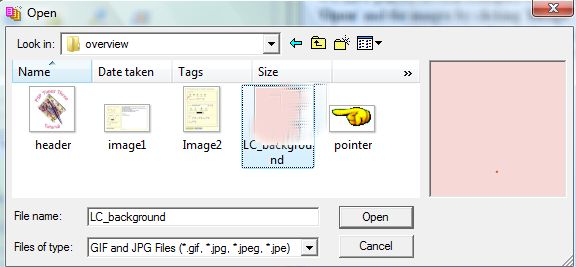
4. Download the background graphic
HERE:.
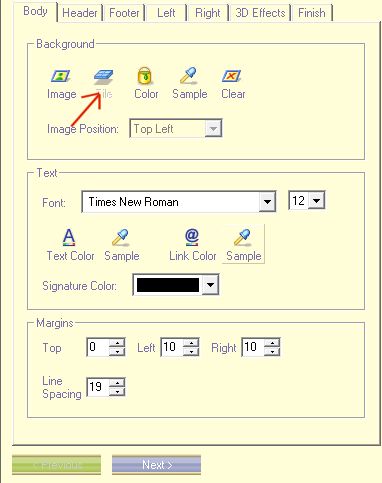
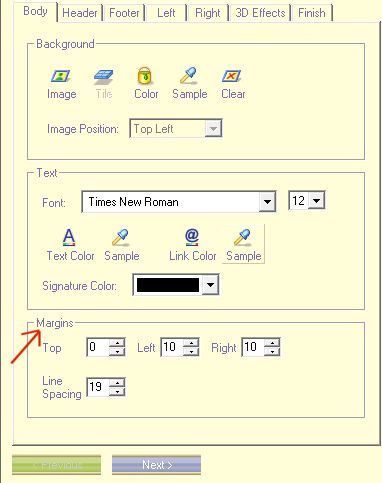
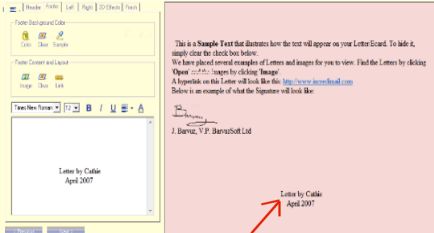
Overview
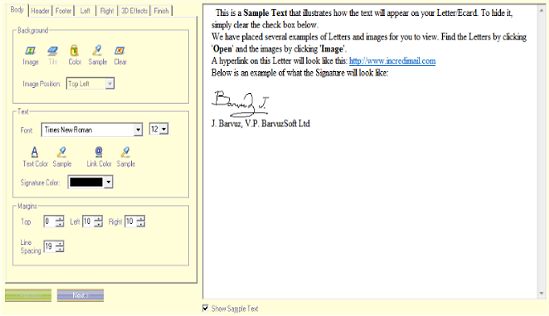
This tutorial will give you information about Letter Creator as well as explaining how to
insert a plain background and a footer. Other tuts to follow with
help on how to create a letter with a centered header and another one with a side border.
Let's Begin:

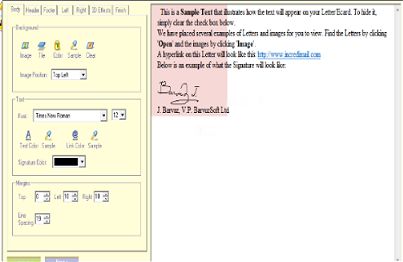

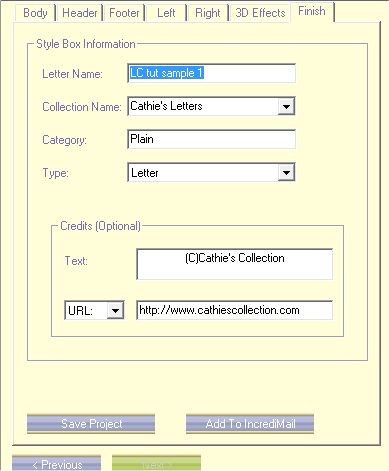
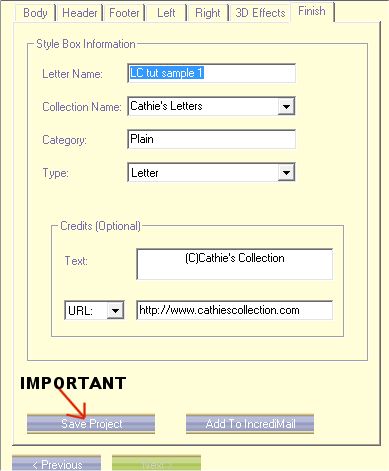
VERY IMPORTANT.... Be sure to click the button "Save Project" --- You can save it in the LC file area but I suggest
you create a special folder in your Documents folder for all letters you create. That way should your IM crash or if
you have to uninstall and reinstall for any reason you will still have your own creations saved.
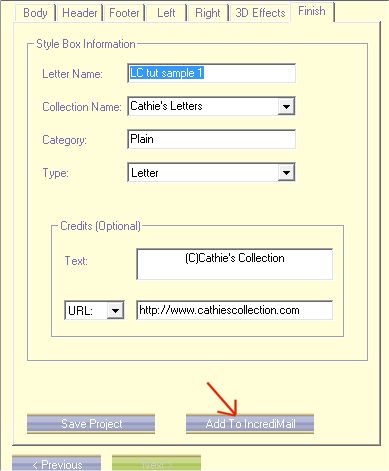
Once everything is saved then click the "Add to IncrediMail" button and LC will add it automatically.
That's all there is to creating a basic colored background in LC. Be sure to send your finished letter through so
we can all see what a great job you did!
~~~~~~~~~~~~~~~~
Any similarities to other tutorials is merely a coincidence.
©
PSP Times Three
~April 2007~