Simple
Sig Tag Tutorial

This is a
tutorial for creating a very basic
sig tag. This tutorial
is written in PSPX.
Supplies:
Garden Tag & Kayleigh
Font
Download the zip file
here
Tip: Too many fonts in
your Windows folder can slow your system down
I
would suggest that you create a Font folder in My
Documents.
Also, to save your graphics and tubes, I
would create a Tubes folder in
My Documents.
1. Unzip the
supplies into a folder in My Documents labeled
Simple Tag.


2. Move the
Kayleigh font to your
font folder. Open and minimize it to your task
bar.
When you leave the font open, it will remain available in PSP until
you actually close the
PSP program.
3. Open this
tutorial and open PSP. Place your cursor in
any open space in the bottom task
bar and right click. Select
the option, Tile Windows Vertically and the tutorial
and PSP
will be side by side. This is a
easy way to work on tutorials.
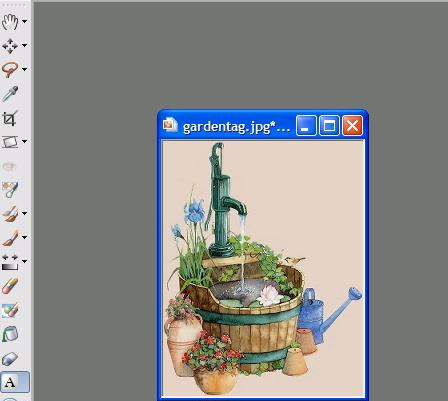
4. Open
PSP. Go to File/Open and go to the folder that you
placed the Garden Tag in
and open the tag. When the Garden tag is open, hit the
Shift D key. This will create
a duplicate of the original graphic. Close the original
graphic and keep the copy
open to work on.
5. For the font color, I
used for the foreground - #4C7b73 and the background
#225449
|
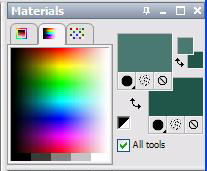 |
Foreground
Background |
6. Click on the
Foreground – Make sure that the Color Tab is
Clicked
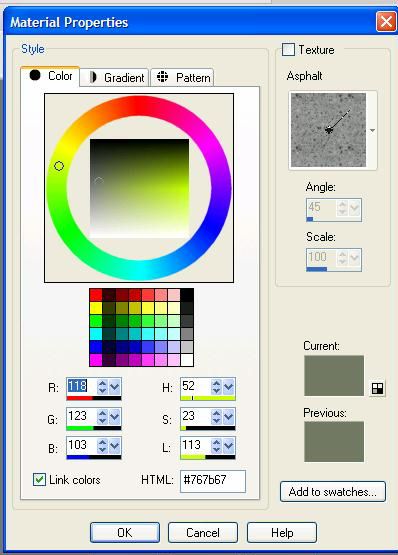
Change the HTML to #4C7b73
7. Click on
the Background – Make sure that the Color Tab is
Clicked
Change the HTML to #225449
Tip
– To make sure that the color changes you must have
the # sign included.
8. I create
all my text by adding a Vector layer. I find that
you have more control
over the placement of the text. So with that being said –
let’s create a new Vector Layer
|
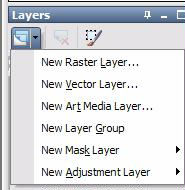 |
You can go to the Menu
– Select Layers
And New Vector Layer
|
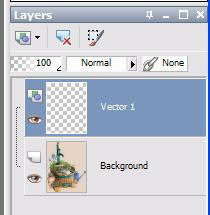
9.
This is what your Layer Palette found under the
materials layer on the right side of you
screen should look like at this point.
10. Change
your font to Kayleigh –
Size 48 Pixels. I have my stroke width set to
1.0

11. Next click
on the Text Tool
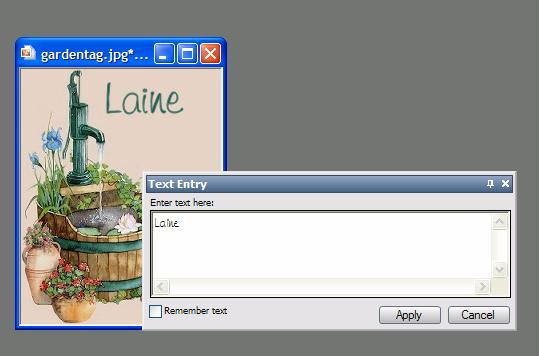
12.
The Text tool box will appear – Type the Name that
you would like on your tag
Click Apply.
13. After
placing the text where you would like it
|
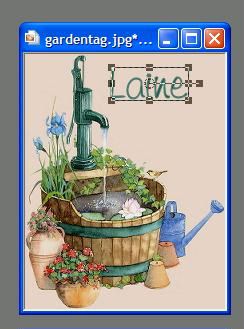 |
You will
notice the box around your
text . You can
use the little square to make your name
larger or smaller depending on how many
letters in your name and how much space you
need.
You
might have to use your Mover tool for
placement of your Text. Click on this
icon.
|
14.
After you have your text placed, we are going to add
a border.
|
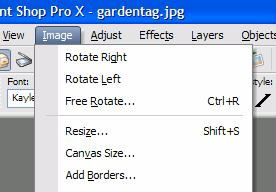 |
Go to your toolbar –
Image
Add Borders |
|
 |
You can
choose another color for your border – I
used #183d35.
To
Change the color, click on the color box
Size in
Pixels -10
Be sure
that Symmetic is
checked
Click OK |
Wow – you have a
completed Sig Tag
15. Now we
want to export it as a .jpeg. Go to File – Export –
JPEG Optimizer
|
 |
Go to
File
Export
JPEG
Optimizer
|
|
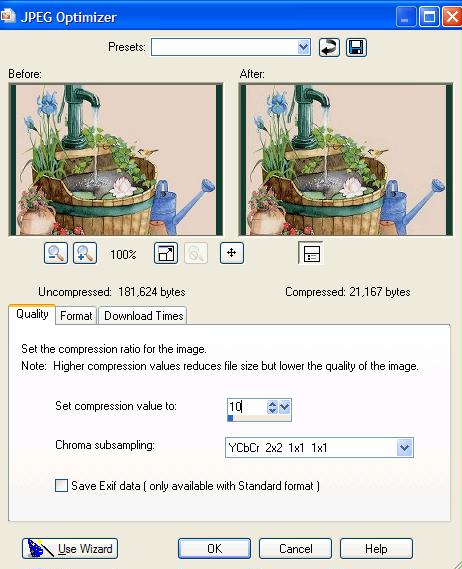 |
Set
Compression Value to 10
This
will also show you how big your file
will be
– Mine is 21,167 bytes
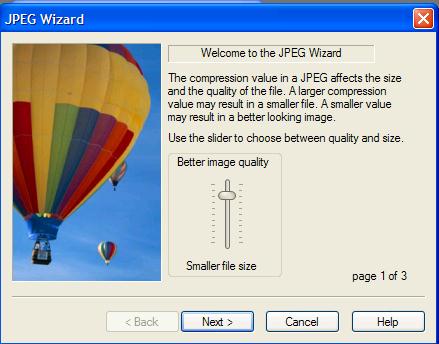
Click on
Use Wizard |
|
|
|
|
 |
 |
|
|
|
 |
|
|
|
|
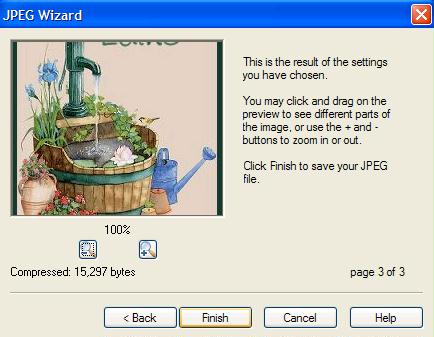
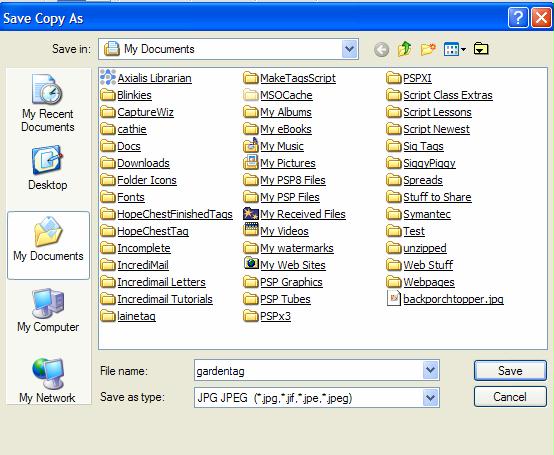
16. Name your
tag and save in your My Documents folder.
I hope you have
enjoyed this tutorial. I would love to see your
results
Please send your
results to our group PSPX3.
Tutorial Index Page