Using Reverse Contour for Curved Text
This tutorial will show you how to add curved text to both the top and bottom
of an image.
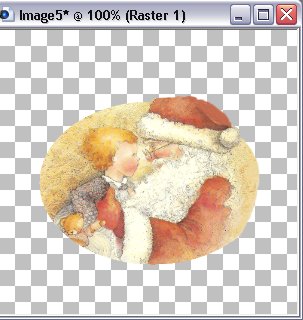
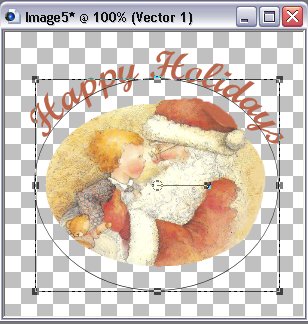
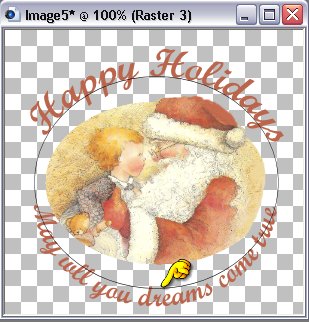
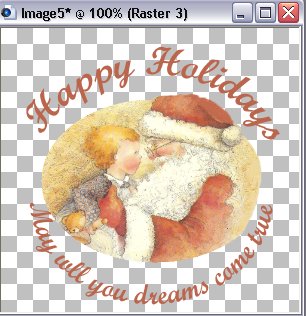
This is the sample tag of what you will be creating

You may use your own image or download the psp image used in this tutorial
HERE
Let's Begin:
-
1. Open the psp image in your PSP program. You do not have to do anything to this tag. It is ready to use. If using your own image make sure you have enough space around the image to draw an ellipse and add text.
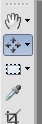
- 2. Select your preset shape tool on your tool bar
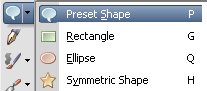
- 3. Check that the properties at the top menu are like this:

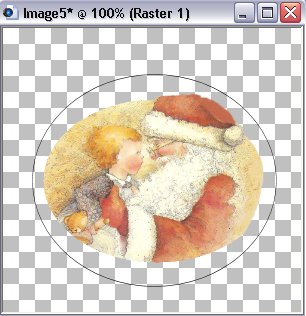
- 4. Draw an ellipse around the image

- 5. Go to your layer palette and highlight raster 1
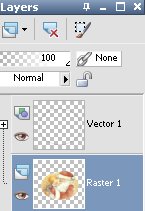
- 6. Your image should now look like this
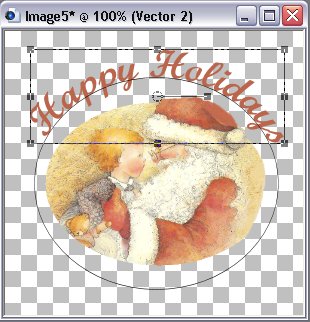
- 7. Select Text tool, font, size, color, create as vector and add your text
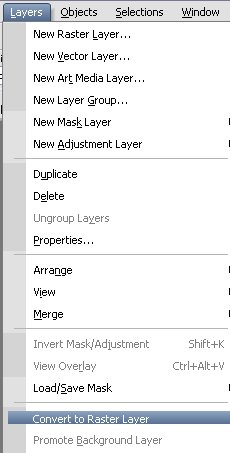
- 8. Go to layers and convert to a raster layer. You may add your embellishments if desired.
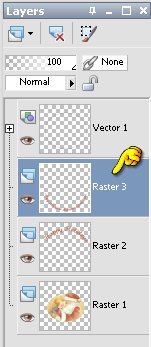
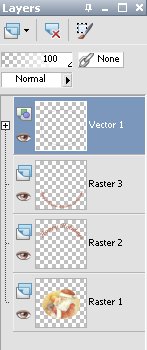
- 9. Go to layer palette, highlight Vector 1 and click on the plus sign
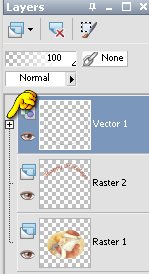
- 10. Then click the ellipse

- 11. Your image should now look like this
- 12. On your tool bar select your pen and check at the top properties that it is set for node:


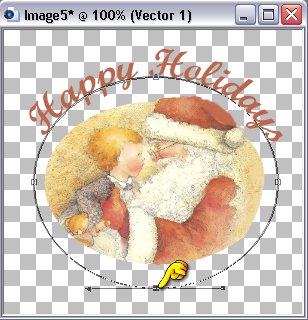
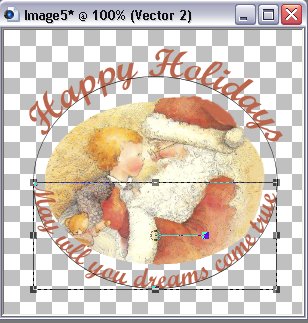
- 13. Go to the bottom box in the center of the ellipse and click that. You will then
see a long arrow - It should look like this
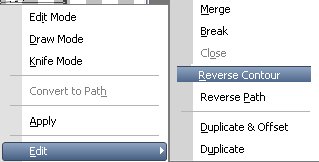
- 14. Right click on that box and go to "edit" then "reverse contour"
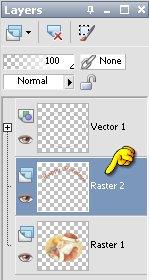
- 15. Return to your layer palette and highlight Raster 2 layer.
- 16. Place your text tool over the bottom ellispse and add your text. You may have to adjust the font size if adding a lot of words.
- 17. Return to your layer palette and convert to raster layer. You may add your embellishments if desired.
- 18. Using your "Move" tool you can move your text around to anywhere you want it to be placed.
- 19. Return to your layer palette, highlight Vector 1 layer, right click and delete

- 20. This is what your image should look like
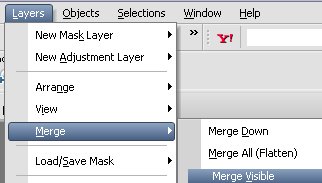
- 21. Go to Layers, Merge, Visable
- 22. Your tag is now ready to save. You can add background if you like and save as JPEG or you can save as a GIF using the GIF Wizard. This tag was saved as a Gif.
- 23. Please send your finished tag through the group so we can see how you did.
~~~~~~~~~~~~~~~~
Tutorials Index
~~~~~~~~~~~~~~~~
This tutorial was written by
Cathie for PSP Times Three.
Any similarities to other tutorials is merely a coincidence.
©
PSP Times Three
~November 2006~