|
Create Curved
Text
15.
Now it is time to add
your text. In your Material Palette,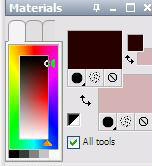 set your foreground color to #2e0001 and
your background color to #d1b1b6.
Foreground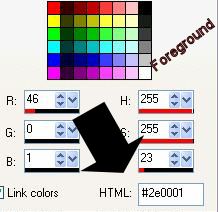 Background Background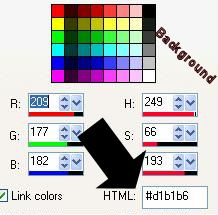
16. Open your font -
Monotype Corsiva. Remember, you can open the
font and minimize and it will be available
in your PSP fonts. Use these settings.
Make sure that you have your text alignment
to Center.

17. Select your text
tool

18. Place your text
tool at about the same area that I have
mine. When you hover over the ellipse, make
sure that you see the symbol that looks like
an A with a rounded circle.
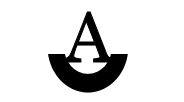
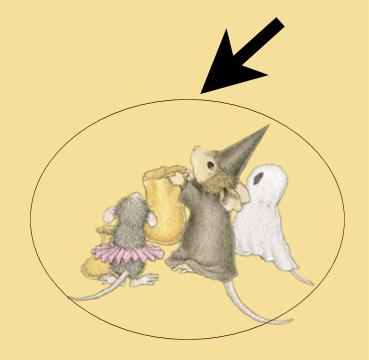
This is very important or
your text will not curve.When you see
the A with the rounded circle, click and
this will place your text at this place
after you enter your name in the text box
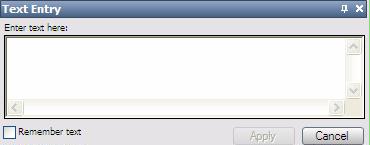
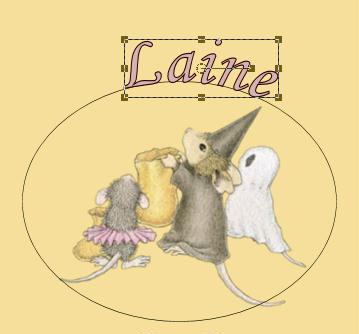
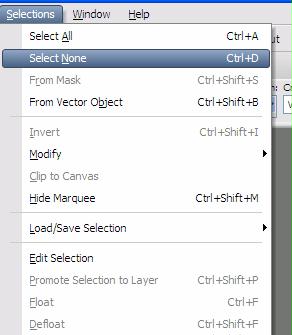
19. After you have
your text placed, go to the toolbar -
Selections - Select None
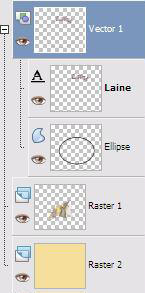
20. Let's look at our
Layer palette. Make sure that you have
clicked the + sign to the Vector 1
layer to expand it and see the layers.
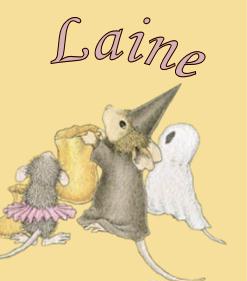
21. Click on the Eye image
next to the Ellipse

When you click on the eye, it will make it
invisible. See the red mark now at the eye?

Look at your image. The
ellipse that we followed to get our curved
text is gone.
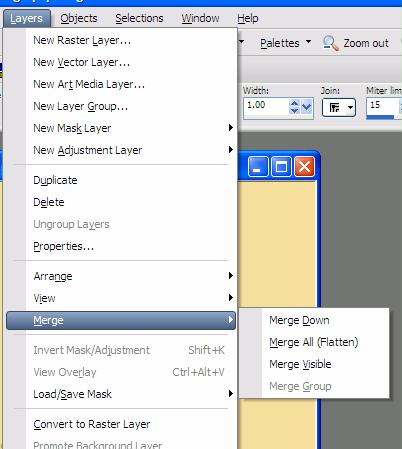
We are almost finished. But
we need to get rid of all those layers.
22. Go to Layers
- Merge - Merge Visible
23. Let's resize our image. Go
to Image - Resize. This gives us a lot
of information about our image.
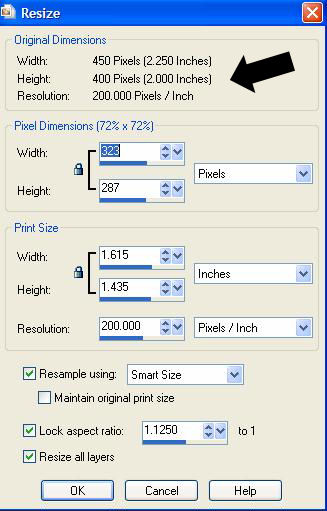
24. Use my settings in the
Width and Height (323 x 287) Pixels. Our
Image was 450 x 400. This gave us a larger
canvas in which to work.
25. Before you save your image, you
might want to add a border to it.
26. Save your image as
a .jpeg. Remember how? Go to
File - Export - JPEG Optimizer and save in
your folder in My Documents.
| REVIEW:
Download these images
here and pick one you like to
create your curved text tag.
Send
to the PSPX3 group.
|
|