|
Fun With Borders
Part 3
20. Change the color by clicking on the
color box and change the settings
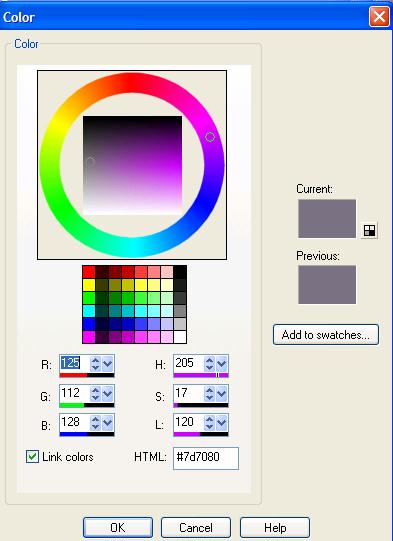
21. Use these settings
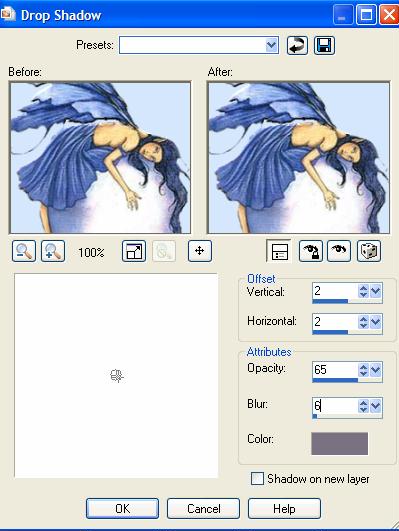
22. Lets apply another drop shadow with the
same settings only change the Horizontal and
Vertical to -2.
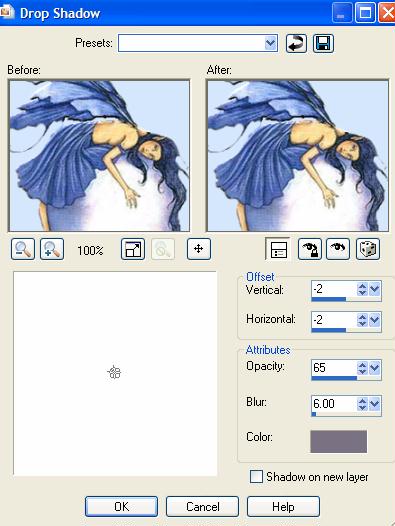
Click OK
23. Go to your toolbar to Selections
Select None.
The marching ants will be gone.
24. Now lets add our Text.
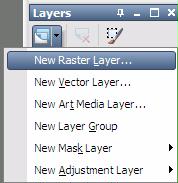
25. Go to Layers New Raster Layer
26. Click on the Text tool -
27. We are going to create Floating
Text. Make sure that the text
properties are set to this:

28.
Enter your text. See the marching ants
around the text.
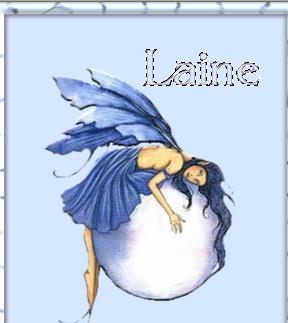
Look at your Layer Properties
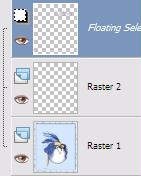
29. With your mover tool
 ,
move your text into place. Place your mover
tool ,
move your text into place. Place your mover
tool
on your name and drag to the location you
would like your text.
30. Go to your toolbar Effects 3D Effects
Drop Shadow with these settings
 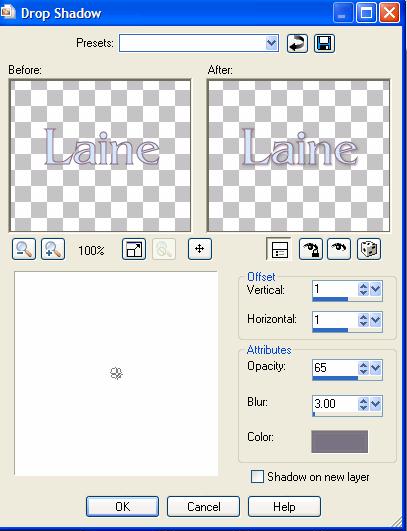 Color #7d7080
31. Go to Selections Select None
32. Go to Layers Merge Merge All
Flatten
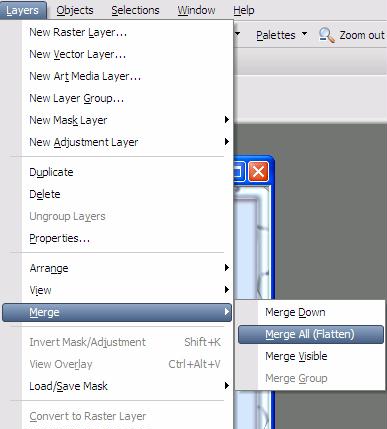
33.
Save your image as a .jpeg using the wizard.
Here is an image I made with
the Kaleidoscope and Inner Bevel.
REVIEW Download file
here and
using one of these three tubes
use the different Effects on your border by
using the Reflection Effects
Kaleidoscope. Please post your image and
let us know
what setting you used to obtain your effect. |
|