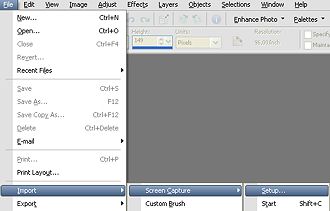
 Let's learn how to take scree shots. We will use PSP's screen capture tool. First, let's see the settings. Go to File/Import/Screen Capture/Setup:
A dialog window will open. You'll see three sections: method for capturing, capture settings, and multiple images:
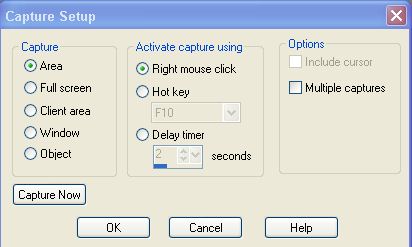
In the Capture area, choose one of the options:
Area — captures the area of the screen that you select
Full screen — captures the entire screen
Client area — captures the contents of the active program
Window — captures the active window
Object — captures an object within the program that you select, such as a menu bar, toolbar, icon, or document window
In the Activate capture using area, choose the option you want:
Right mouse click — lets you capture screen contents by right-clicking
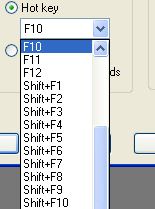
Hot key — lets you use a keyboard shortcut to capture screen contents. Choose a key or key combination from the drop-list.
Delay timer — lets you capture screen contents after a specified delay. Type a number in the seconds box.
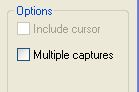
If you want to capture multiple images, mark the Multiple Captures check box. If you want to include the cursor in the capture, mark the Include cursor check box in the Options group box.
Click Capture now. You'll be able to capture the image you want, according to the settings you checked. Press the hot key or right-click on the area or image you want. If you selected multiple captures, do that for each capture. When you are done, the image will open in your workspace.
To get a screen shot from PSP workspace, just start PSP in a second window, and use it to capture images from the first one.

