 If you saw the Pixel tutorial about blinkies, you must be asking "What is Alpha Channel?" Let's learn now how to make the structure of a blinkie using this tool. Alpha channels in images are data storage areas that hold selections and masks. When you save a selection as an alpha channel, the selection is stored as part of the image on which it was originally created, rather than as a separate file. Selections and masks stored in alpha channels have no effect on the look of an image. Open a new file, 150 x 20. With your Paint Brush, square, size 2, and the colour of your choice, make dots all arround the border of the image. Use the grey/white guide of PSP, don't start in the corner, and make a dot in the second half of each grey/white square. Always leave a 1 dot (2 pixels) gap between dots:

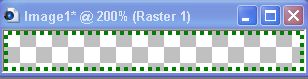
See how it looks (I've zoomed the real image):
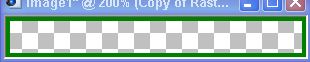
Duplicate the layer and go to Image/Flip. All the border will be covered now.
Go to the first layer, and hide the second one. Using your Magic Wand, click on one dot. Now, go to Selections/Modify/Select Similar, and click OK. All your dots will be selected.

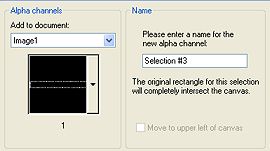
Hit "clear" if you want (colour is just a guide now), but you don't need to do that to save the selection. Now, go to Selections/Load/Save/Save to Alpha Channel. A window will appear. Name you selection "1":

Deselect. You selection is saved now. Go to the second layer, hide the first, and repeat the procedure. Name this new Alpha Channel selection "2". Save your file as psp. To do a blinkie, just follow the tutorial HERE . You can also save a selection to the alpha channel of another image. In the Alpha Channel window, just select the image name in the Add to document drop-list, and click Save. Note: The second image must be open in PSP for it to appear in the Add to document drop-list.
Change the shape fo the file, make quilt squares or border using the same technique. Have fun!

