Lacey Sweet Memories Tag

This tutorial will show you how to create a
lace tag using Effects in you PSP.
NOTE: You will need PSP versions 9, X, or XI. There
is no displacement map (which is used here) in versions 7 and 8.
Preparations:
1. Use this pointing finger - to mark your place. Just drag it along as you read each line.

2. Open your PSP.
3. Go to the bottom of your Windows desktop. Look at your taskbar which is located to the right of your Start button. It lists all the windows folders and programs you have open. Look for an empty spot. Right Click and hold mouse down on that blank space.
4. A menu pops up. Select "Tile Windows Vertically". You should now have the tutorial and your own PSP open side by side. This will aid you in following the tutorial.
5. Supplies Used: Paint Shop Pro, 3 gradients, 1 tube. -
I would like to thank
CherSwitz for the tube.
6. Download the supplies (gradients and tube)
HERE: and place the gradients in your gradients folder.
Let's Begin:
- 1. Open your PSP program.
- 2. Open the tube, copy and paste as new image. Set it aside. Close the original.
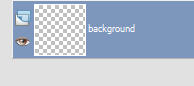
- 3. Create a new transparent image 400 x 400 and name it background:
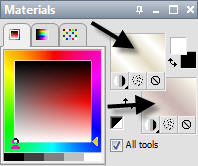
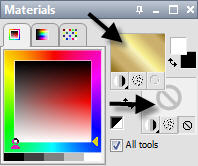
- 4. Select your flood fill tool and your 2 gradients. This tut used background with Alabaster Rose and
foreground with Cream Satin as shown in materials graphic below.
NOTE: Set both gradients to Angle 45 and Repeats 1:
- 5. Fill image with background color - darkest one - making sure your angle is 45 and repeats 1:

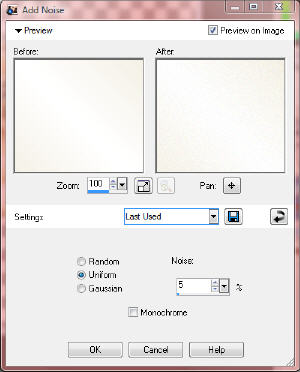
- 6. Go to Adjust/Add/Remove Noise/Add Noise. Settings: Uniform 5%

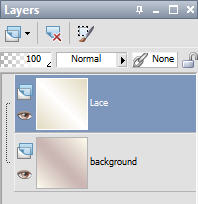
- 7. Go to Layers/New Raster Layer and name it Lace.
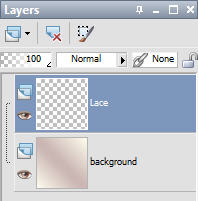
- 8. Fill lace layer with foreground color - lightest one - angle 45 and repeats 1
- 9. Again go to Adjust/Add/Remove Noise/Add Noise - Settings: Uniform 5%
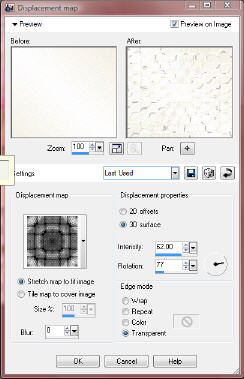
- 10. Now, go to Effects/Distortion Effects/Displacement Map - Select Mosaic Weave and use these settings:
3D Surface; Intensity = 62; Rotation = 77; Transparent Edge Mode; Stretch Map to fit Image; Blur = 0
Click OK
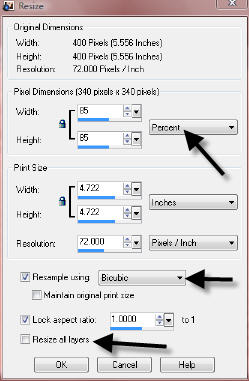
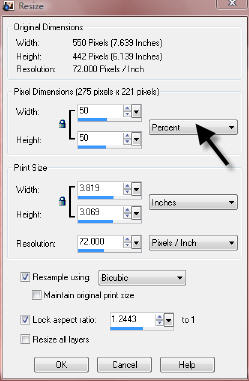
- 11. Go to Image/Resize and make sure you have "Resize All Layers" UNCHECKED
Select Percentage and resize 85% using Bicubic setting:
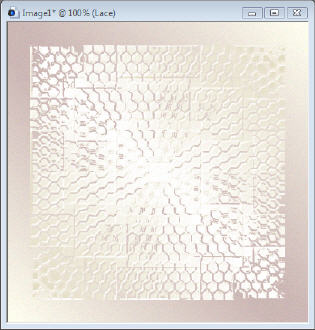
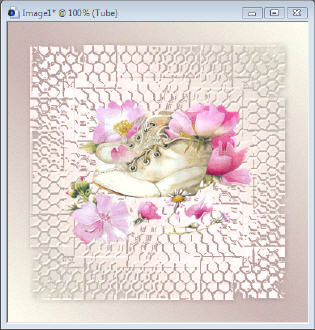
- 12. Your image should look something like this:
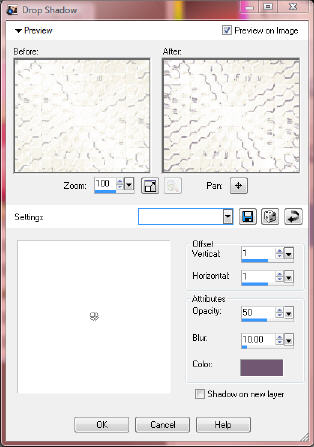
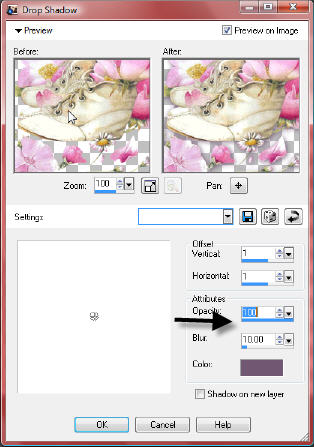
- 13. Go to Effects/3D Effects/Drop Shadow. Click The color box and select a dark shade of a color on the tube and use these settings:
Set Vertical and Horizontal to 1; Opacity 50; Blur 10
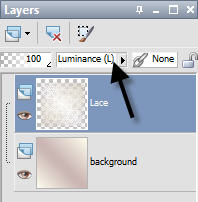
- 14. Go to your layer palette with the Lace layer highlighted and change Blend Mode from Normal to Luminance (legacy):
- 15. Using your copy of the tube, go to Image/Resize and resized 50%.
- 16. Now go to Edit/Copy. Then select your lace image and go to Edit/Paste/Paste as new layer. Rename layer to Tube:
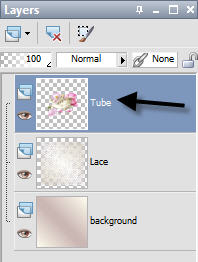
- 17. Your image should now look like this:
- 18. Effects/3D Effects/Drop Shadow and use these settings: Vertical & Horizontal = 1; Opacity = 100; Blur = 10
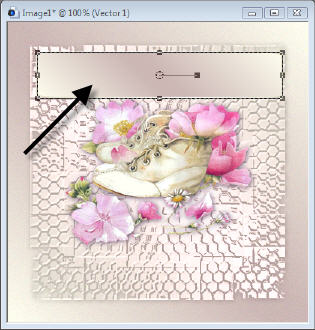
- 19. Select your Preset Tool's Rounded Rectangle; Anti-alias; Create as Vector; Width 2:

- 20. Draw a triangle near the top of the laced area and make adjustments until you have it the way you like:
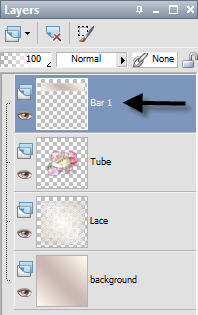
- 21. Convert the vector to a raster layer and rename it Bar 1:
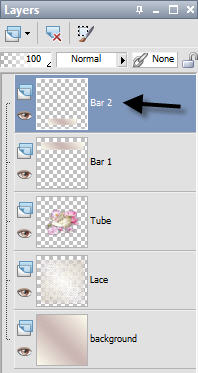
- 22. Return to your Preset Shape Tool and draw a smaller bar at the bottom. Make adjustments, convert to raster layer, and rename it Bar 2 (This bar will be for your name so adjust the size accordingly).
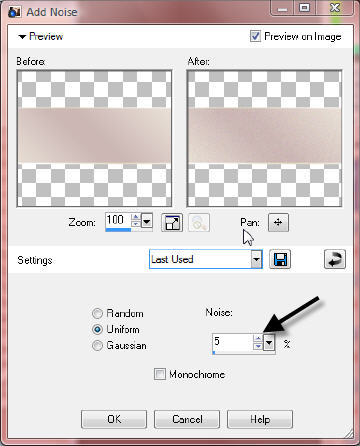
- 23. Go to Adjust/Add/Remove Noise/Add Noise with settings at 5 Uniform. Do this for both bars:
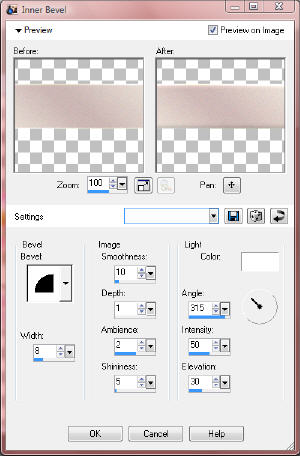
- 24. Go to Effects/3D Effects/Inner Bevel and use these settings as shown here: Smoothness 10; Depth 1; Ambience 2; Shininess 5 and Width 8-
Do this for both bars:
- 25. Time to add your text. Choose a font, size, anti-alias smooth, stroke width 2. Select your Gold Gradiant in Foreground and turn off your Background color:
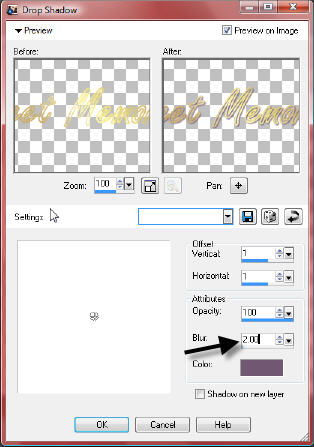
- 26. Add text, center it on your bar, make any adjustments you need, then convert to raster. Add a drop shadow to text using these settings; Vertical & Horizontal 1; Opacity 100; Blur 2:
TIP: If you need to adjust the size and width of the bar use your Pick Tool.
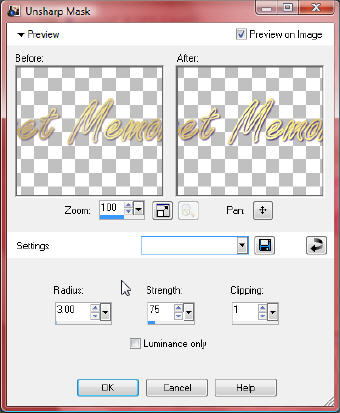
- 27. Still on your Text Layer, go to Adjust/Sharpness/Unsharp Mask and use these settings: Radius 3; Strength 75; Clip 1
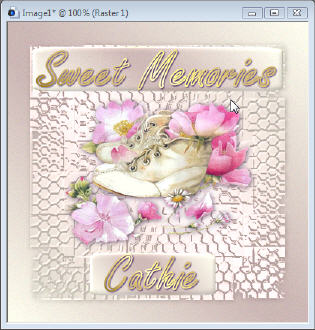
- 28. Repeat Steps 25 through 27 for your name placement. Your image should now look something like this:
- 29. Reset your foreground gradient to the Cream Satin keeping the angle at 45 and repeats at 1:
- 30. Go to Layers/Merge/Merge Visable and do the following:
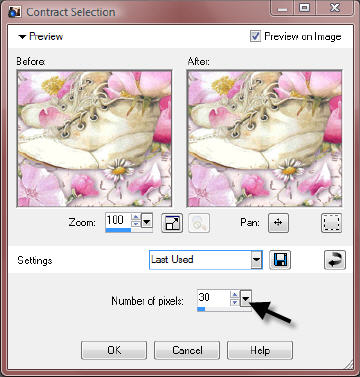
a) Selections/Select All -
b) Then Selections/Modify/Contract and contract 30.
c) Then Selections/Invert - DO NOT DESELECT:

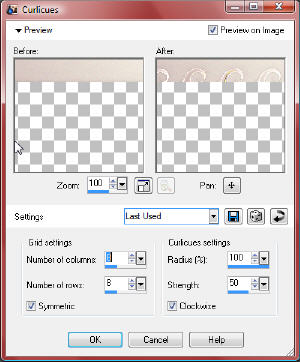
- 31. Go to Effects/Distortion Effects/Curlicues and use these settings: 8 columns; 8 rows; symetric; Radius = 100; Strength = 50; Clockwise checked - Then Selections/Select None.
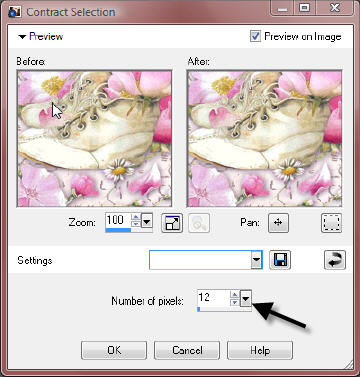
- 32. Again, Selections/Select All. Selections/Modify/Contract and contract 12 and go to Selections/Invert. DO NOT DESELECT
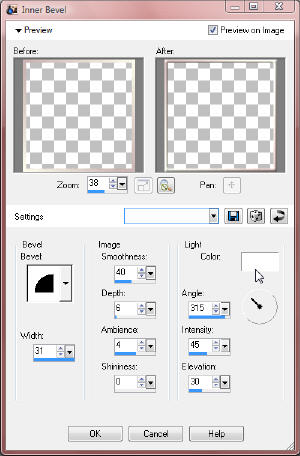
- 33. Go to Effects/3D Effects/Inner Bevel and use these settings:Smoothness 40; Depth 6; Ambience 4; Shininess 0; Width 31
- 34. Selections/Select None. The tag is completed and you can either use this large size or you may want to resize it to use as a signature tag. That would be up to you. Remember if you do resize then you might want to sharpen before saving. The large size is great for web page header or stationery. I have the large and small shown here:


Please be sure to share your results with everyone. Use your imagination - Different tubes, gradients, and just one text area. You can even try adding brushes if you like. Hope you had fun!
~~~~~~~~~~~~~~~~
Tutorials Index
~~~~~~~~~~~~~~~~
This tutorial was written by
Cathie for PSP Times Three.
Any similarities to other tutorials is merely a coincidence.
©
PSP Times Three
~May 2007~