
Animated Writing on a Blackboard Tutorial
by Sigrid, Manager of PSPx3
Written in psp9 for those who have a good
knowledge of PSP.
Any similarity with any other tutorial is purely coincidental
Supplies:
No outside Filters needed
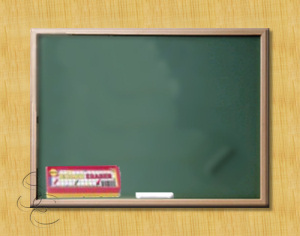
Tube - Blackboardset.psp
Font - Baby Font
If the tube has been created by you
Please let me know so I can give full acknowledgement
Download the supplies
HERE
~~~~~~~~~~~~~~~~~~~~~~~~~~~~~~~~~~~~~~~~~~~~~~~~~~~~~~~~~~~~~~~~~~~~
- 1)
Unzip the supplies.
Open the font and minimize it.
- 2) Open the tube in PSP. Duplicate it (Shift+D) and close the original.
Image / Resize 125 Percent all Layers CHECKED
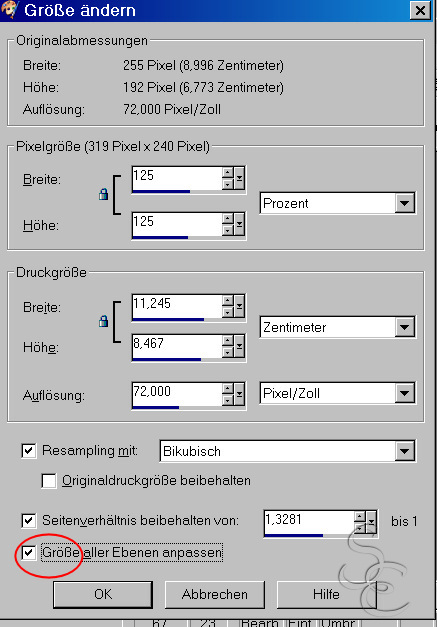
Repeat this step.
Your Image should now have a size of 399 x 300 pixel
- 3)
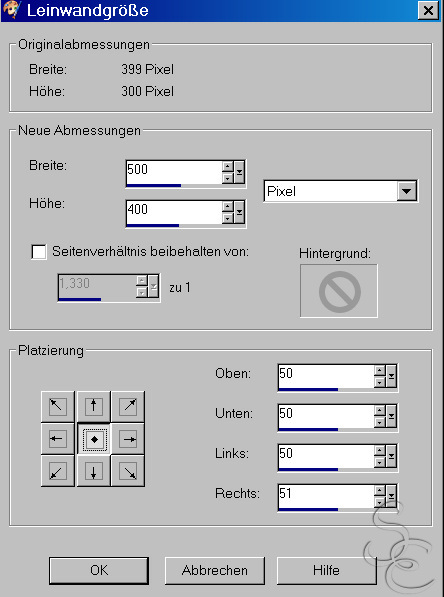
Image - Canvas size - Width 500, Height 400 Placement middle
- 4) Layers / New Raster Layer
Layers / Arrange / Send to bottom
Tools / Floodfill with a color or gradient of your choice. I used a wood pattern.
*If you would like to make this animation into a transparent gif omit this step.
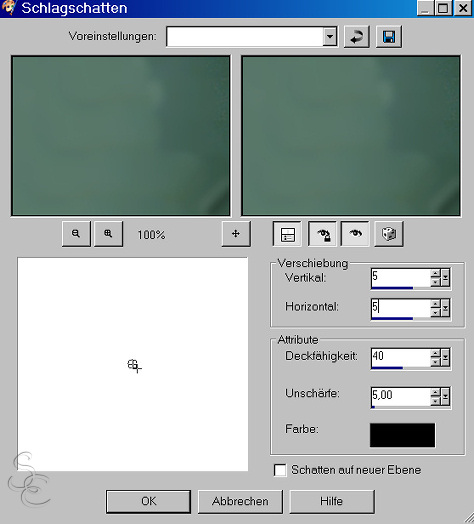
- 5) Select the Blackboard Layer and give it a drop shadow.
I used the settings H/V 5, Op 40, Blur 5
*If you would like to make this animation into a transparent gif omit this step.
- 6) Select the Chalk Layer
Layers / Duplicate
Image / Rotate / Free rotate 45° to the right
Adjust / Sharpness / Sharpen
Close the new layer out for now.

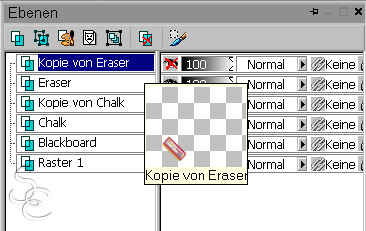
- 7) Select the Eraser Layer
Layers / Duplicate
Image / Rotate / Free rotate 45° to the right
Adjust / Sharpness / Sharpen
Close the new layer out for now.
- 8) Make sure that you are on the top layer.
Tools / Text Tool color white, stroke white with these settings:
Create on Vector, font Baby Font, size 36, bold, Antialias off

Make sure that Antialias is turned off to give the writing a sharper edge
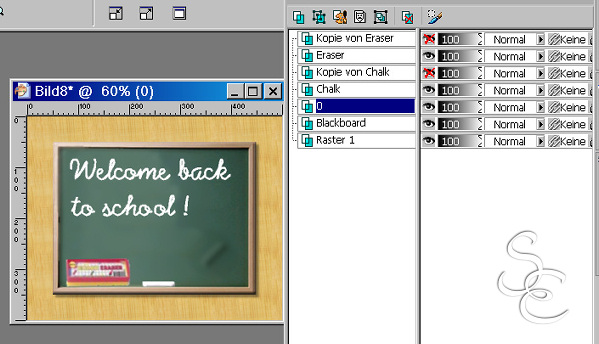
Position the text on the Blackboard where you want it.
Layers / Convert to Raster Layer
Rename this layer to 0 (the number zero)
Drag it down right above the Blackboard layer.
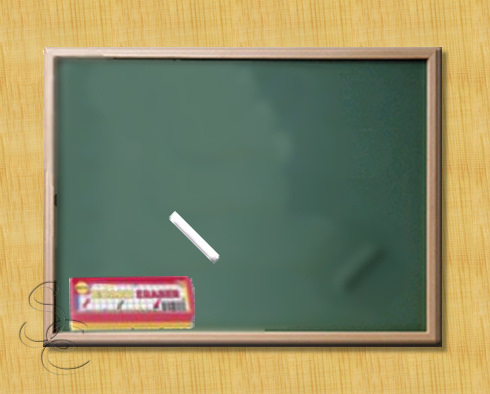
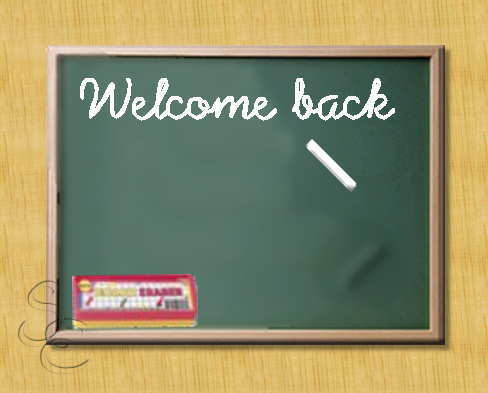
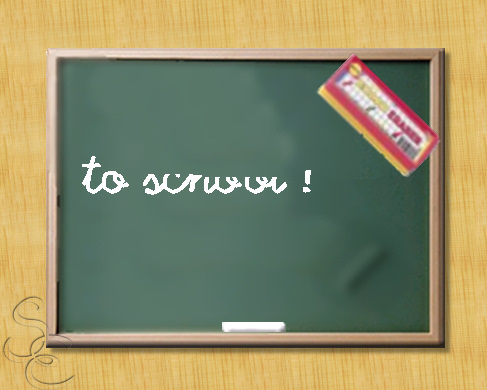
This is what you should have now:
- 9) Duplicate this layer 30 times (yes, it is a long animation)
Rename them 1 to 30 (I like to keep track of my frames and therefore I always count my layers)
Select the orignial Text-Layer 0
Layers / Arrange /Send to Bottom
This will be our backup, if we need more layers, or if something goes wrong.
Save your work. You can save it in normal PSPimage-format. We will use Edit / Copy Merged to create the animation and therefore don't need the AS-format.
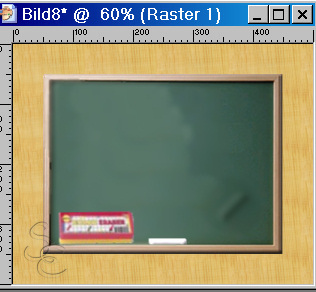
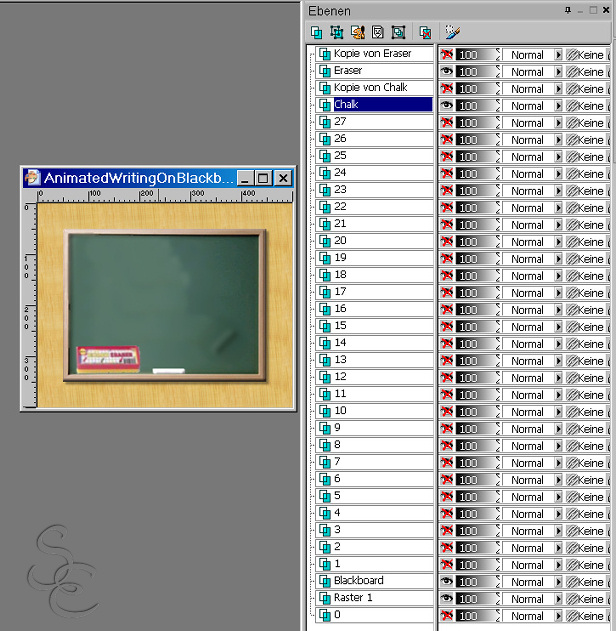
- 10) Select the layer with your background color, the one above the Layer 0.
*If you are creating a transparent gif then select the Blackboard layer.
Layers / View / Active Layer
This closes all layers except the current layer you have selected.
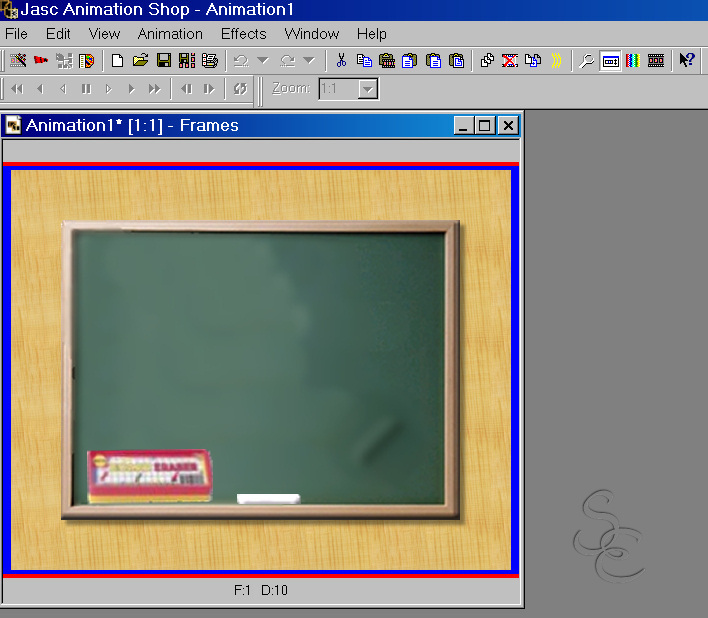
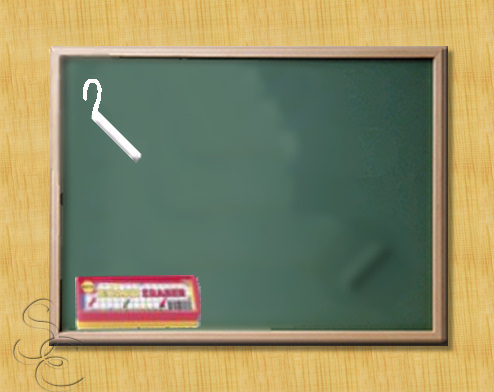
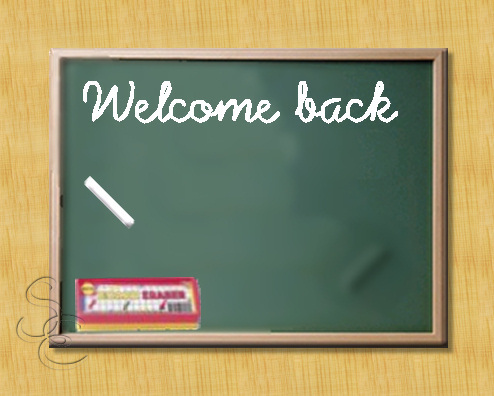
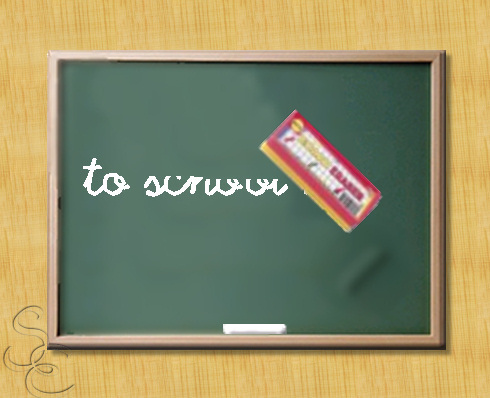
Make the Blackboard layer and the original Chalk and Eraser layer visible again by clicking on the eye in the layer Palette. This is how your image schould look like now:
- 11) Time to start Animation Shop.
After calling up AS activate PSP again.
If you don't have it already I suggest that you put the command Layers / Copy Merged  onto your toolbar. We will need this command quite often.
******
Here is how you can do this:
View / Customize
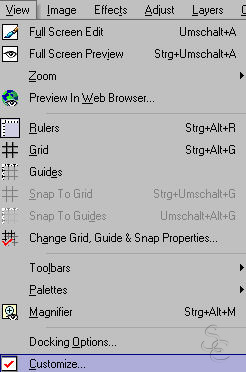
On the first tab (Commands) click on the category Edit and find the command Copy Merged.
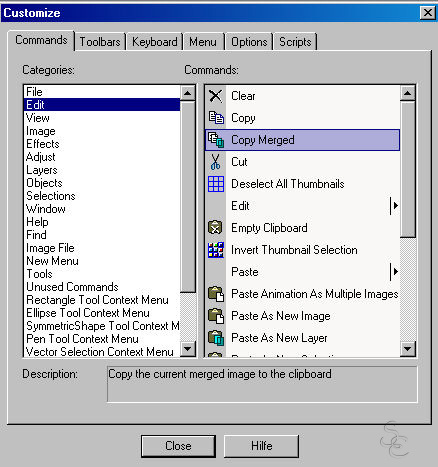
Drag it with the mouse onto your toolbar
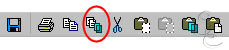
I put it directly behind my Copy icon.
******
- 12) Alright. Back to the animation then. Now the fun begins.
You should still have this on your workspace
Now use the Copy Merged command by left-clicking on the icon once.
Activate Animation Shop and paste as as new animation.
- 13) Go back to PSP
x-out the original Chalk layer
make the rotated copy visible and drag the chalk with the Move tool a
little up and to the left. Probably like this
Click again on Edit / Copy Merged
Activate AS
Edit / Paste / After Current Frame (Shift+Crtl+L)
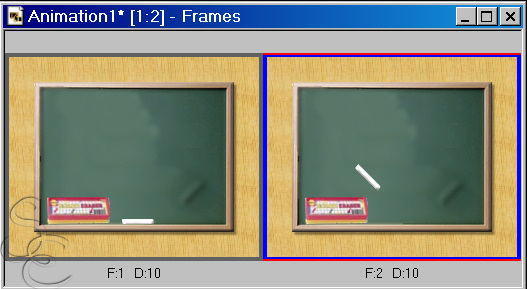
Now your Animation has two frames
- 14) Go back to PSP
Our goal is to bring the chalk to the beginning of the writing.
Therefore make the nearest text-layer visible (mine is the layer named 30)
and drag the chalk from its current position nearer to the beginning of your text.
Be careful to just drag the chalk.
It is very important that the text is never moved or it will bounce in the finished animation.
Should you accidentally move the text then use
Edit / Undo (Alt+Bcksp or Crtl+Z) to get it back into place.
X-out the text layer again
Edit / Copy Merged
Activate AS
Edit / Paste / After Current Frame (Shift+Crtl+L)
- 15) Back to PSP
Again, make the nearest text layer visible
Drag the chalk to the beginning of the first letter
X-out the text layer
Edit / Copy Merged
Activate AS
Edit / Paste / After Current Frame (Shift+Crtl+L)
- 16) Finally we can begin to write our words
Back to PSP
Make the text layer 1 visible (it should be directly above the Blackboard
layer)
If you have written a different text then you will have to find out for yourself
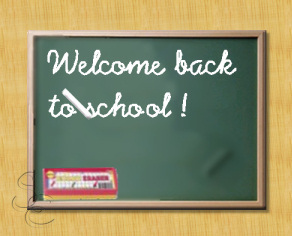
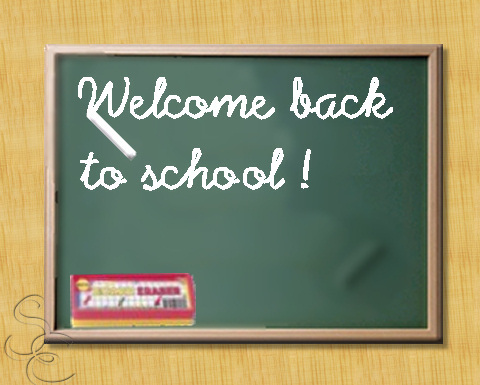
what looks best. I wrote "Welcome back to school". So my first letter is a W.
We already put the chalk to the beginning of the W in the last step.
Now drag it with the Move tool down to the bottom of the first V of the VV like this
Select the text layer 1 again
Tools / Eraser with these settings
Size 50, Hardness 100, Step 1, Density 100, Thickness 100, Rotation 0, Opacity 100

Delete the whole text except the first line of the W.
Edit / Copy Merged
Activate AS
Edit / Paste / After Current Frame (Shift+Crtl+L)
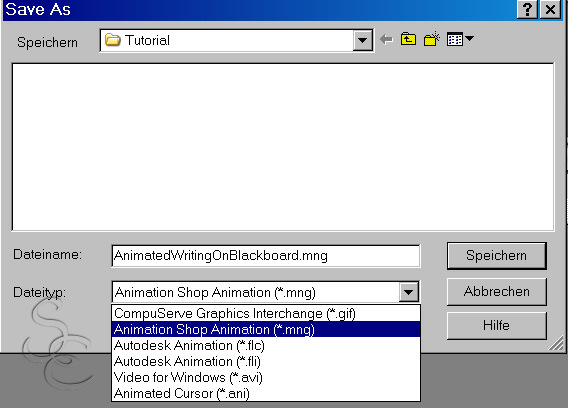
Save your Animation now.
IMPORTANT: Save as Animation Shop File (*.mng).
This way you don't have any color loss yet.
- 17) Activate PSP
x-out the first text layer 1 and make 2 visible
Use the move tool and move the chalk to the last point of the W to finish that letter.
Select 2 and erase all the other letters.
Edit / Copy Merged
Activate AS
Edit / Paste / After Current Frame (Shift+Crtl+L)
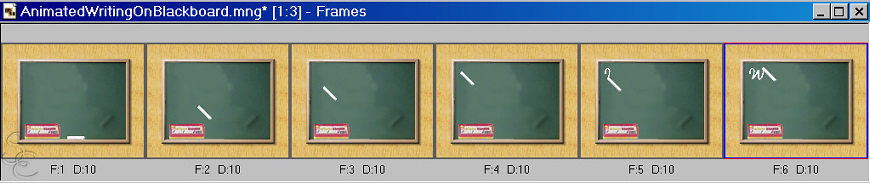
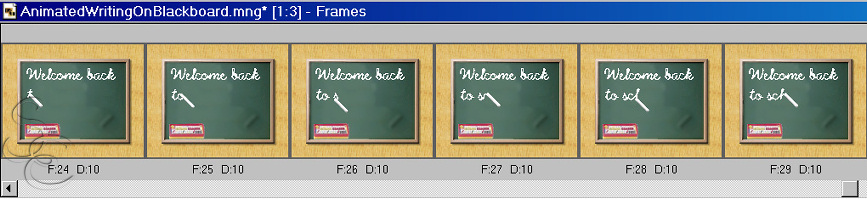
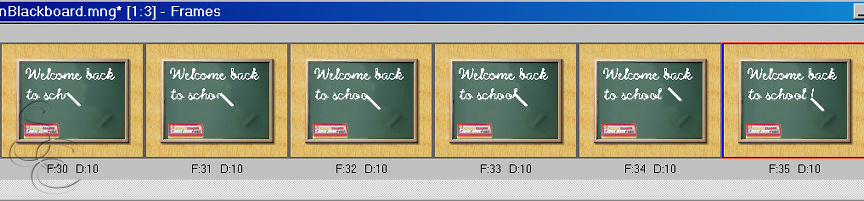
This is how your animation should look like now.
- 18) Continue in this fashion until you get to the end of the first line.


- 19) Now we have to move the chalk to the begin of the second line.
Activate PSP
I am now on the Layer named 16 with my text
Move the Chalk a little down and to the left
Edit / Copy Merged
Activate AS
Edit / Paste / After Current Frame (Shift+Crtl+L)
- 20) Back to PSP
Make 17 visible so you can see where the second line is.
Move the chalk further left and still a bit down (approx. under the c of Welcome)
Close out 17 again
Edit / Copy Merged
Activate AS
Edit / Paste / After Current Frame (Shift+Crtl+L)

- 21) Activate PSP
Open 17 again
Move the chalk to the beginning of the next line
Close out 17
Edit / Copy Merged
Activate AS
Edit / Paste / After Current Frame (Shift+Crtl+L)
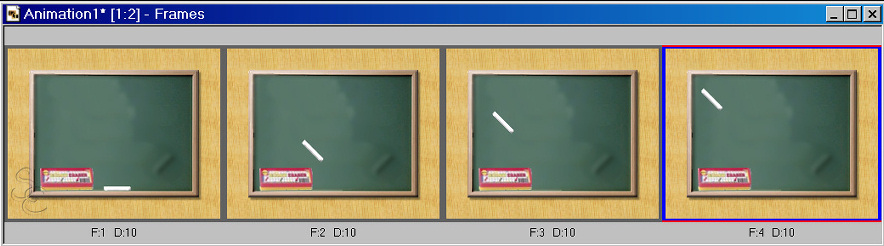
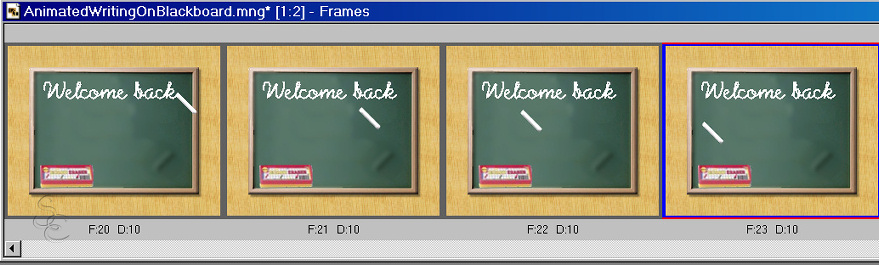
This is how your last three frames should look like
Save your work
- 22) Activate PSP
Close out the layer named 16 (or whichever layer shows the whole first line in your picture)
Activate the next one (17 for me) and continue to let the text appear,
always moving the chalk up and down creating about one letter at a time.
If you notice that you need more text layers then just copy the last complete
text (or the backup layer 0) a few times more, rename them, and continue.
Make sure that you have still at least 2 whole text layers left when you are finished
with the last word.
Remember, Undo is your friend.
Always make sure that you are on the right layer before you begin to erase.
- 23) Activate PSP
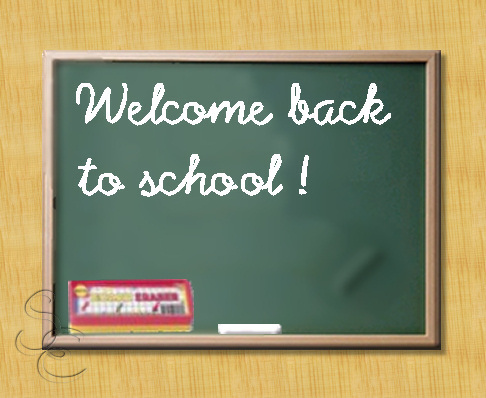
I am now on the layer named 28 of my pspimage.
This layer shows the whole text including the Exclamation Mark.
Now we will put the chalk down.
Keep 28 visible
Move the chalk a little down and to the left again.
If you are not sure where we are going, make the original
Chalk layer visible. Drag the rotated copy in that direction. Don't forget to close-out the original Chalk layer again.
Edit / Copy Merged
Activate AS
Edit / Paste / After Current Frame (Shift+Crtl+L)

- 24) Activate PSP
Close out the copy of the Chalk
Make the original Chalk layer visible
Edit / Copy Merged
Activate AS
Edit / Paste / After Current Frame (Shift+Crtl+L)
Save your work in AS
Take note of the number of the last frame (mine is 37). You will need it again.
You can click on Watch Animation now, if you like.
Now we will erase the whole writing from the board again.
For this we will need the Eraser.
- 25) Activate PSP
Save your picture, you have made a lot changes on it.
Keep the original Chalk layer visible. We won't touch it anymore.
Close out the original Eraser layer and make the rotated copy visible.
With the Move tool move it up a little
Edit / Copy Merged
Activate AS
Make sure you have the last frame selected
Edit / Paste / After Current Frame (Shift+Crtl+L)

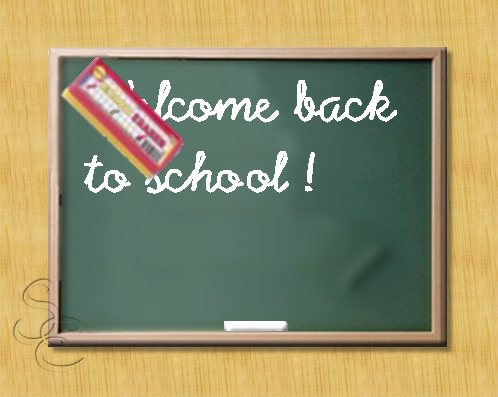
- 26) Activate PSP
Drag the Eraser a little higher so that it covers the W of the Welcome completely.
Edit / Copy Merged
Activate AS
Edit / Paste / After Current Frame (Shift+Crtl+L)
- 27) Activate PSP
Tools / Eraser with the following settings
Form square, Size approx. 120
(this depends on the size of the eraser image and may vary a bit. It also changes with
the value in Thickness),
Hardness 100, Step 1, Density 100, Thickness approx. 45, Rotation 133, Opacity 100

The outline should have roughly the length and witdth of the Eraser in the picture.
It is easy to check if you have Show brush outlines checked in your preferences.
(You can find that option in File / Preferences on the tab Display and Caching.)
With the Move tool drag the image of the Eraser to the middle of the first line
Close out Layer 28
Make 29 visible and select it.
Delete the writing with Tools / Eraser, ending where you put the picture
of the Eraser
Edit / Copy Merged
Activate AS
Edit / Paste / After Current Frame (Shift+Crtl+L)
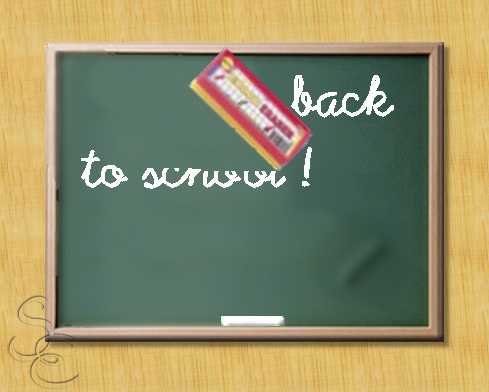
- 28) Activate PSP
Move the Eraser Image to the end of the first line
Close out layer 29
Activate layer 30 (your last text layer)
Delete the first line with the eraser tool
Edit / Copy Merged
Activate AS
Edit / Paste / After Current Frame (Shift+Crtl+L)
- 29) Activate PSP
Move the Eraser image a little down and to the end of the second line
Edit / Copy Merged
Activate AS
Edit / Paste / After Current Frame (Shift+Crtl+L)
- 30) Activate PSP
Move the Eraser Image to the beginning of the second line
Close out the text layer completely
Edit / Copy Merged
Activate AS
Edit / Paste / After Current Frame (Shift+Crtl+L)
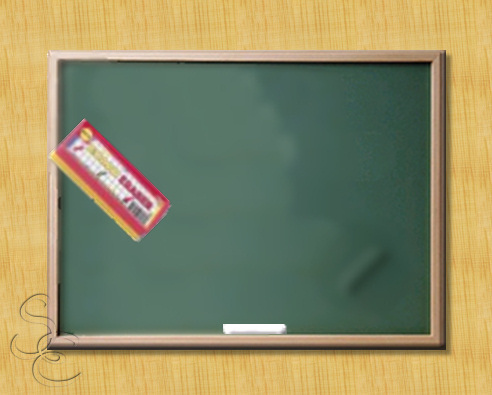
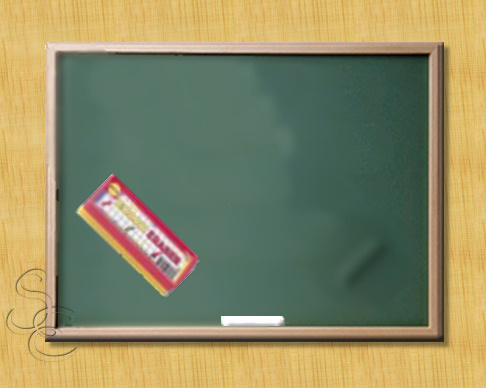
Now the board is clean again. Time to put the Eraser down and finish this animation.
- 31) Activate PSP
Move the Eraser down a little, approximately half way
to the lower edge of the Blackboard.
Edit / Copy Merged
Activate AS
Edit / Paste / After Current Frame (Shift+Crtl+L)
This is the link to the first frame, where you can see the empty blackboard and both, eraser and chalk in their original position.
- 32) Still in AS
Edit / Select all (Crtl+A)
Animation / Frame Properties (Alt+Enter)
set it to 20 to make the animation slower. You can try other values of course.
Select the first frame
Animation / Frame Properties (Alt+Enter)
set the first frame to 50 (or higher)
Optional:
You can look for the frame in the middle where the text is complete and both
Chalk and Eraser are lying on the lower edge of the blackboard
(you took note of the number of that frame earlier on. Mine is still frame no. 37)
and set that frame to 50 as well.
Save the animation.
Click on View Animation to run it an judge if you are content.
- 33) If you like what you see then go to
File / Save As
choose the file type .gif this time
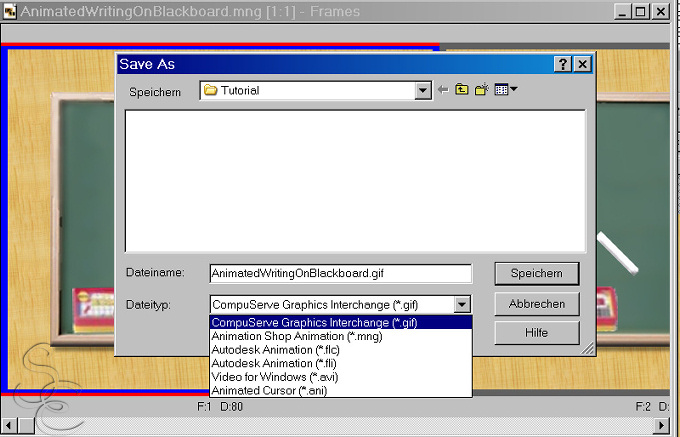
In the next Dialog click on Customize
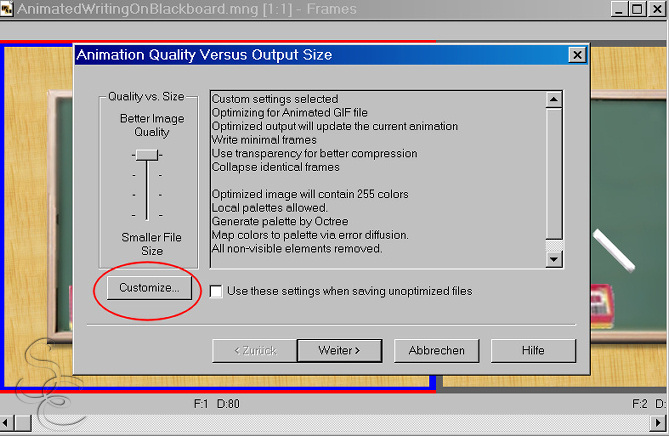
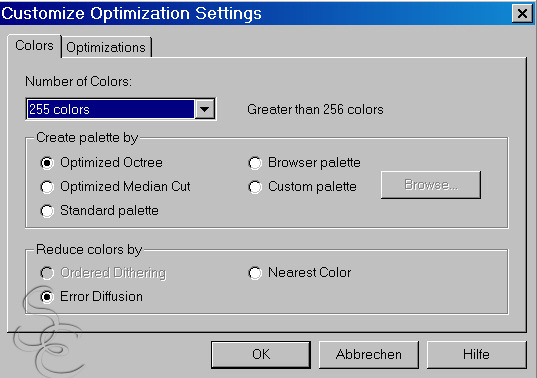
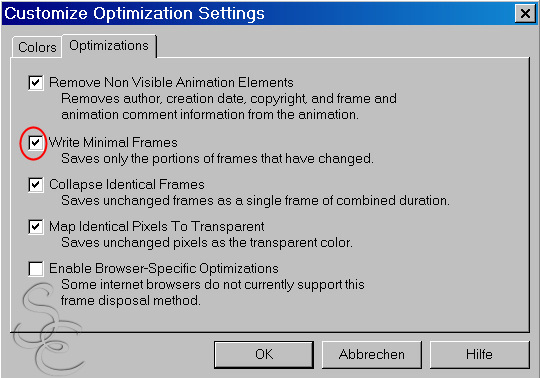
Here are my settings
Well, that's it. I hope you like the new animation you have just created. Don't forget to save your PSPIMAGE in PSP as well. If you want to change something you can do so easily by making a copy of our backup text layer 0 and dragging it to the right place in the animation.
~~~~~~~~~~~~~~~~
PSPX3 Tutorial Index
~~~~~~~~~~~~~~~~
This tutorial was written by
Sigrid
exclusively for
PSP Times Three
Any similarities to other tutorials is merely a coincidence.
~All rights reserved - August 2008~