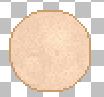
Now, we'll draw the face... Here you have a close up of your head. I've already add the shadow: You can also see a face in its original size with the guide squares to see the size I'm using:
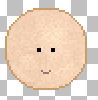
Country style faces are usually very simple. Let's start with the easier face (my favorite one... When you have small designs, faces can't be elaborated. Keep the details for clothes!). Add a new layer, set your brush in size 2 (always square!) and draw two dots like these. You can place each eye on a different layer, so you'll be able to move then before:

On a new layer, back to brush size 1, and draw a little mouth like this one:
Add a new layer for the cheeks. With brush size 4 and an intense red colour, draw two dots. Then, go to Adjust/Blur/Gaussian Blur and set radius 3 or 4 (I'm using 3). You can use blur here because you are on the face layer, and it will not affect the transparency:
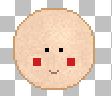

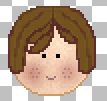
Country style faces usually don't have noses. Faces are so little... the nose is really a disturbing element! (Not your nose, please!), but if you want, you can add a couple of dots. See how it looks in its real size:

Let's add some hair. Add a new layer, and freely draw the outline of the hair with a dark colour. I've zoomed the image to show it better:
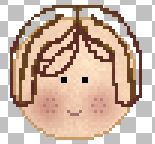
Fill the hair with a lighter colour, and shadow it using Lighten/Darken tool, as we saw before:

Let's play! See some samples of different faces and hair, for girls and boys. Next week, we'll learn another type of eyes and mouth, and we'll do the clothes: