Let's start doing human figures, like my dolls here. First is first... we'll learn how to do a body base!

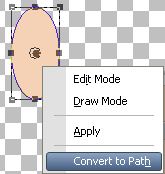
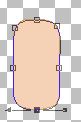
Open a new image, and go to your shapes tool. Choose ellipse, and pick a colour for your skintone and a darker tone for the outline. Draw an ellipse for the body. Right click on it, choose Edit mode, and Convert to Path. You'll be able to see the vector points:
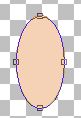
Start working with vectors... Push, pull and drag them until you get a more "rounded" shape, like a human torso. Remember: you can add vector points!
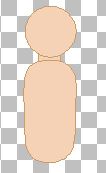
You'll get something like a rectangle with rounded corners. Why don't start with a rectangle, instead of an ellipse? Because it's easier to get a rounded rectangle from an ellipse... It's harder to transform a corner into a rounded one! In a new vector layer, draw a circle (SHIFT + ellipse shape)for the head. In another layer, draw a little rectangle, and drag this layer below the body layer. That will be your neck!
Let's do the legs. Always using a new layer, draw a thin ellipse, and work with vectors to get a shape like this one:
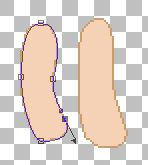
When you are done with the leg, duplicate the layer, and mirror it. Place them together in the lower part of the body. Do the same to draw your arms:
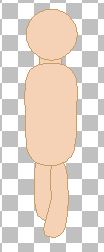
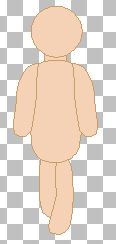
Draw two little ellipses for the hands, and place them under the arms. This is how our body base looks. In the second image, I've put some hair. We'll see how to draw the face, the hair and the clothes in next tutorials. When you have your base ready, you can keep the psp to use them in many drawings, keeping the vector layers, so you can modify them according to each new doll. Don't forget to transform the layers in raster when you get the base for each doll, and apply the Lighten/Darken tool to shadow it.