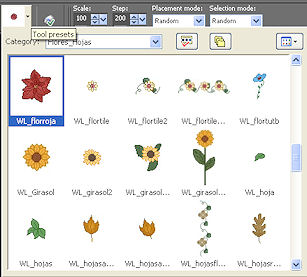
Let's do Pixel Floaties! Open a new image and choose a graphic to use. We talked about this in the flowers tutorials: one good thing is to save your little graphics as tubes, so you can apply them when you want. Look how I keep mine:
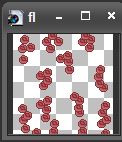
I'll use a little rose here. You can use the flowers you made in the previous tutorials. Put some flowers in a new image (I'm using 100 x 100):
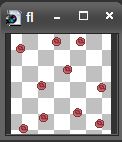
Add a new layer, and apply a flower a near each one, a little bit up:
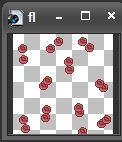
Do the same two or three more times. Always add the flowers in a new layer, near the previous one. You'll get something like this:
Save each frame as .gif as we have seen in previous tutorials. (You also can save the .psp file and open it in Animation Shop, but don't use the Gif Optimizer. It's always better to save each frame as .gif to achieve a perfect transparency). Open your Animation Shop, Choose "New" and load each frame. Set the time on 20 for each frame. Voila!
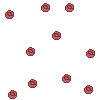
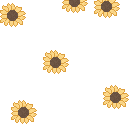
Here you have another sample. I'm using a single type of flowers, but you can combine different ones, or different colours. You can apply the pixel floaties to fill letter, as you have seen in our tutorial: