We'll use now a double curved text on a sig, like this one:

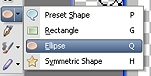
Open a new image, place your design in the center of it, and go to the Shapes too. Choose Elipse:
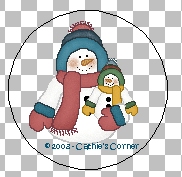
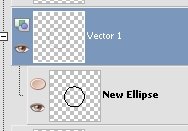
Holding your Shift key to make a circle, draw an elipe arround your image. The elipse will be on a Vector layer:
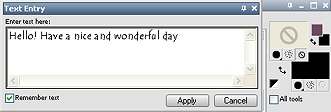
As you can see in our Curved Text Tutorial, apply a text touching the circle with the cursor. You'll see a little curve; that means you are going to apply the text following the path of the circle. Do not use antialias, and use only the fill, as you can see here:
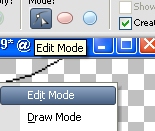
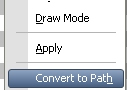
You've added your superior text. If you want to add the lower one, its direction will be wrong (try it!). To correct this, choose again the Shape tool, go to the Elipse layer, and change to Edit mode (look at the upper bar, ar right click on the elipse). Then, right click on the elipse and choose Convert to Path:
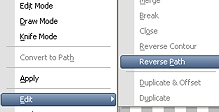
Go to the Pen tool (right below the Shape one), and, with you elipse layer as active, right click on it and choose Edit/Reverse Path:

Apply the text again, now in the lower part of the image. Perhaps you will have to expand the elipse a little (just dragging when it's selected) to make the text look better. The lower text will have now the right direction (I've added the same one to show you):