
Easier Script
by Sigrid, Owner of PSPx3
Written in PSP9 for those who have a good
knowledge of PSP and a basic knowledge of scripting.
Any similarity with any other tutorial is purely coincidental
This tutorial was created for those who don't want to go through all the steps to set up the MakeTagsScript.
It is easily usable if you don't have many names on your tagging list.
For more than 10 names I suggest you use the Make Tags Script. See this tutorial on our site
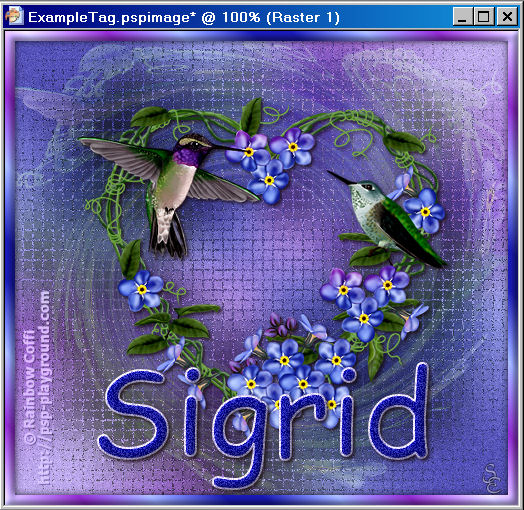
To begin with the tutorial immediately you can download my
Example Tag.
You can use your own as well, of course.
~~~~~~~~~~~~~~~~~~~~~~~~~~~~~~~~~~~~~~~~~~~~~~~~~~~~~~~~~~~~~~~~~~~~
Preparations
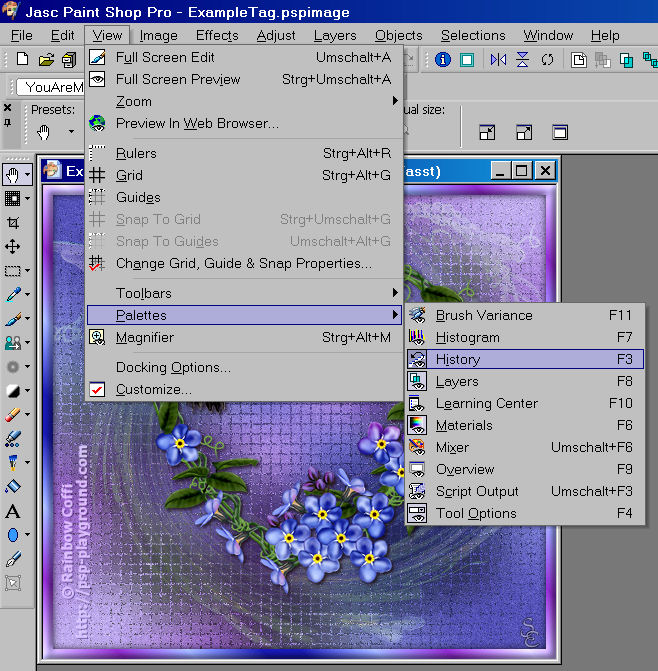
- make sure your History Palette is visible.
If it is not visible go to View->Palettes->History and switch it on.
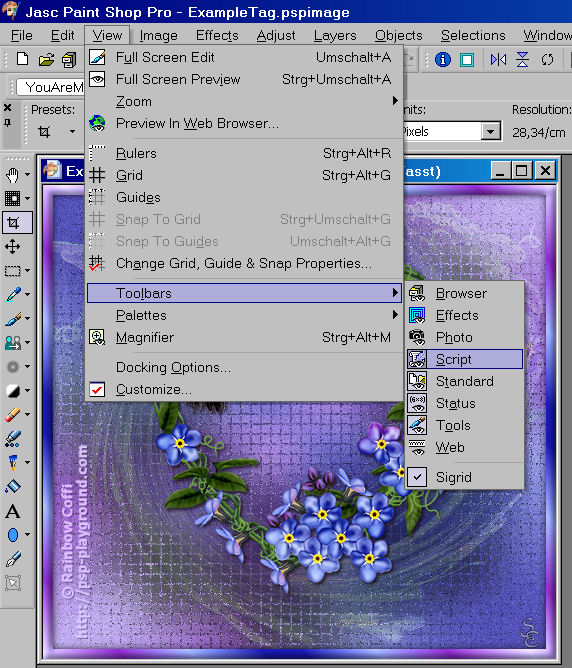
- make sure your Script Toolbar is visible
If it is not visible go to View->Toolbars->Script
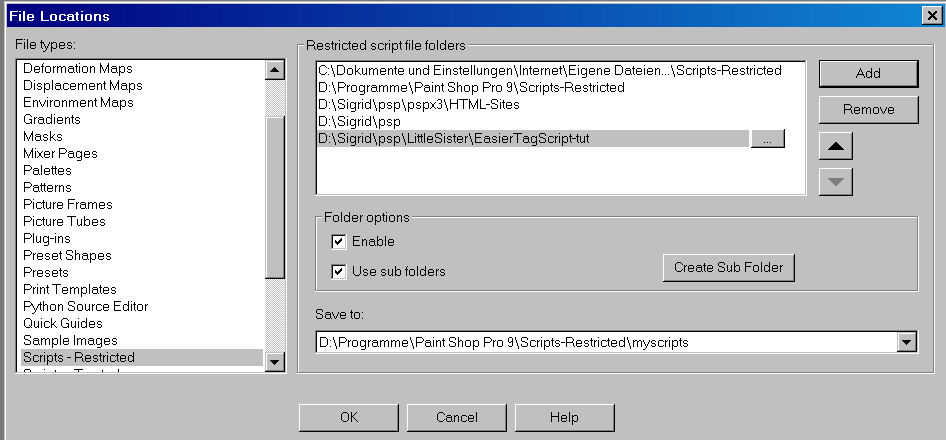
- add the folder with your tag to the "Scripts (Restricted)" preference
And now we can begin:
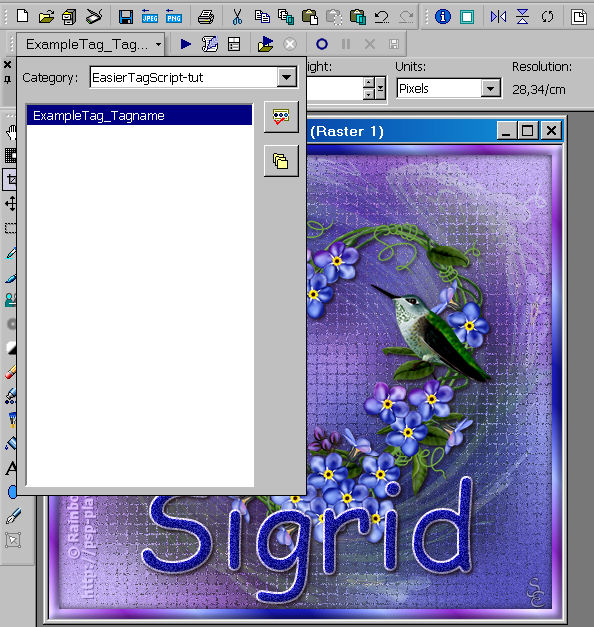
- Open the Example tag (or one of your own) in PSP
Choose the font you want to use in your tag. I'm using Comic Sans MS which comes with Windows.
Choose the colors/gradients you want to use and the settings. Here are mine;
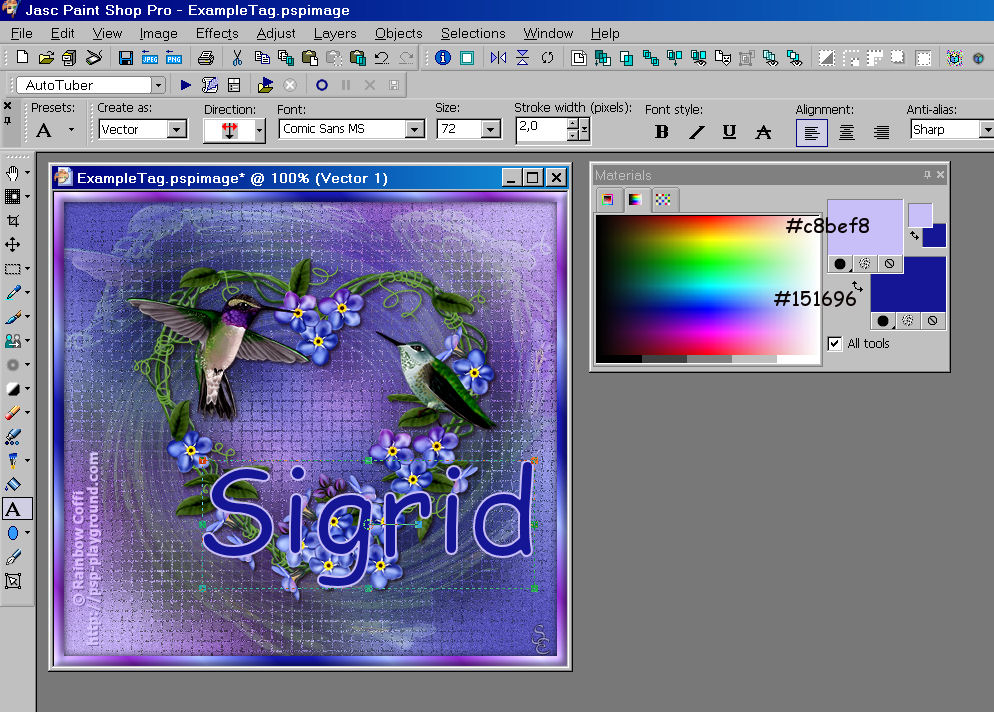
- Write your name. Add any effects you want to apply.
(Remark: you can use plug-in-effects but be aware that some plugins are not working very well in script mode and that you will probably be asked to confirm the settings each time you let the script run)
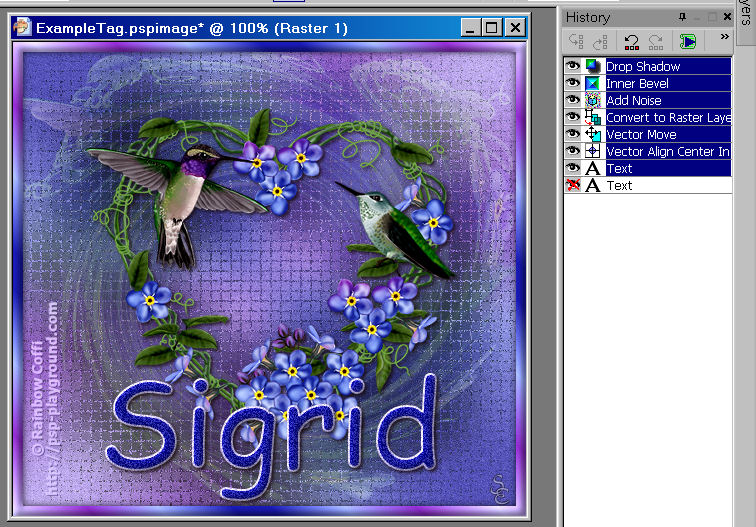
My effects were:
Objects Align Center on Canvas
Objects move (with the mouse where I want the name to be)
Convert to Raster Layer
Add/Remove Noise 35 uniform
Effects 3D-Effects Inner Bevel (Bevel 2, Smoothness 25, Depth 2, Ambience/Reflection 0, White, Angle 315, Intensity 50, Height 30)
Effects 3D-Effects Dropshadow (Vertical/Horizontal 2, Opacity 50, Blur 5)
-
Now here is the clever trick:
Go to your history palette, click onto the Text point in the history and with shift pressed click and mark all the other steps you used to create your name effects.
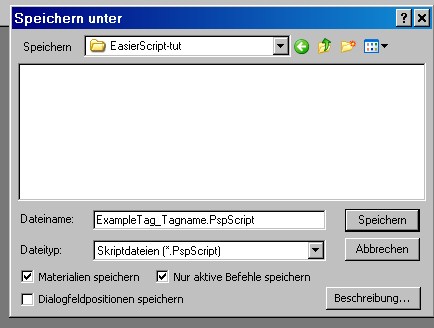
Now with all the steps selected click right and use the option "Save to Script"
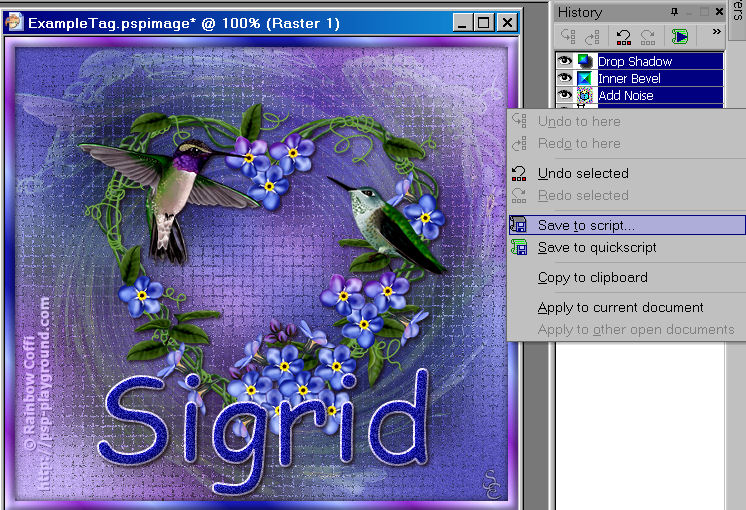
Remember, you need to save it in a folder that is included in your Scripts (Restricted) preference.
-
Now you are ready to let the script run.
In your script bar, select the script you have just created.
-
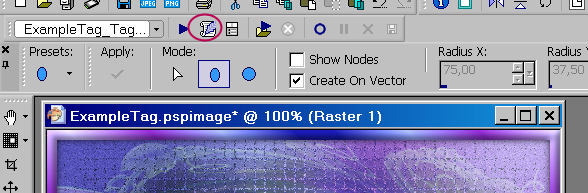
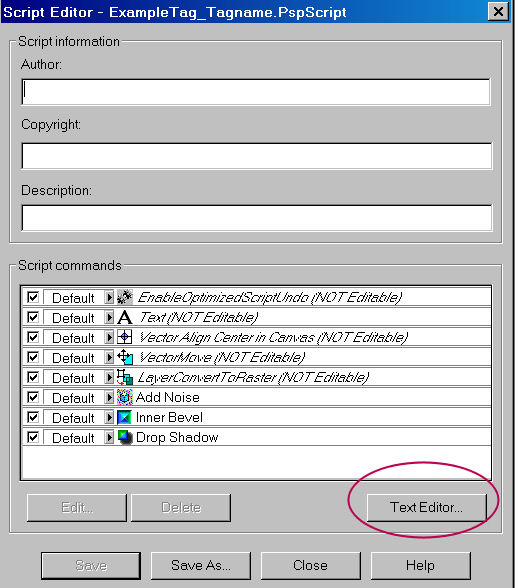
Click on the "Edit script" button and open the script in a text editor
-
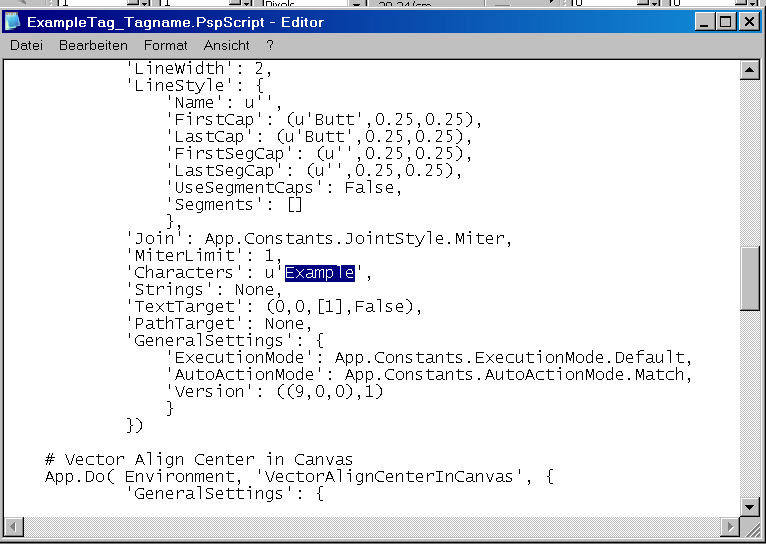
In your text editor scroll down (or search) until you find the string with your name

-
Edit that name and write the next one on your list. Make sure that the name is inside the u' ' in the script line. Don't forget to save the change.
-
Switch back to PSP and click on "Run" in the Script bar. Enjoy the action.

-
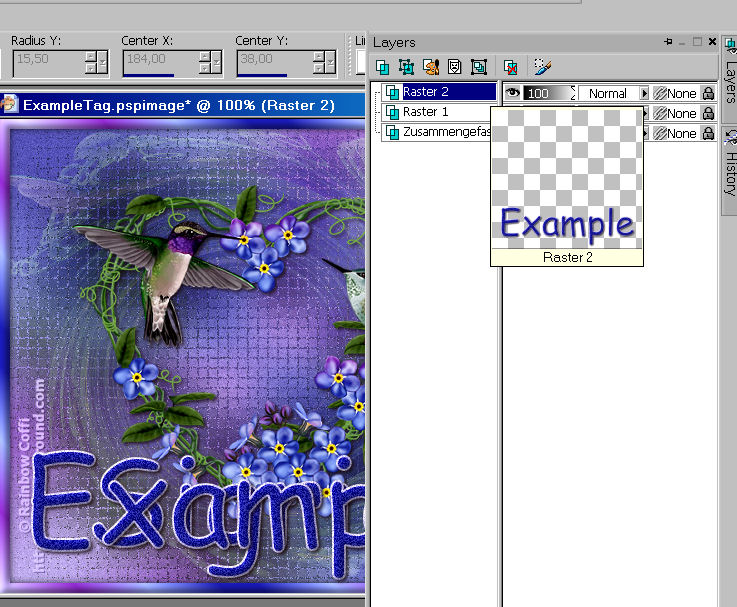
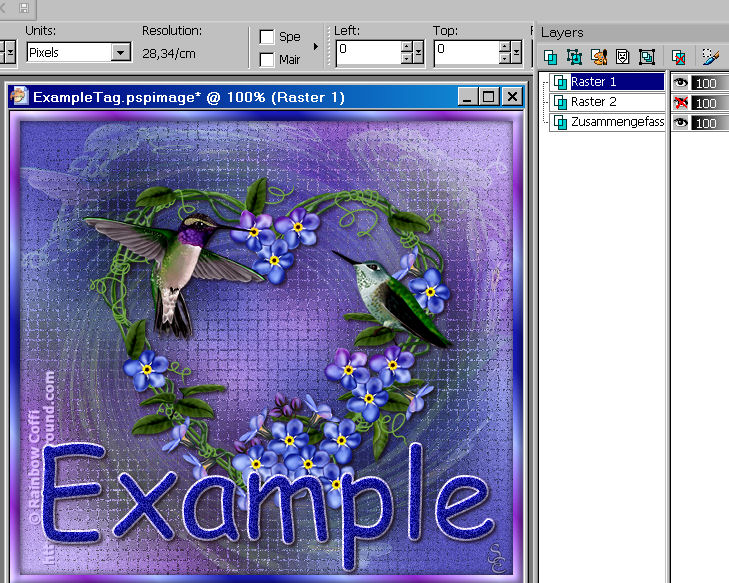
You have now a tag with three layers: the tag layer, your own name and the name you chose for the running of the script.
-
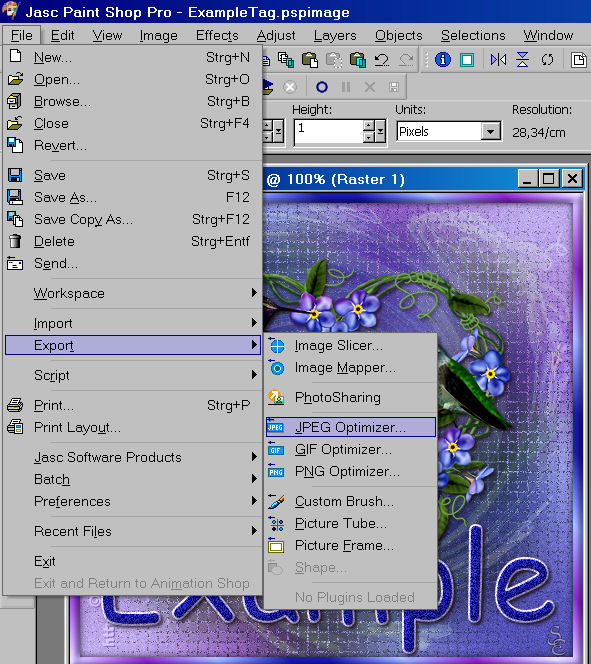
Repeat Step 6 to 10 as often as you need. Afterwards x-out all the names except one and save the tags one after the other by exporting as jpg or png or by adding the layer with Propagate Paste to a gif animation.
~~~~~~~~~~~~~~~~
PSPX3 Tutorial Index
~~~~~~~~~~~~~~~~
This tutorial was written by
Sigrid
exclusively for
PSP Times Three
Any similarities to other tutorials is merely a coincidence.
~All rights reserved - March 2009~