- 1. Open new image 600 x 500
- 2. Flood fill with white
- 3. New rastor layer
- 3. Choose colour from tube and
Flood fill with colour
- 4. Find the WSL-Mask4 from supplies
Apply mask from image, invert mask data unchecked
Delete layer
Merge group
- 5. Open circle frame
Copy and paste to layer -
Resize if needed
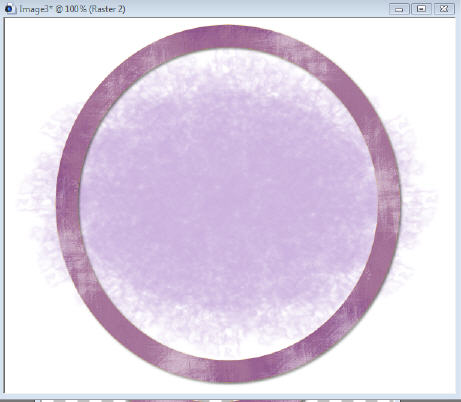
Colorize frame to your choice
Add drop shadow of choice
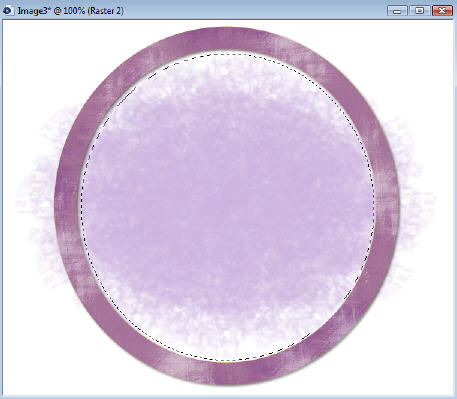
- 6. Using the Magic Wand select inside frame
Selections/Modify/Expand by 10
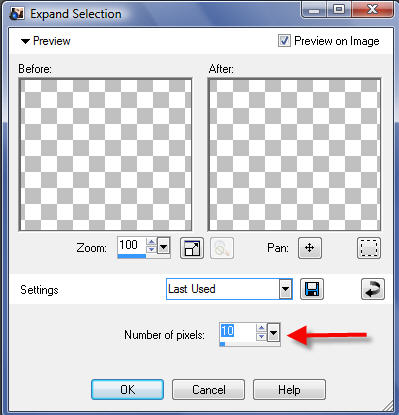
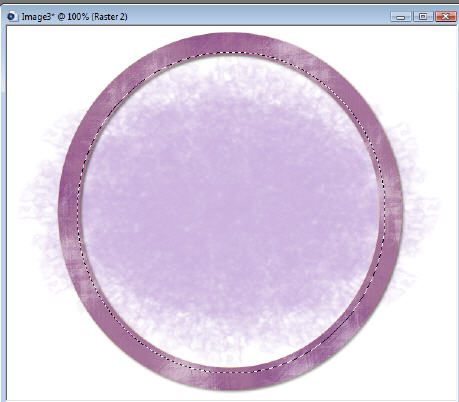
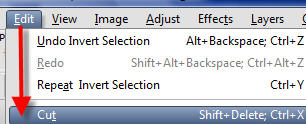
Go to mask layer - Selections/Invert, Edit/Cut (or use your delete key on keyboard), Selections/Select None
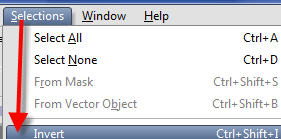
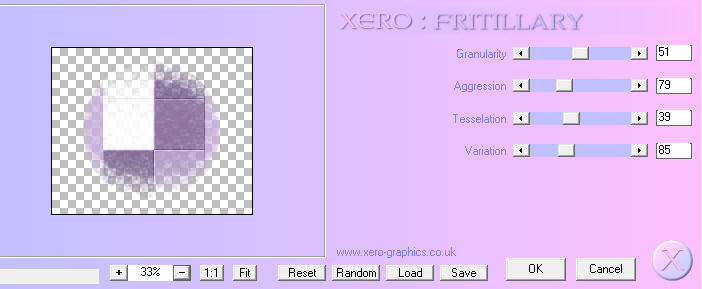
- 7. Still on mask layer -
Effects/plugins/xero/fritillary - using following settings
51/79/39/85
- 8. Find your tube of choice -
Copy, paste as a new layer, resize if needed
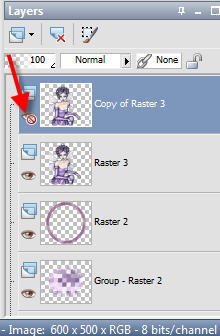
Duplicate tube -
X out duplicate
- 9. Go to circle frame layer
Select magic wand,
Selections/Modify/Expand by 10
- 10. Return to original tube -
Invert, delete, select none
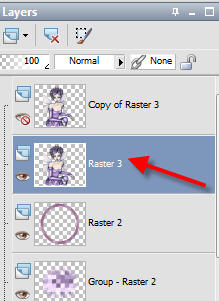
Move original tube below circle frame
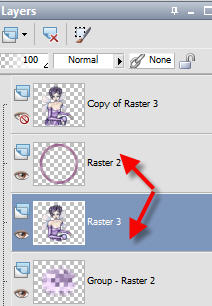
- 11. Uncross duplicate tube
on duplicate tube layer and
add drop shadow of choice
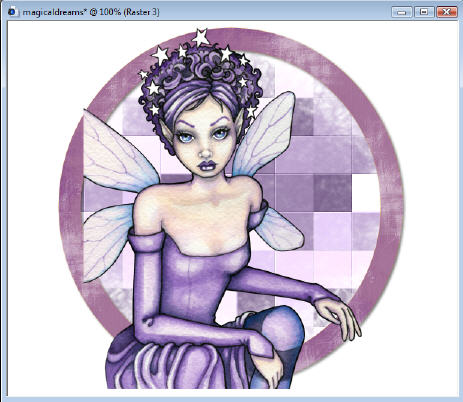
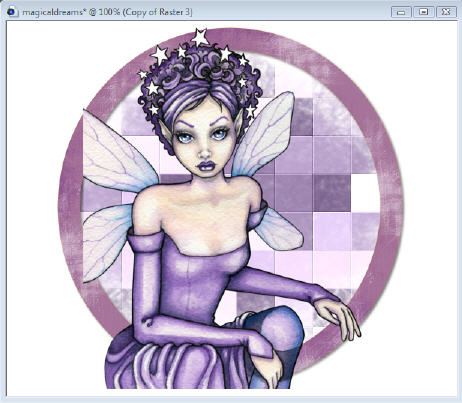
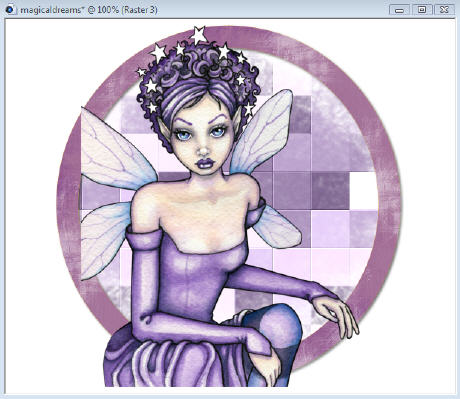
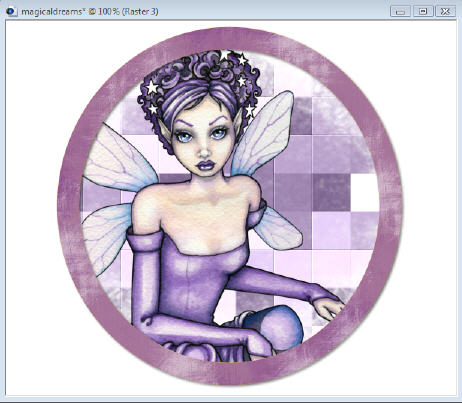
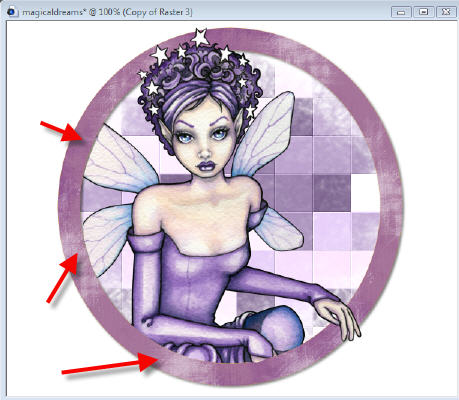
- 12. Now grab your eraser
Erase the pieces of duplicate tube you don’t wish to see
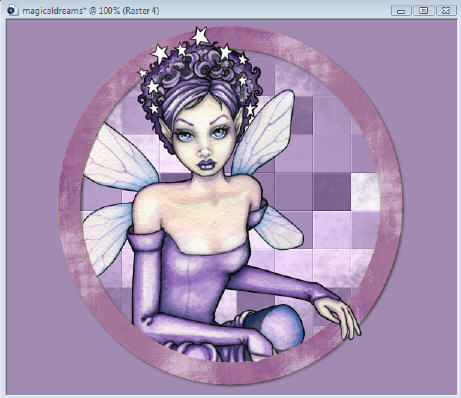
leaving the head outside of the circle frame -
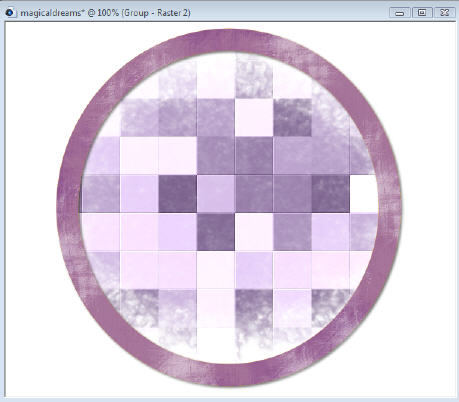
As in my examples above and here
- 13. Go to bottom layer and
add new rastor layer
Choose a co-ordinating colour and
flood fill with colour
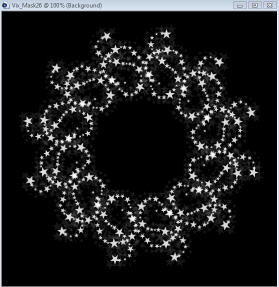
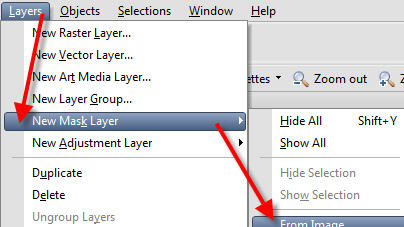
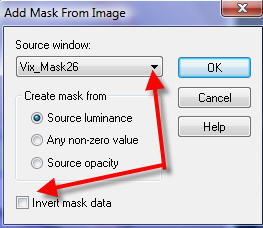
- 14. Open your Vix Mask and go to Layers/New Mask Layer/From Image. Then
Find the Vix mask (Leave invert mask unchecked):
Delete layer
Merge group
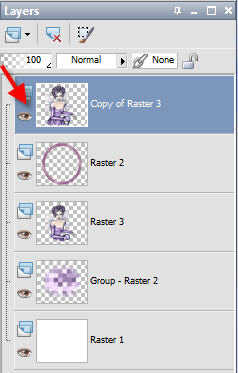
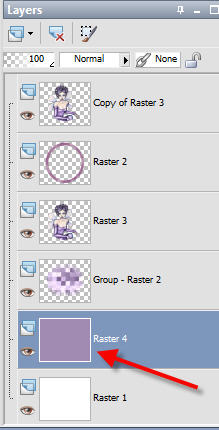
Okay you now should have the following:
1 white rastor layer – this is the bottom layer
1 mask layer
1 mask layer
1 tubelayer
1 circle frame
1 tube layer duplicate
in this order:
Okay now we have more to go so be sure to
remember to save your work often
~~~~~~~~~~~~~~~~
CONTINUE TO PAGE TWO
~~~~~~~~~~~~~~~~
PSPX3 Tutorial Index
~~~~~~~~~~~~~~~~
This tutorial was written by
Leeanne
exclusively for
PSP Times Three
Tubes by Artist: © Caron Vinson
Any similarities to other tutorials is merely a coincidence.
~All rights reserved - April 2008~