Simple Tag Tutorial – Using a Tube
Part 3
Ready to finish our tag?
Now we need to
add our name
28. Open the
Font file you downloaded –
MontessoriScript. Minimize this file.
29. Let’s
set the Materials Palettes for the color of our Font
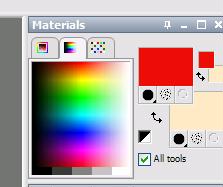
Tip -
The
top color is the Foreground and Stroke.
The bottom color is for the
background and fill. If you right click
or either the foreground or background,
you will see a list of the most recent
colors you have used.
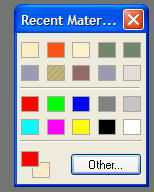
You can just click the
color and it will be displayed. |
30. So let’s
click on the top color –
Foreground.
This is what you
will see
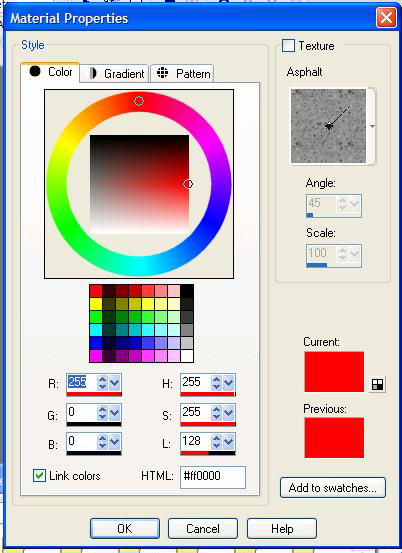
See where it
says HTML – Let’s set that to: #71846a
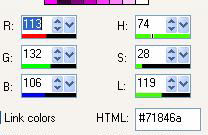
31. Click OK and
your foreground color is set. Now repeat these
steps for the
background color – using
#123a04
34. Click OK and
now we have our colors for our Name.
35. Change
your font to MontessoriScript –
Size 48 Pixels. I have my stroke width
set to
1.0. I also create as a Vector. Alignment
should be center.

36.
Click on the text tool

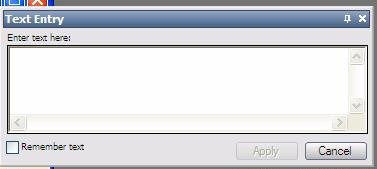
The Text tool box will appear – Type the Name that
you would like on your tag
Click Apply.

TIP - If
the middle of my name - at the i - you will
see a round circle. If you hover over
this circle you will see a double cross.
Left click and hold and you can drag your
name
if it is not in the place you like. You can
drag up, down or back and forth. Unclick and
you text in the place you like. |
37. Go to Selections - Select None.
38. Now for the drop shadow
effect on your text. First we need to make the
Vector
layer a Raster layer.
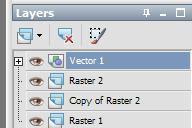 This
is what your layers should look like at this point
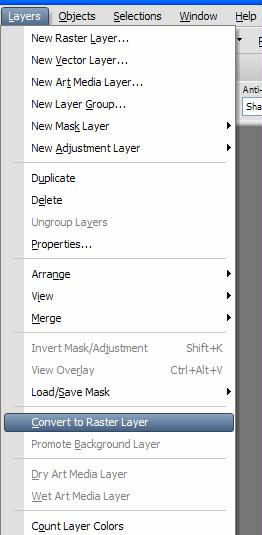
39. Go to Layers, Convert to Raster Layer
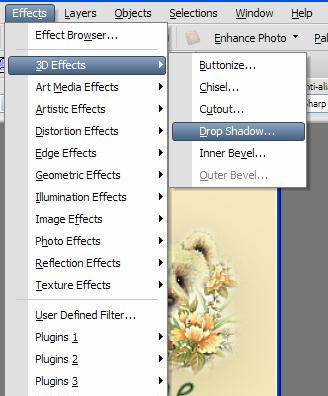
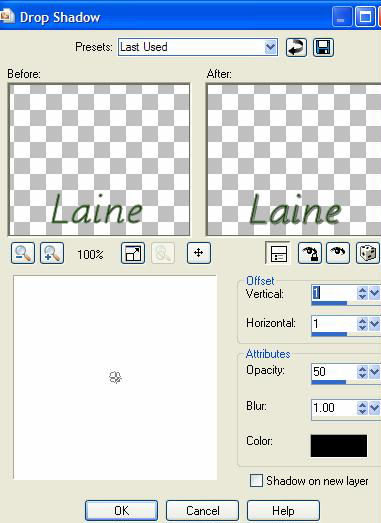
40. We are going to add the Drop Shadow to your
name. Go to Effects, 3D Effects, Drop Shadow
41.
Use these settings
42.
Last week we learned how to
add a border. Let's do that.
|
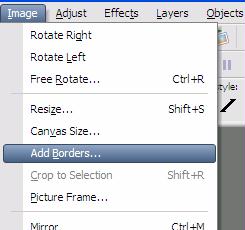 |
Go to your toolbar –
Image
Add Borders |
|
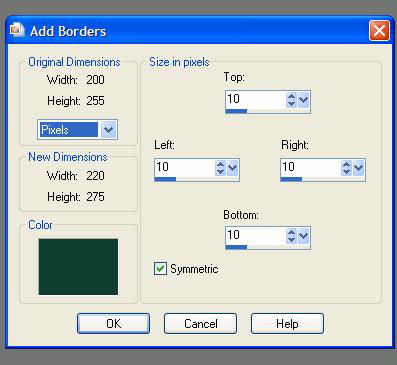 |
You can
choose another color for your border – I
used #183d35.
To
Change the color, click on the color box
Size in
Pixels -10
Be sure
that Symmetic is
checked
Click OK |
43. Save
as a .jpeg using the Wizard (File - Export - JPEG)
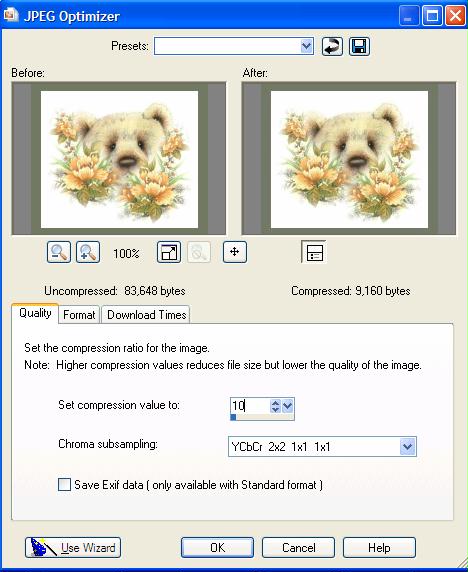
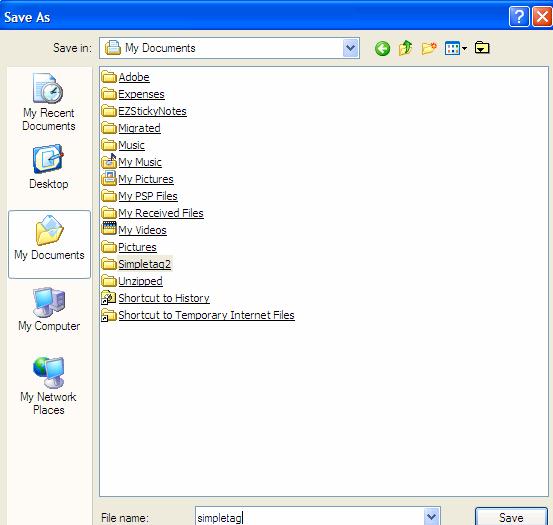
44. Name your
tag and save in your My Documents folder.
All finished.
REVIEW:
There are 3 different tubes
here for download.
I would love to see how you
use one of the tubes in making your sig tag from
this tutorial.
Please send your results to our group
PSPX3.
BACK
Tutorial Index Page