Simple Tag
Tutorial – Using a Tube
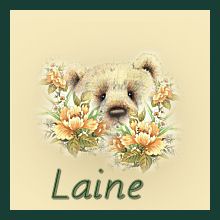
Now that you have completed the
Simple Tag Tutorial, we are going to add
some effects and use a tube to create the
tag.
The effects we will be using
are Drop Shadow and Gaussian Blur.
Supplies:
Download here
Flower Bear Tube
Font – Montessori Script
Tip: Too many fonts in
your Windows folder can slow your system down
I
would suggest that you create a Font folder in My
Documents.
Also, to save your graphics and tubes, I
would create a Tubes folder in
My Documents.
Overview on how to save-
1. Unzip the
supplies into a folder in My Documents labeled
Simple Tag 2.
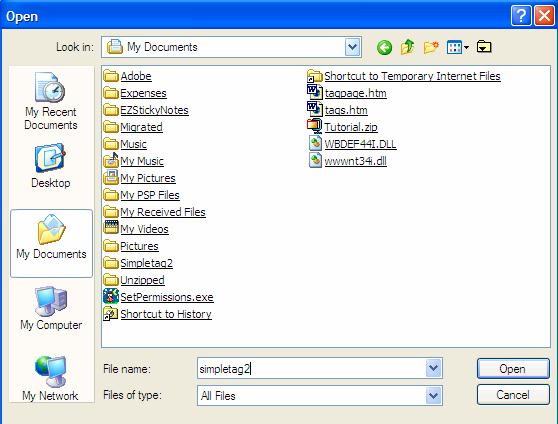
2. Move the
Montessori Script font to your
font folder. Open and minimize it to your task
bar. When you leave the font open, it will remain available in PSP until
you actually
close the PSP program.
3. Open this
tutorial and open PSP. Place your cursor in
any open space in the bottom task
bar and right click. Select
the option, Tile Windows Vertically and the tutorial
and PSP
will be side by side. This is a
easy way to work on tutorials.
4. Okay, here we
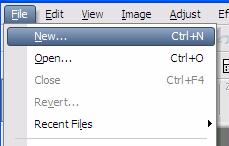
go. With PSP open go to – File – New
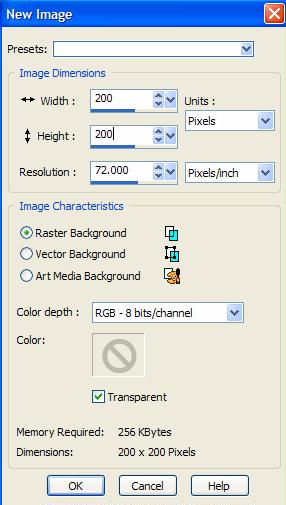
Let’s create a
200 x 200 image – transparent
5. Now, let’s
open the Flower Bear Tube
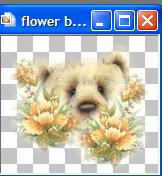
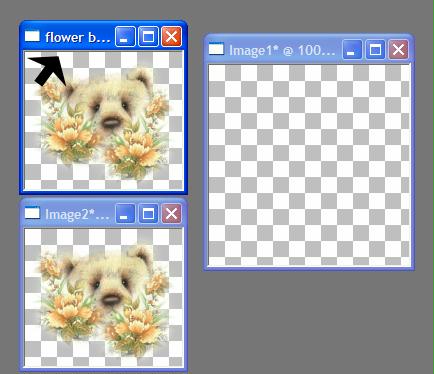
6. Hit the shift
and the D keys. This will make a duplicate of your
flower bear tube.
Close the original flower bear tube.
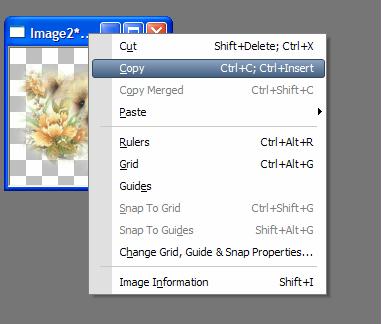
7. On the Blue
title bar of the Image 2 tube – right click and
choose
copy
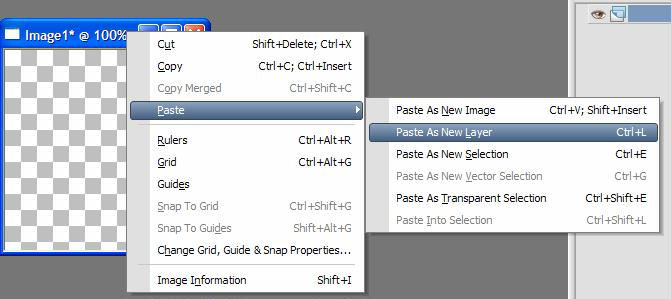
8. Now go to
your blank New Image – right click and paste as New
Layer
9. You can
close the Flower Bear Tube that you copied.
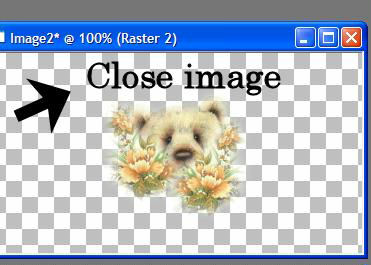
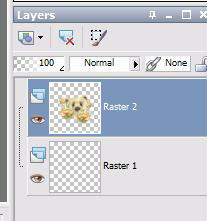
10. This is
what you should have at this point and your palette
for layers should show this

|
TIP –
When working with layers, always make
sure that the layer you want
to be
working on, is highlighted. (Notice the
blue on Raster 2) This shows where you
are
working. |
You have
accomplished a lot. You have learned how to create a
new image, copy a tube
and paste as a new layer. Great job. Now, take
a break and when you want to continue,
go to Page 2 of the tutorial.