Simple Tag Tutorial Using a Tube
Part 2
11. We need to
pick a contrasting color for the background of your
sig tag.
You can use
the Dropper Tool

12. Click on the
dropper tool and drag over your tube
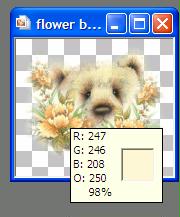
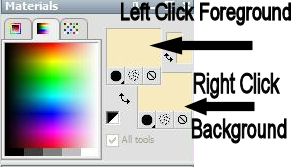
13. When you see
a color that you think will look good for the
background right click
and it
will change the Color material to that color.
14. If you left
click it will be in the foreground
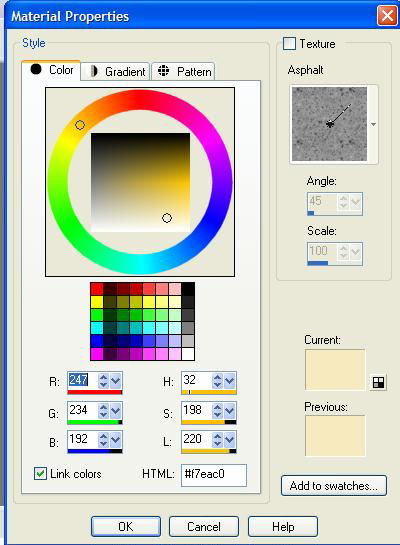
(Note the
color of my background is #F7eac0)
Double click on
the background or foreground colors and your
material information
will show you the color you picked.
15. With our
color picked for the background, make sure
that you have clicked
on Raster 1
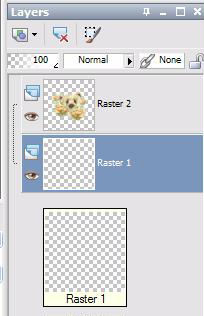
Remember my
Tip, make sure that you
have highlighted Raster 1 (In blue)
16. Click on
the Flood Fill tool

17. Hold the
Flood Fill tool over your image Right Click
18. When you
right click the background color is the flood fill

19. Next we are
going to use the Gaussian Blur effect. This is
one of my favorites
and it makes a great looking tag.
20. Highlight
the Raster 2 layer
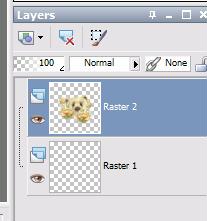
21. Now, go to
the Toolbar Layers and click on Duplicate
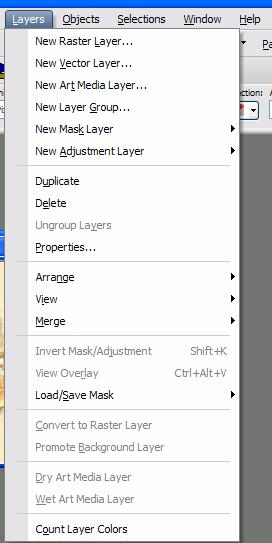
22. Lets see
what our Layer Property has on
it - It should look like this
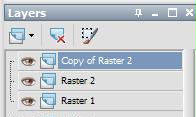
23. Now with
the Copy of Raster 2 layer highlighted (in blue) go
to Adjust - Blur
Gaussian Blur
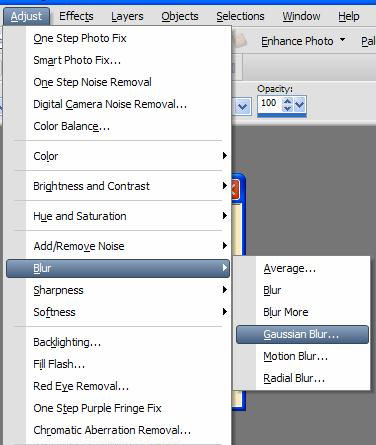
24. Use these settings
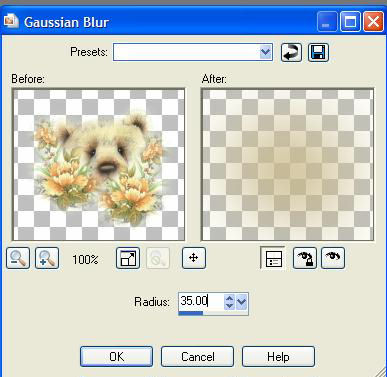
Your layers
palette should look like this
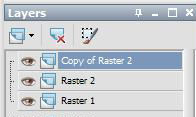
25. We
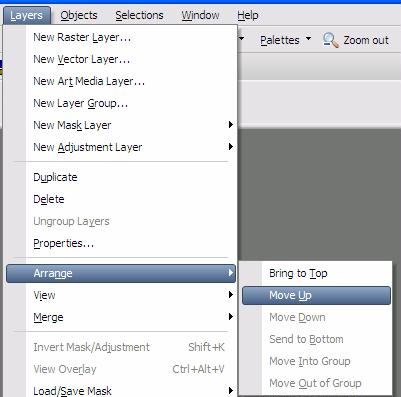
need to move Raster Layer 2 above the copy. Make
sure that you have
highlighted Raster 2. It should be in blue
26. Go to Layers
- Arrange - Move Up
27. Depending on the color of your background, you should see a soft color
outlining the tube.
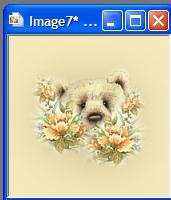
We are almost
finished.
Page 1
Page 3