|

Seeing Double
Part 2
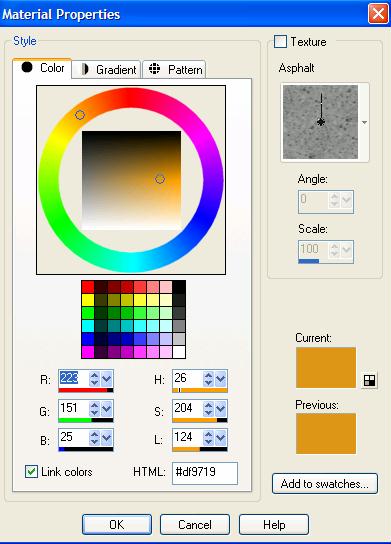
17. Set your
Foreground Material color to #df9719
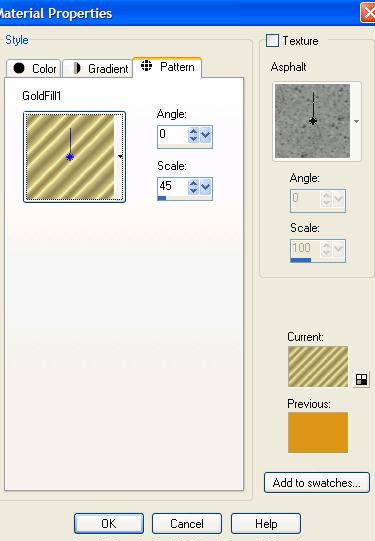
18. Set the
background material color to Pattern – Gold Fill – with
these settings
19. Open the
BrockScript Font
20 Choose your
Text tool

21. Make sure
that your settings for your text are set as follows

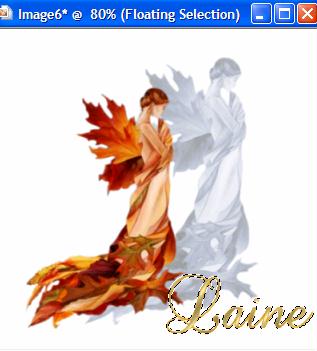
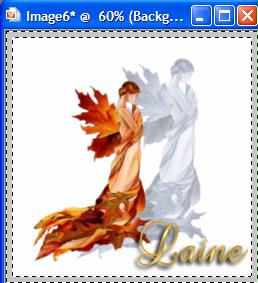
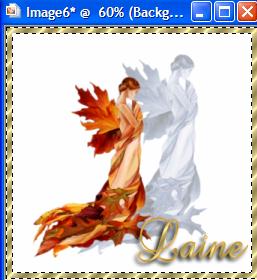
22. Place your
text near the bottom of your image at the right
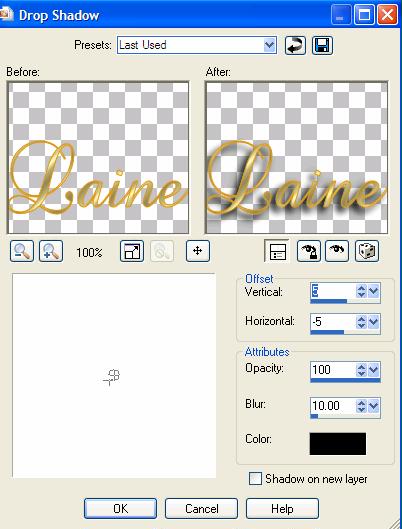
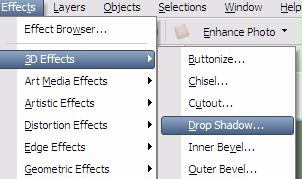
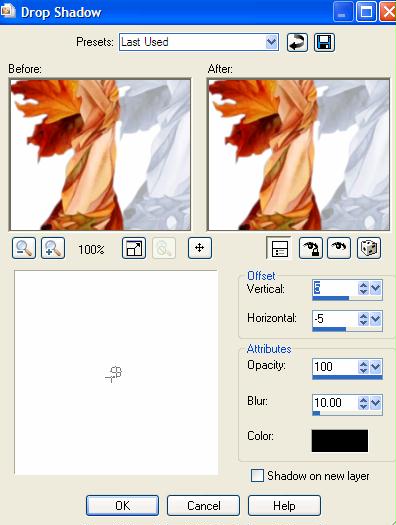
23. Effects – 3D
– Drop Shadow with these settings
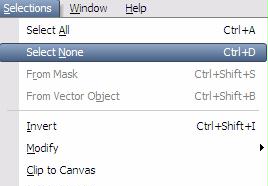
24. Selections –
Select None
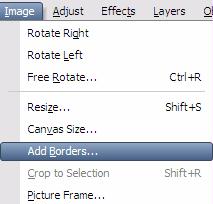
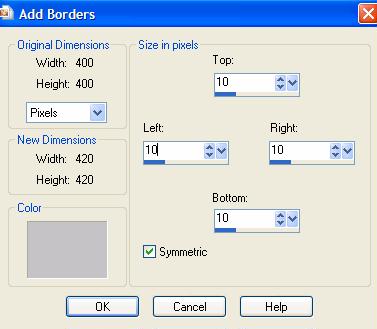
25. Go to Image –
Add Borders
26. Use these
settings
27.
With your Magic Wand
 – Click on the grey border to
select – Click on the grey border to
select
28. With your
flood fill tool  Right click and flood
with the the gold pattern Right click and flood
with the the gold pattern
29. Effects – 3D
– Drop Shadow
30. Use these
settings
31. Selections –
Select None
32. Save as a
.jpeg
| Review - I have 3 images for you to download.
Use the image of your choice. By following this tutorial, create your
own Seeing Double Tag. Be sure to
send to the group. Download file
here |
Back
Tutorial Index Page
|