|
Sparkle Animation
You must have Animation Shop in order
to do this tutorial. You can download the program
here.
Download files
Here
Includes: Blue Angel Image White Sparkle Tub Nene ThomasTube
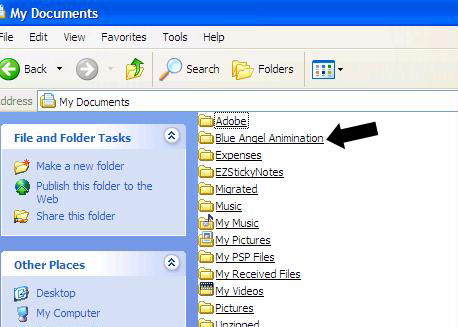
1. Open the zip files and save to My
Documents
Let’s create some sparkles!
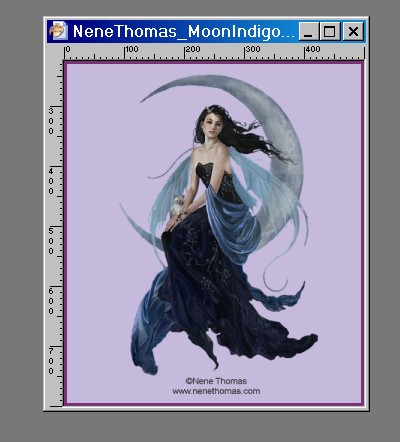
2. Open PSP. File – Open the
Blue Angel Image
3.
We need to open the White Sparkle Tub
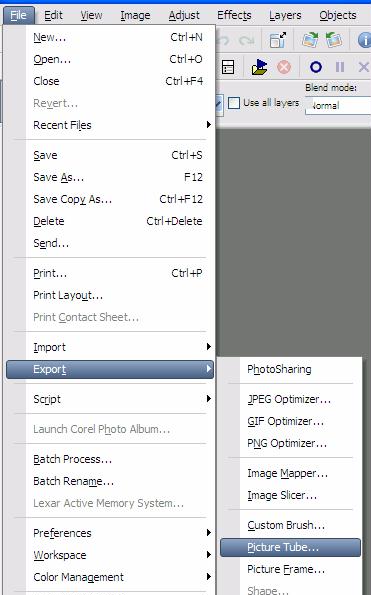
Let’s save the White Sparkle Tub in
our Picture Tube File.
4. File – Export – Picture Tube.
5. Name the tube. Make sure
your settings match mine .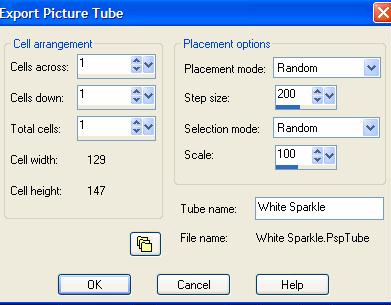
You can close the White sparkle
tube.
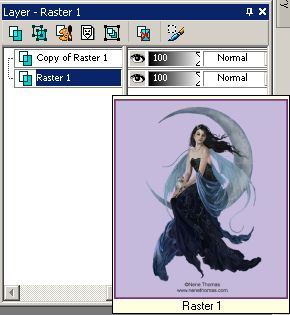
6. On your Layer Palette (with
your Blue Angel image open) You should see Raster 1.
Go to Layers – Duplicate.
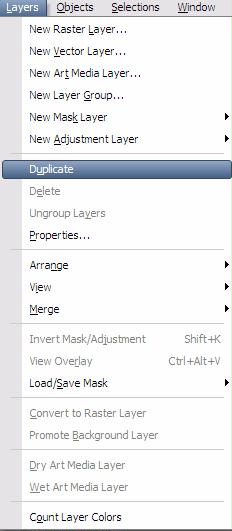
This will make a copy of your Raster
1. It will be labeled copy of Raster 1.
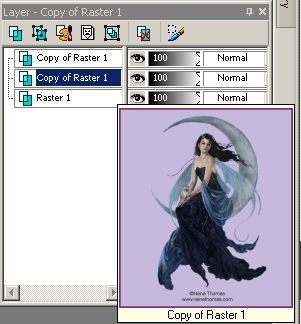
7. Now click on Raster 1 and
make another duplicate copy. Go to Layers – Duplicate.
This is what your layer palette should look like
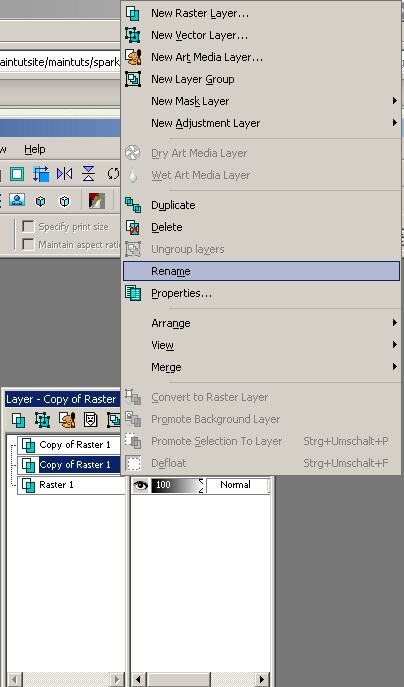
8. To make it easier working
with the Raster copies, we need to rename them. Make sure
that the layer above Raster 1 is highlighted. Right
click – Rename.
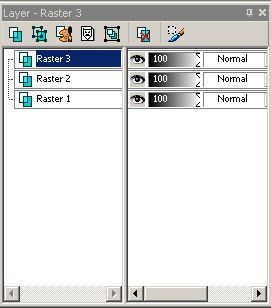
9, Name this layer Raster 2.

10. Repeat this for the next Raster
Copy layer. Right click, rename. Rename this layer Raster 3.
Tutorial Page 2
Tutorial Index Page
|