|
Mask Effects
Part 2
15.
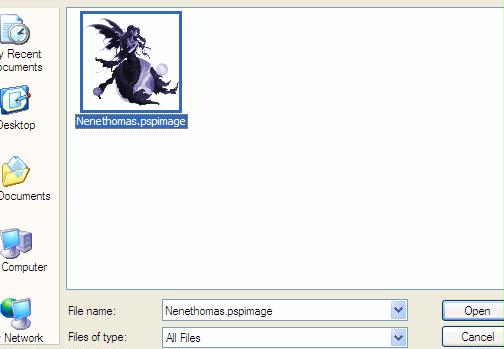
Open the tube that was included
in the download supplies
16.
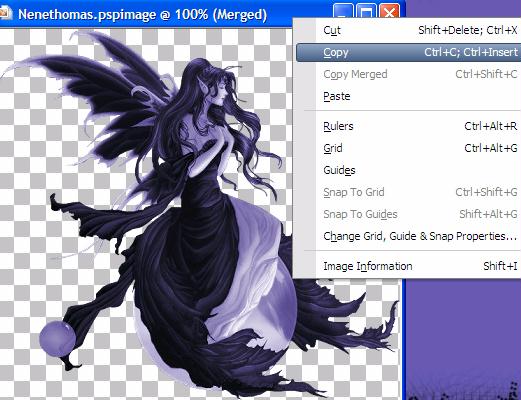
Right click on the fairy image –
choose copy. (You can close the
tube)
17.
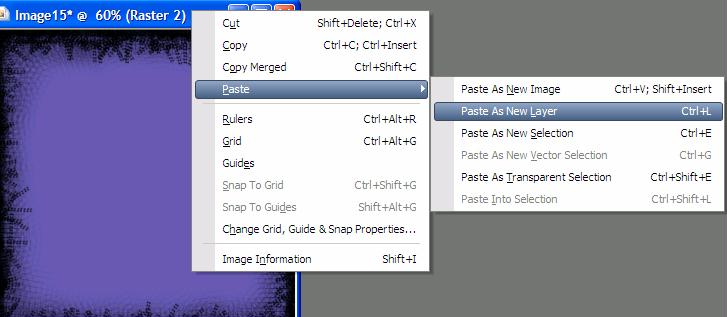
Right click on the blue title
image of your image with the
mask – paste as new layer
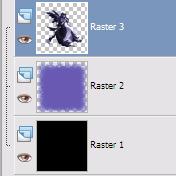
18.
Your layer palette should be
like this:
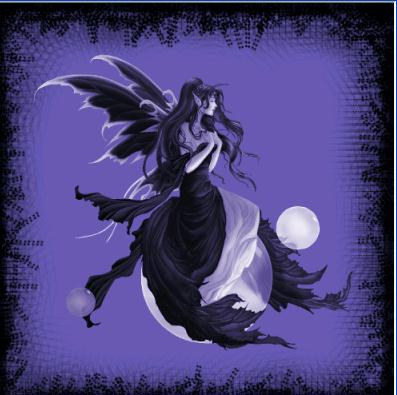
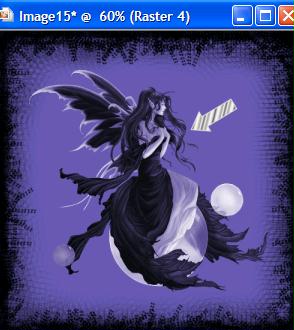
19.
Your image should look like this
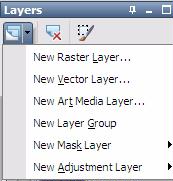
20. Now
to add our text. Create a new
raster layer.
21. Set
your material foreground to
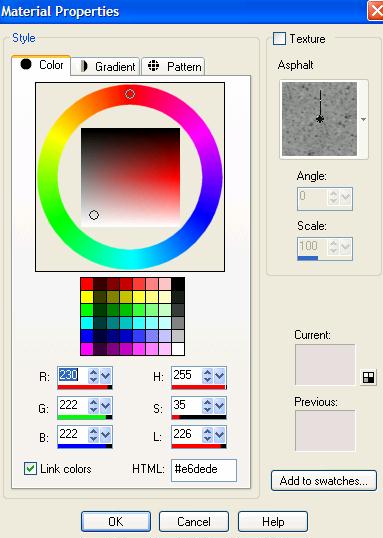
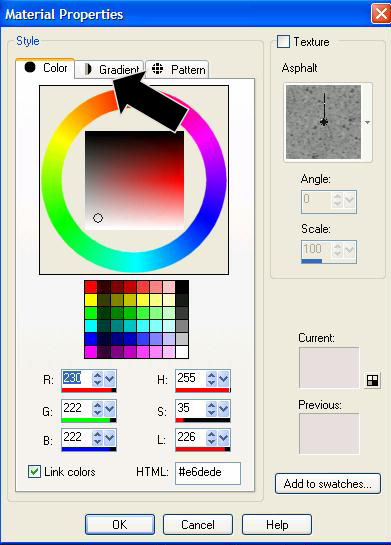
22. Set
your material background to
Gradient. When you click on the
background color,
you will see the different tabs – Color –
Gradient and Pattern. Click on
Gradient
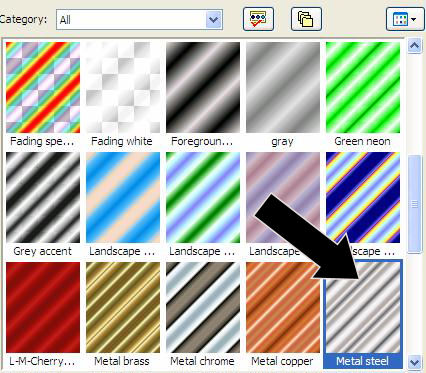
23. Click
on the arrow on the picture –
you will open all of your
gradient colors
24.
Choose Metal Steel
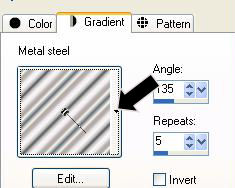
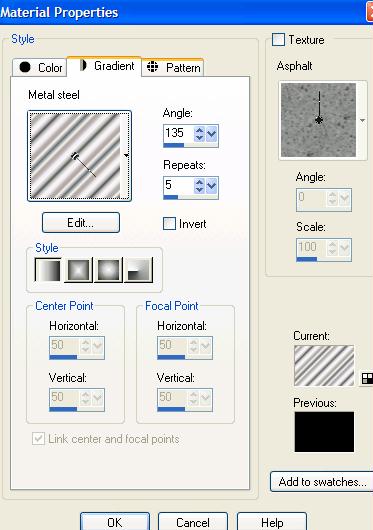
25.
Use the settings below
26.
Open the Polonaise Font included
in the downloaded supplies
27.
Click on the text tool
 and use these settings

28. Click
on the area indicated, and place
your text.
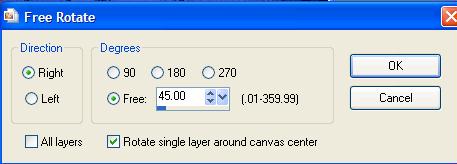
29. Go to
Image – Free Rotate

30.
Rotate – Left 45 degrees
31.
Depending on the length of your
text name, you may need to use
the mover tool
 and
and
move your text to this area

Tutorial Page 3
Tutorial Index Page
|