Text With Floaties


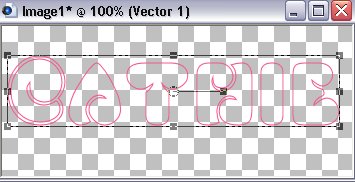
This tutorial will show you how to create an animated text tag using floaties. It is long because there are many screen shots with step by step instructions. Most of you who already have experience with PSP will not need the specific steps included here. Those who are beginners and want to learn do need them.


Preparations:

1. Use this image - pointing finger - to mark your place. Just drag it along as you read each line.

2. Open your PSP.

3. Go to the bottom of your Windows desktop. Look at your taskbar which is located to the right of your Start button. It lists all the windows folders and programs you have open. Look for an empty spot. Right Click and hold mouse down on that blank space.

4. A menu pops up. Select "Tile Windows Vertically". You should now have the tutorial and your own PSP open side by side. This will aid you in following the tutorial.

5. Download the floaties and font here HERE:.


Part 1

  • 1. Extract the image and font from the zipped folder. If you want to use this font open it and then minimize it.

    Open your PSP program.

    Open Animation shop and then open the floaties gif in Animation Shop


  • 2. Go to Edit/Select All


  • 3. Your frames will now look like this


  • 4. Go to Edit/Copy


  • 5. Go to your PSP program and Right Click on the workspace. Select Paste as New Image.


  • 6. The frames will paste as an image with all the layers. This is what the image looks like:


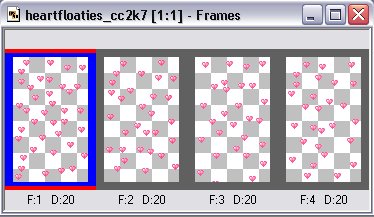
    When that is done you can close out the image in ani shop and close ani shop program for now.

  • 7. Go to the materials palette and turn off all but the top layer and be sure to select that as shown here:


  • 8. Now, open a new transparent image 350 wide x 150 high


  • 9. Now, select your "Text" tool


  • 10. Go to your text menu and select the font you want to use. If you decided to use the font supplied with this tut you will find it listed. Adjust the size and make sure you have Vector checked:
      

  • 11. Go to your materials palette select a color for outline and turn off the background color.:


  • 12. Apply your text to the transparent image:


  • 13. Use your magic wand and hold the shift key down. Click inside each letter until you have the entire text selected (marching ants around the letters):


  • 14. Go to Selections/Modify/Expand


  • 15. Expand 1 and click ok.


  • 16. Highlight the bottom layer (raster 1) on your Layer Palette and turn off the Vector Layer - DO NOT Deselect:


  • 17. Select your Flood Fill tool:


  • 18. Materials Palette - set your background color to a light shade so the hearts will show up on top of it:


  • 18. Place mouse over first letter and Right Click to fill selection. Be sure to RIGHT Click so the lighter color will fill the letter. Repeat this on each letter:


  • 19. Your image should look like this when each letter is filled - DO NOT Deselect:


  • 20. Go to Effects/3D Effects/Inner Bevel


  • 21. These are settings used for tag shown at top of page. You may adjust to your liking. DO NOT Deselect:


  • 22. Go to Layer Palette and duplicate your layer 3 more times so you have a total of 4 text layers - do not count the vector layer:


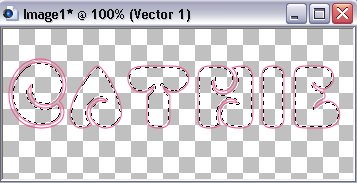
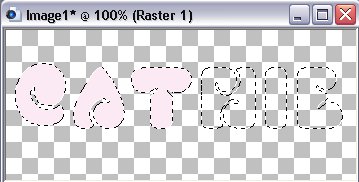
    So far you are doing great. The next step/page will show you how to fill the text with the tiny hearts.


~~~~~~~~~~~~~~~~

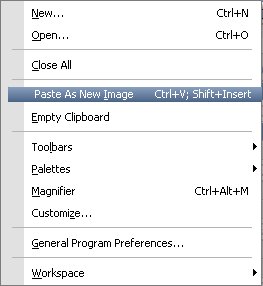
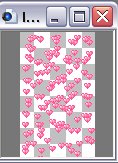
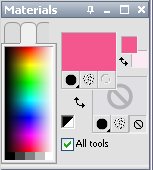
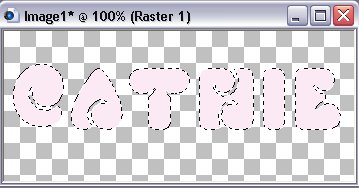
Part 2 - Fill With Hearts Pattern

~~~~~~~~~~~~~~~~

Tutorials Index


This tutorial was written by Cathie for PSP Times Three.
Any similarities to other tutorials is merely a coincidence.
©   PSP Times Three
~January 2007~