Text With Floaties - Page 2

Use this image - pointing finger - to mark your place. Just drag it along as you read each line.

Part 2
-
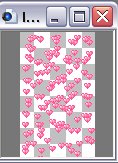
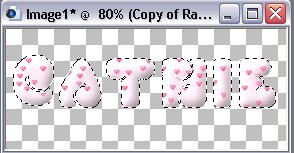
1. Highlight by clicking on the hearts image
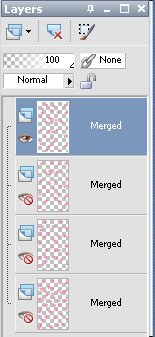
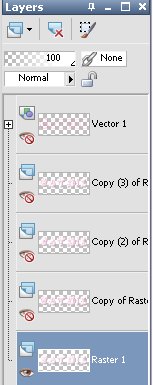
- 2. Go to Layer Palette and Close all but the TOP layer
- 3. Go to Materials Palette and Select Foreground Pattern
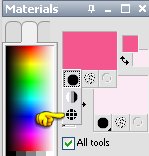
- 4. Click on the pattern box and the properties will open. Then click the arrow beside the image view:
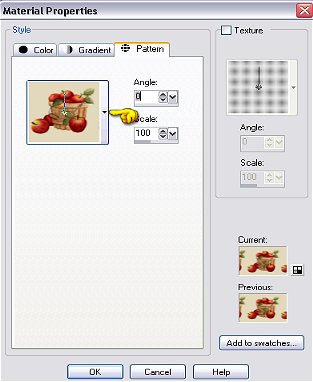
- 5. You should see your open layer of hearts in one of the previews - Highlight that:
- 6. The hearts should now show in your preview box
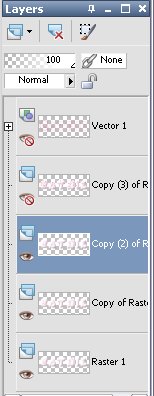
- 7. Go back to your text images and highlight the first Raster Layer. Not the Vector one but the one under it:
- 8. Using your Flood Fill tool Left click over each letter - one at a time. Move your mouse around in the letters to see if more fill will apply. Depending on what version of PSP you use you might have to hold the shift key down while filling each letter:

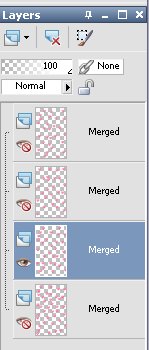
- 9. Close off top layer and highlight next one:
- 10. Return to your hearts image and close off the top layer and turn on the second one:
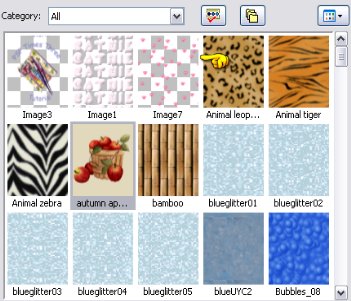
- 11. Return to your Materials Palette, open the viewer box
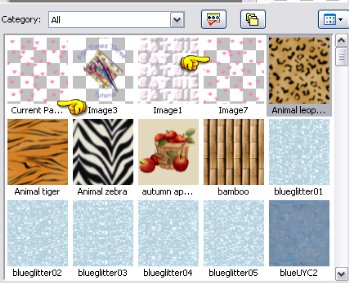
- 12. Click open the box and select the new image - which is layer 2 on your hearts image. There will be one there that says current and then there should be another one that has the name of the image. That's the one you want to select.
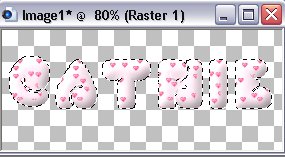
- 13. Return to your text image, and fill the same way you did with the first layer:

- 14. Again, turn off 2nd layer and highlight the 3rd one:

- 15. Return to your hearts image and close off the second layer and turn on the third one:
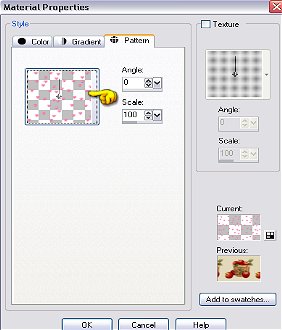
- 16. Return to your Materials Palette, open the viewer box again
- 17. Click open the box and select the new image - which is layer 3 on your hearts image. As before, there will be one there that says current and another that has the name of the image. That's the one you want to select.
- 18. Return to your text image, and fill the same way you did with the first two layers:
- 19. Again, turn off 3rd layer and highlight the 4th one:
- 20. Return to your hearts image and close off the third layer and turn on the fourth one:
- 21. Return to your Materials Palette, open the viewer box again
- 22. Click open the box and select the new image - which is now layer 4 on your hearts image. As before, there will be one there that says current and another that has the name of the image. That's the one you want to select.
- 23. Return to your text image, and fill the same way you did with the first three layers:
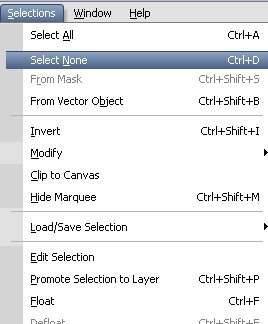
- 24. Next, go to Selections/Select None:
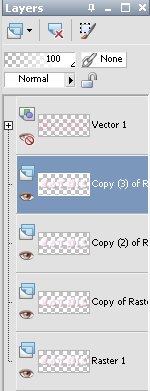
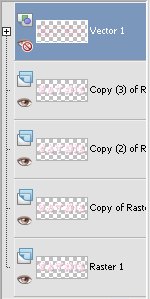
- 25. On your text Layer Palette work your way to the top by opening each layer. Then highlight the closed Vector Layer - Make sure that it is the Vector Layer that is highlighted:
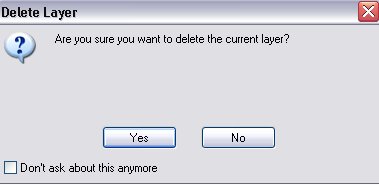
- 26. Go to Layers/Delete

- 27. You may get a box asking if you really want to delete the selected layer - click Yes:
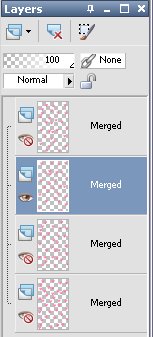
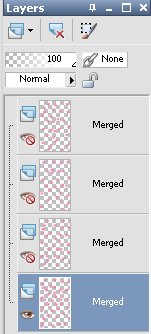
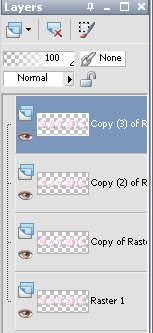
- 28. Now you should have only 4 layers in your Layer Palette with the top layer highlighted:
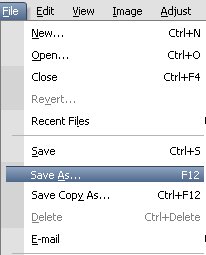
- 29. It is now time to save your image. Go to File/Save As and be sure to save as a PSP Image or PSP image for animation shop - however your program is set:
You are almost finished now. The next step/page will show you how to animate the tag!
~~~~~~~~~~~~~~~~
Part 3 - Animating The Floaties Text Tag
Back - Return to beginning
~~~~~~~~~~~~~~~~
Tutorials Index
This tutorial was written by
Cathie for PSP Times Three.
Any similarities to other tutorials is merely a coincidence.
©
PSP Times Three
~January 2007~