Glitter Tag
This tutorial will show you how to create, save, and animate a
glitter tag. It is long because there are many screen shots with
step by step instructions. Most of you who already have experience
with PSP will not need the specific steps included here. Those
who are beginners and want to learn do need them.
Preparations:
1. You may want to print this out to use as a reference. Go to the very top of this page, click File, then Print. Follow the instructions for your printer.
2. Open your PSP.
3. Go to the bottom of your Windows desktop. Look at your taskbar which is located to the right of your Start button. It lists all the windows folders and programs you have open. Look for an empty spot. Right Click and hold mouse down on that blank space.
4. A menu pops up. Select "Tile Windows Vertically". You should now have the tutorial and your own PSP open side by side. This will aid you in following the tutorial.
5. You may download several psp images
HERE: including the one used in this tutorial. Place them in your My Documents folder.
Part 1
-
1. Open the zip folder and choose an image you want to use and open it in PSP
- 2. Using your keyboard, hit Shift D (to duplicate) and close original
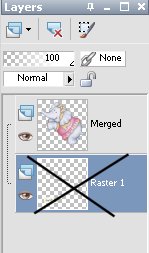
- 3. Delete Raster Layer 1 by holding your mouse over the layer, Right clicking, and selecting Delete.
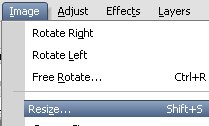
- 4. Resize image by going to File/Resize
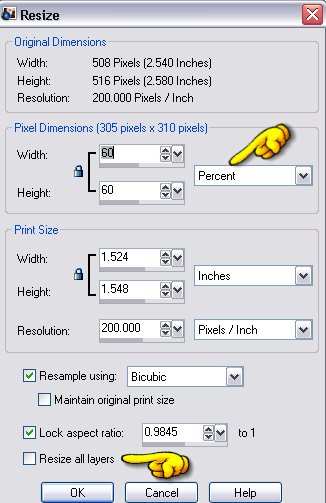
- 5. Resize settings. Leave all layers unchecked. Use a percentage of 60-70 (this is usually a good amount for large images). You may have to play around with this until you get the size you want.
- 6. Select the magic wand tool from your toolbar

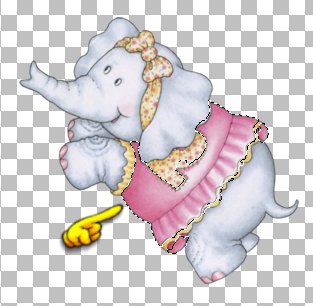
- 7. Select area to glitter and note how the marching ants cover part of the pink dress
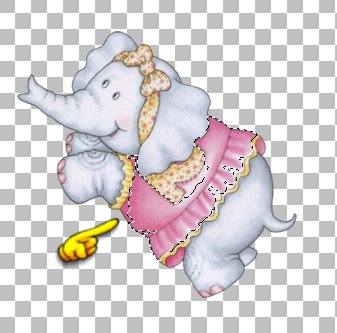
- 8. Holding your Shift key down use your wand to select the entire area you want glittered. Note how the marching ants are now all around the pink dress. If you have other areas you want to glitter then continue to hold the shift key and select those areas.
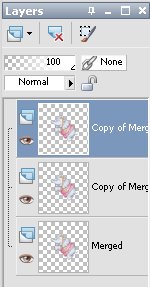
- 9. Go to layers and using your mouse Right click
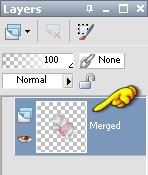
- 10. Then look on the menu and select Duplicate
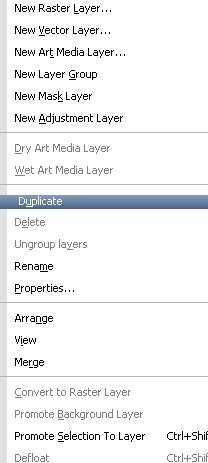
- 11. Repeat duplicating layer one more time. You should have a total of 3 identical layers
- 12. Keep the marching ants selected at all times through this process
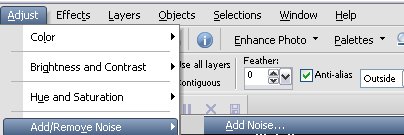
- 13. Highlight the top layer
- 14. Go to "Adjust" then Add/Remove and then "Noise"
- 15. Set the Blur to Uniform and noise to 35 as shown here and click Okay

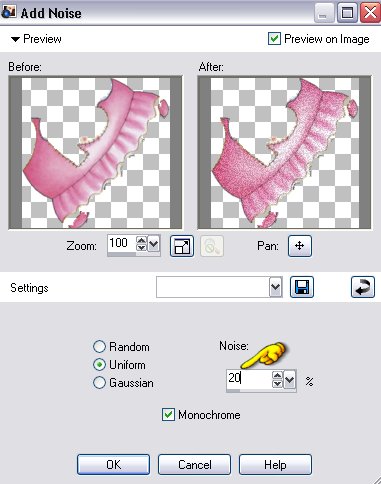
- 16. Highlight second layer
- 17. Again, go to Adjust/Add-Remove/Add Noise
- 18. Keep all settings the same except the Noise. Change that to 20 and click Okay
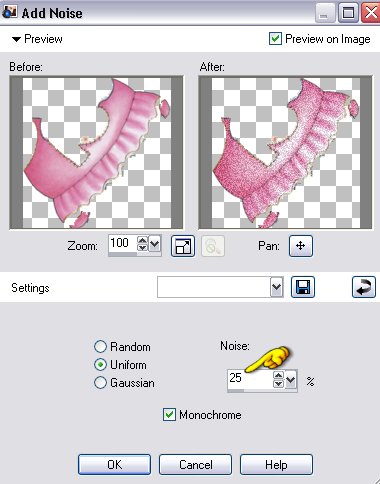
- 19. Highlight the bottom layer
- 20. Again, go to Adjust/Add-Remove/Add Noise
- 21. This time set the Noise to 25 and click Okay
- 22. Go to Selections and Select None
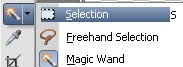
- 23. Go to your magic wand and click the down arrow. Choose the Selection tool
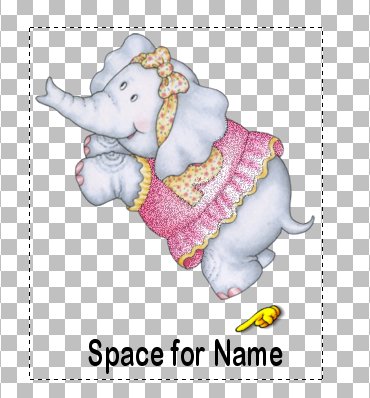
- 24. Take the rectangle selection tool and outline your image as close to the top and sides as possible but leave space at the bottom for your name to be added. If you do not want to add a name or words then select all around the image as close as possible.
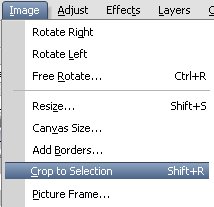
- 25. Go to Image/Crop to Selection
~~~~~~~~~~~~~~~~
Adding Text To Glitter Tag
~~~~~~~~~~~~~~~~
Tutorials Index
This tutorial was written by
Cathie for PSP Times Three.
Any similarities to other tutorials is merely a coincidence.
©
PSP Times Three
~October 2006~