Glitter Tag - Animation Shop
The following steps will show you how to animate your tag:
Part 3
Animation:
-
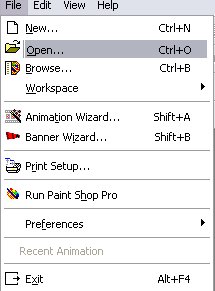
1. Open Animation Shop and go to File/Open
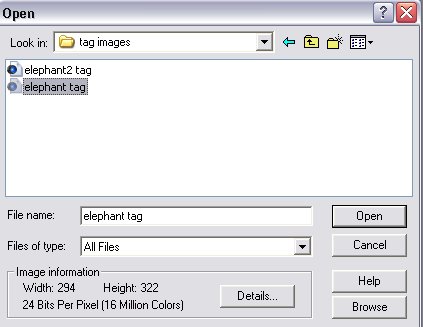
- 2. Browse to the folder where you have your tag. Highlight it and click open
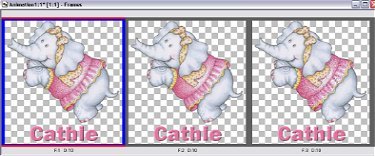
- 3. You will discover your 3 layers are now going across in seperate frames instead of down in layers
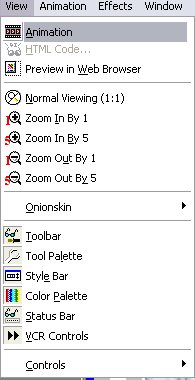
- 4. Go to top and click on "View" and then "Animation"
- 5. You will get a single image with the frames all running but you won't be able to see them. You will see at the bottom the Frame changing as it processes the animation.
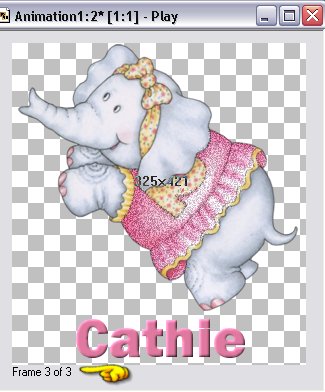
So, you have an idea what this will look like. Now you need to Optimize for a better quality image. Close out that sample animation but keep your own frames open.

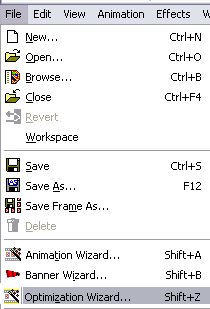
- 1. Go to File/Optimization Wizard
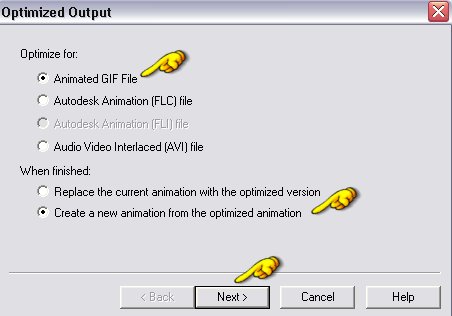
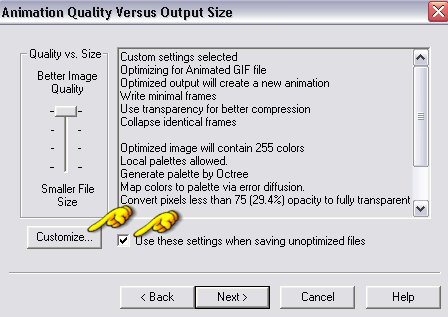
- 2. Follow these images for your settings:
- 3. Check "Use these settings when saving unoptimized files" and then click on the "Customize" button
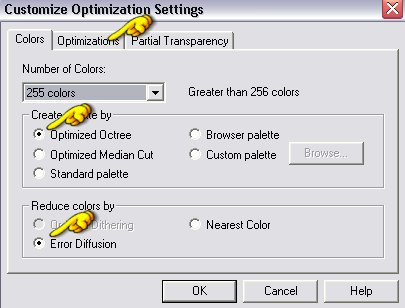
- Under Colors Select the 2 shown then click on Optimization tab:
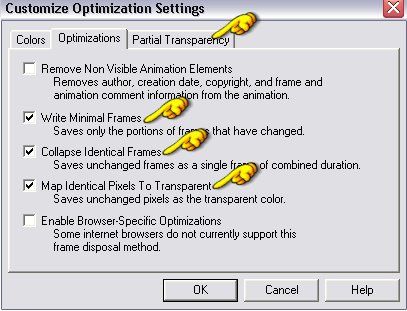
- Select the 3 shown then click on Partial Transparency tab:
- Convert pixels as shown using 60-75%, Select last box, and then click OK:
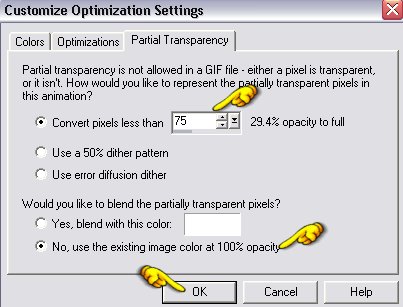
- 4. You are now back where you had chosen the Customize tab. Click Next

- 5. Click Next again:
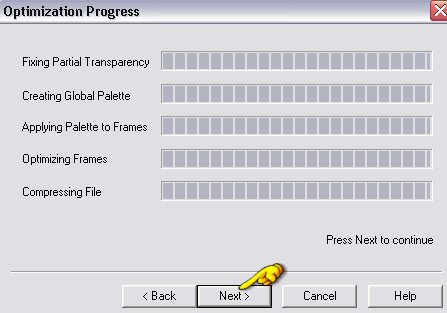
- 6. This will give you a preview of your optimized image. If you are satisfied with the results click Next. If not, go back into the Customize section and adjust the Partial Transparency percentage:
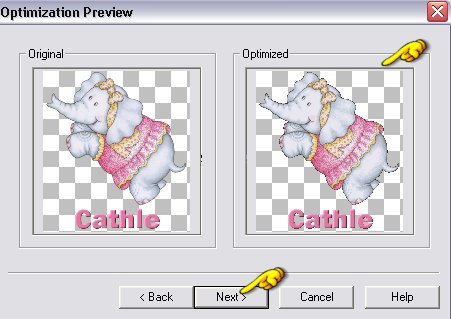
- 7. Click Finish:
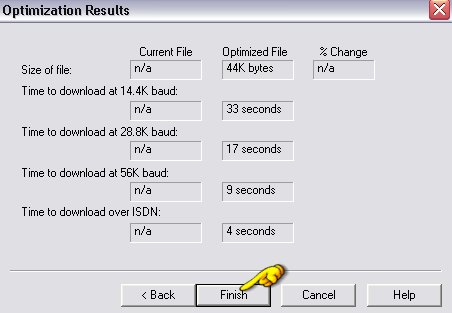
- 8. You will now end up with a duplicate tag on your animation shop workspace. This is the image you want to save as it has been optimized. Close out your original. It will ask if you want to save changes, tell it NO
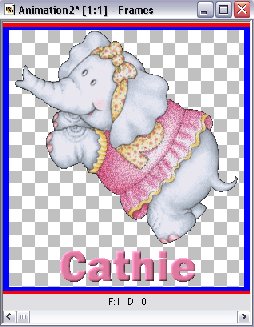
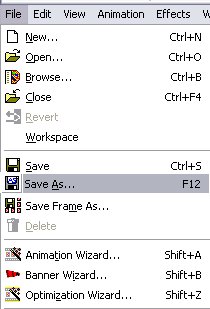
- 9. Go to File/Save As and browse to folder where you want to save your finished tag. Give it a name and click save.
- 10. Close your saved tag from your animation shop workspace. Close your Animation Shop.
*****Congratulations - You did it!*****
Here are two examples of the same glitter tag placing the text in different places:


~~~~~~~~~~~~~~~~
Back To The Beginning
~~~~~~~~~~~~~~~~
Tutorials Index
This tutorial was written by
Cathie for PSP Times Three.
Any similarities to other tutorials is merely a coincidence.
©
PSP Times Three
~October 2006~


