Cutout Calling Cards

Let's do some cards, then!!!!!!!
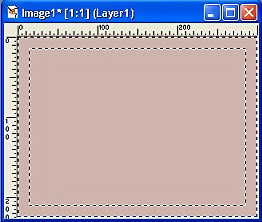
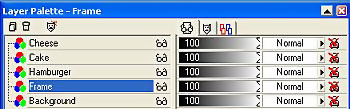
- Without deselecting, add two layers ("cutout"
and "shadow"), and apply my cutout settings, as
you learned in my "Cutout & .png" tutorial (Click
Here to see
it). After merging the layers, you will see this:
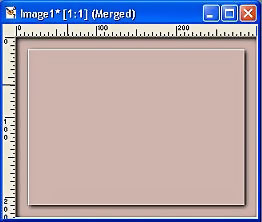
(It's a good method to keep
the frames in .png. It will save you a lot of words if you
want to make another card later. Click Here
to remember how to do it!).
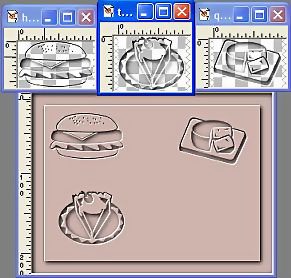
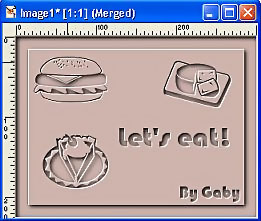
- Now, fun and creativity, please! It's time
to decorate our card. Use dingbats, decorative fonts, all
what you want. If you have cutout files saved in .png, just
open the image you want, copy it and paste as New layer in
your card. See how it works!:
- When you've finished your decoration, fo
to Image/Add borders; symmetric 10 px. With the Magic Wand,
click the border you've just added. Fill the selection with
a darker color or pattern. (I'm using #A07272
here):
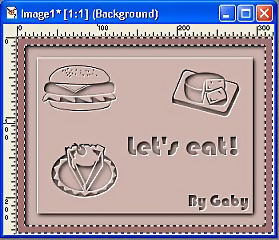
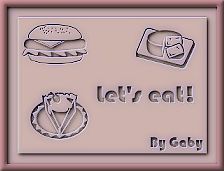
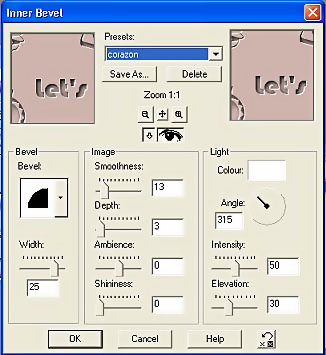
- Don't deselect, and go to Effects/3D Effects/Inner
Bevel, and apply these settings:
- Deselect, save as .jpg, and... ready!!! (Sorry,
I'm going to have lunch right now!!!!)
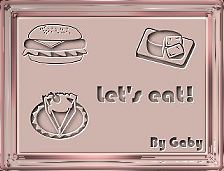
Variants: I've added here an
Eye Candy Glass filter; in the other one, a Xero Porcelain.
Play with your filters!
Note: if you
want a little card, resize it at 70% before
adding borders. It's better to do all kind of resizes without
all layers merged; you'll get a better image (adding a Sharpen
or not). In this case, you can add 10 px. borders too, or
use the same proportion and add 7 px.

|