|
How to Mist
Part 2
1. Open the same
image that we used in our first way to mist.
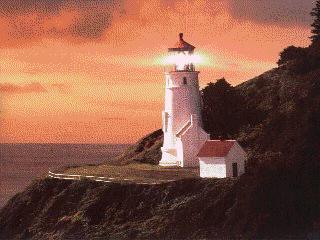
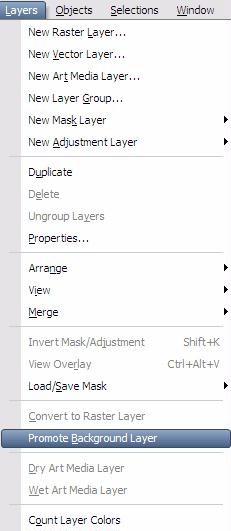
2. With the image
open, go to Layers – Promote to Background
Layer
3. Choose the
Selection Tool -

Under the tool options, you will
see lots of different shapes you can use.
For this one, I picked Rounded Rectangle and a
feather of 30.

4. With the Rectangle picked, holding the
left mouse button, surround the image as
close
as you would like.
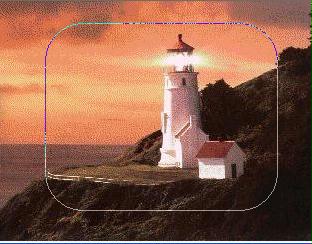
5. When you release
the mouse button, the rectangle will expand
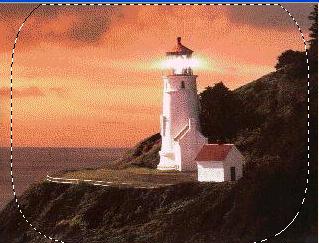
6. You will see “marching ants’. Hit
the Control X to cut the image. Your image
should look like this
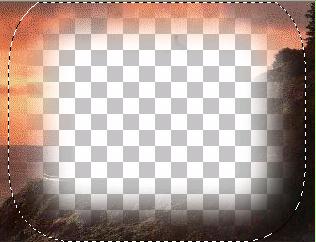
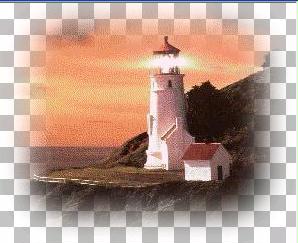
7. Hit the Control
and V keys – you now have pasted your new
image.
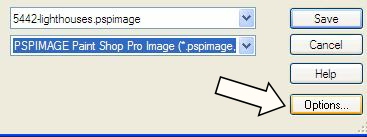
8. Go to File –
Save As – use the drop down menu and select
PSP Image
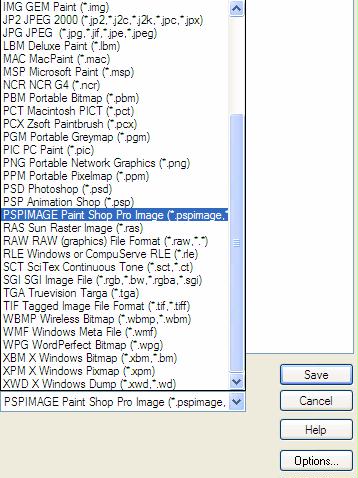
9. Click on the
Options Button
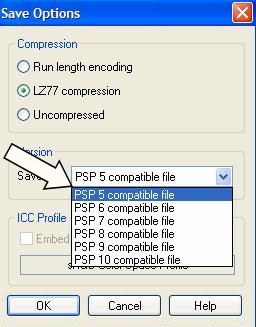
10. Use my settings
and Save as a PSP5 Compatible. This will
allow the tube to be
opened in any version of PSP.
|
Review – Here are 4 different images
to use the misting technique on.
Post your work and let us know which
method you use and which you like.
Download files
here |
Back
Tutorial Index Page
|