This lesson is about Alignments, Underlines, and Inserting Graphics.
Preparations:
- 1. Use this pointing finger - to mark your place. Just drag it along as you read each line.

- 2. Open your PSP Times Three "mylessons" HTML Document.
- 3. Open your source code by going to View/Source.
Alignments
- All of your text so far has been placed on the left margin of your document. Now is a good time to learn how to move it to the center. To do this we use a special Attribute within your tag known as Align. That one word is used for whichever placement you want your text or image to appear - Center, Right, or Left (which is the default placement). Here are examples:
Align to the left which is also the default:
ALIGN="LEFT"
or to the center:
ALIGN="CENTER"
or to the right:
ALIGN="RIGHT"
Align Center:
-
Align is part of the paragraph <P> tag and the Header <H#>...</H#> tags.
Let's alter and align your Header
<H1 ALIGN="CENTER">Welcome to My HTML101 Homework Page </H1>
Welcome to My HTML101 Homework Page
- Now let's change that last paragraph since you accomplished the paragraphs, breaks, etc in previous lessons. We will also insert this as a Centered paragraph.
We can keep this simple so please change your last paragraph to the following:
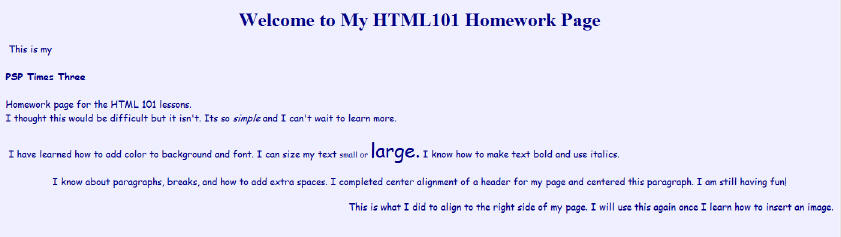
<P ALIGN="CENTER">I know about paragraphs, breaks, and how to add extra spaces. I completed center alignment of a header for my page and centered this paragraph. I am still having fun! </P>
This is what it should look like:
Alternative Center Alignment:
- <DIV> and </DIV> tags are known as "Container Tags". Anything that is placed between the opening and closing tags will be subject to the rules you establish.
You may use the <DIV> with the same value of the <P> tag. So, you could set up your paragraph <DIV ALIGN="CENTER"> with everything placed after that will be centered, including headers, paragraphs, text, tables, images, etc. and then stopping it by using the </DIV>
Align Right
Align Left:
- Because the left alignment is the default there really is no need to go into detail. But if you end a paragraph that has been centered or aligned to the right and you want to return to the left side for your text then you create a new paragraph using the
<P ALIGN="RIGHT"> and </P> tags.
Underlines
-
Before listing the tags for underlines please beware that it is not a good practice using them. Most people when seeing an underline think it is a link. We will cover links in another lesson which, by the way, automatically underline.
-
Let's use the underline tags <U> and </U> on your header. Place the following:
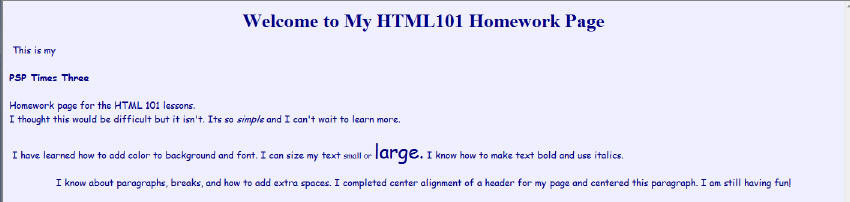
<H1 ALIGN="CENTER"><U> Welcome to My HTML101 Homework Page</U> </H1>
This is now how your homework page should look:
Insert Image
- You already know how to insert your background color jpg that tiles your page to give you color. Now you will learn how to insert an image/graphic into your webpage. If you have a sig tag or special graphic you would like to use please do so. You will need to copy your graphic and place it into your html homework folder. All images used must be either in the same folder of your html or in a place where a link code will tell the html where to obtain it. For now, we will use the basics and place the image directly in the folder with the html homework page.
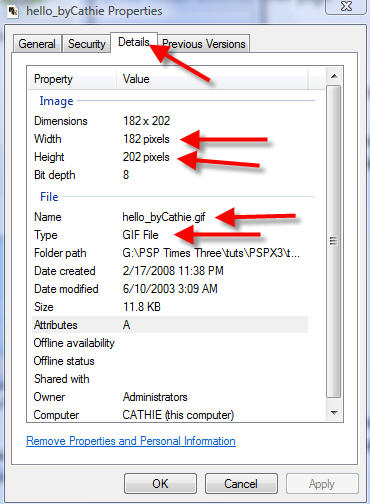
- The first thing you need to do is check the properties of the tag you are using. Right click the tag, go to Properties and click on the Details tab. It will tell you if the tag is a jpg or gif. It will also give you the deminsions of the tag. See this screen shot:
-
Write down the width and height of your tag. Be sure to remember if its a jpg or gif and the Exact name of the tag. Remember spelling is very important. You will need this information when inserting the image.
- Now we are ready to insert your image. We will place it in the center of your homework page. Please do the following:
<P ALIGN="CENTER" IMG SRC="YOUR EXACT TAG NAME HERE.GIF OR JPG AFTER THE PERIOD" BORDER="O" WIDTH="WIDTH OF YOUR TAG" HEIGHT="HEIGHT OF YOUR TAG"></P>
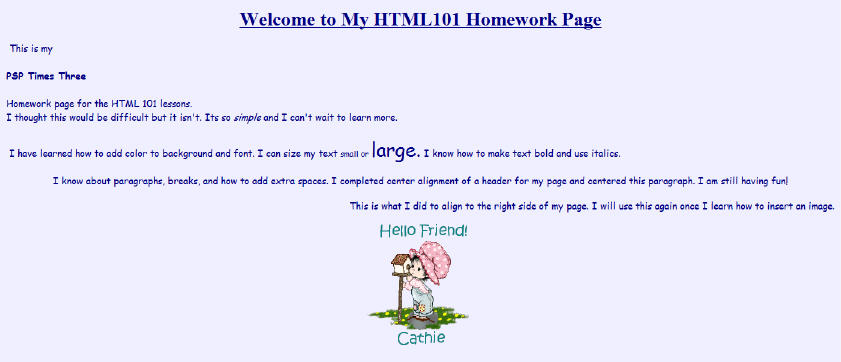
See how my image is coded here:
<P ALIGN="CENTER" IMG SRC="hello_byCathie.gif" BORDER="O" WIDTH="182" HEIGHT="202">
</P>
NOTE: It is beneficial to get into the practice of using the BORDER="0" when doing image inserts because when you learn how to link an image to another page or place you will end up with a green outline around your image if you do not include the border at zero.
If you find your image is not showing, double check the spelling of the tag name and whether it is a jpg or gif. The smallest mistake can cause your image not to show up.
Here is how mine looks on my homework page:
REVIEW
- In Lesson 1 you learned the required elements for a basic HTML document. You were given your assignment and set up your first HTML webpage.
- Lesson 2 explained about Tags/Codes and how to use the View/Source to obtain different codes so you can set up your website the way you would like it to appear. You also learned about Attributes and Values to add some color to your background and text, along with how and where to place them in your HTML document.
- Lesson 3 explained how to make words Bold, use Italics, and all about Fonts - Size and Type.
- Lesson 4 taught you all about paragraphs, extra spacing, break lines, headers, and how to use a background graphic.
- Lesson 5 taught you all about aligning paragraphs, how to underline, and how to insert a graphic onto your page.
ASSIGNMENT
- Your assignment is to complete everything we covered in this lesson, then at the bottom insert another graphic aligning it to the Right, and another to the Left. It will give you practice on using the alignments and inserting images.
- Double check all your new HTML and make sure you have everything as explained above. Then save and go to your web site and upload the newly edited document.
- When finished be sure to send the link through our group mail with "HTML Lessons" in the subject Line.
Good luck and if you have any questions just send them on to us!
Next lesson will will cover links - includes hyperlinks, mailto, and image links.
~~~~~~~~~~~~~~~~
Lesson One
Lesson Two
Lesson Three
Lesson Four
Tutorials Index
~~~~~~~~~~~~~~~~
This Lesson was written by
Cathie for PSP Times Three.
Any similarities to other tutorials is merely a coincidence.
©
PSP Times Three
~February 2008~